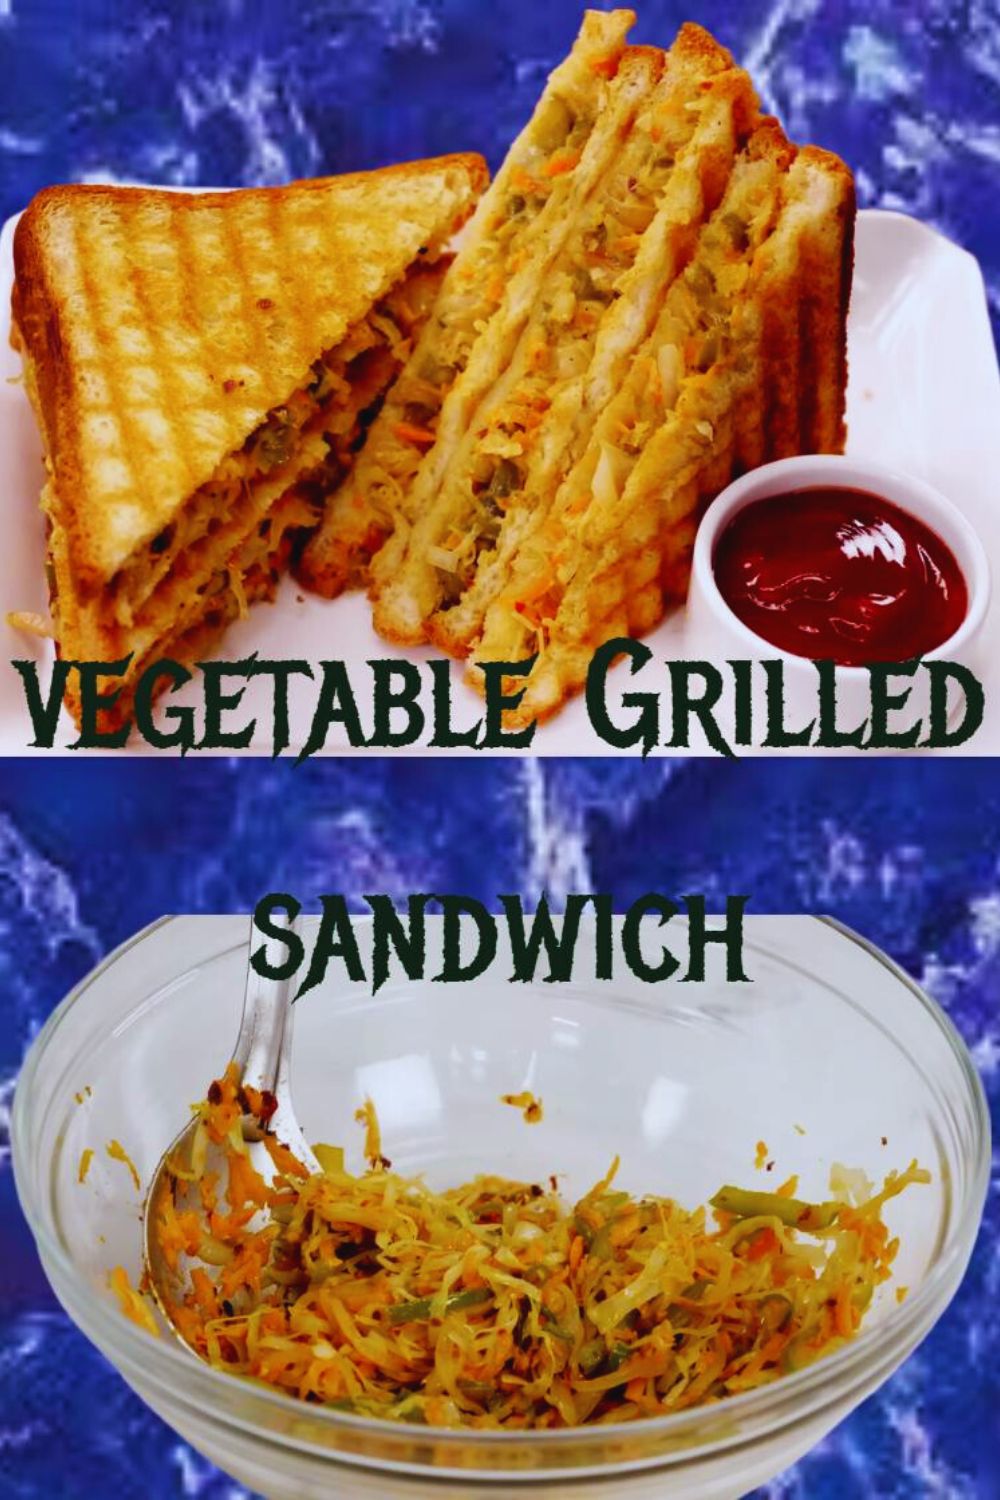
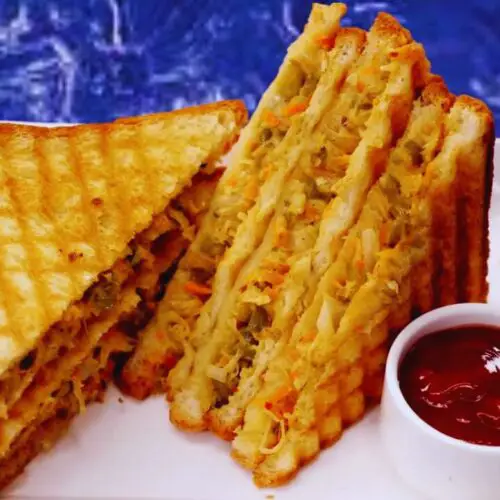
Vegetable grilled sandwich is made with bread and a filling of different types of vegetables, stir fried in oil and butter and mixed with mayonnaise and different spices. The process to make a vegetable grilled sandwich at home just like you get in a café is quite easy, as described in my recipe.
KEY TAKEAWAYS
- Vegetable grilled sandwiches are the most common and favored snack item.
- Enjoy them with tomato sauce, chili sauce, or green chutney.
- Vegetable grilled sandwich tastes creamy, slightly spicy and savory.
- Other similar sandwiches are cheese corn sandwich, vegetable paneer grilled sandwich, paneer tikka sandwich, capsicum mayo sandwich, spinach corn sandwich, and grilled potato sandwich.
The Ingredients:
- 8 slices bread (for four sandwiches)
- 1 piece onion (medium size, sliced roughly)
- 1 piece capsicum (medium size, sliced roughly)
- 1 cup cabbage (finely sliced)
- 1 piece carrot (medium size, grated)
- 1 tbsp butter (to fry the vegetables)
- 1 tbsp cooking oil
- ½ tsp ginger garlic paste
- 1 tsp chili flakes
- 2 pieces green chilies (chopped finely)
- Salt to taste
- ½ tsp black pepper powder
- ½ cup mayonnaise
- Butter (as required to apply on bread surfaces before grilling)

I came across this recipe from the woman who sells cloth bags outside our vegetable market. I once helped her with change, and she offered me a bite from her lunch box. It was simple yet flavorful. I asked for the recipe, and she laughed, “It’s my daily fix.”
I made it that night. My husband appreciated its grounding flavor, and my sons found it very tasty. Now, it is our weekend market meal. That interaction reminded me that sustainable living is not just about shopping bags; it is also about the home cooked meals that fuel quiet strength.
How to Make Vegetable Grilled Sandwich? (Step by Step Guide with Images)
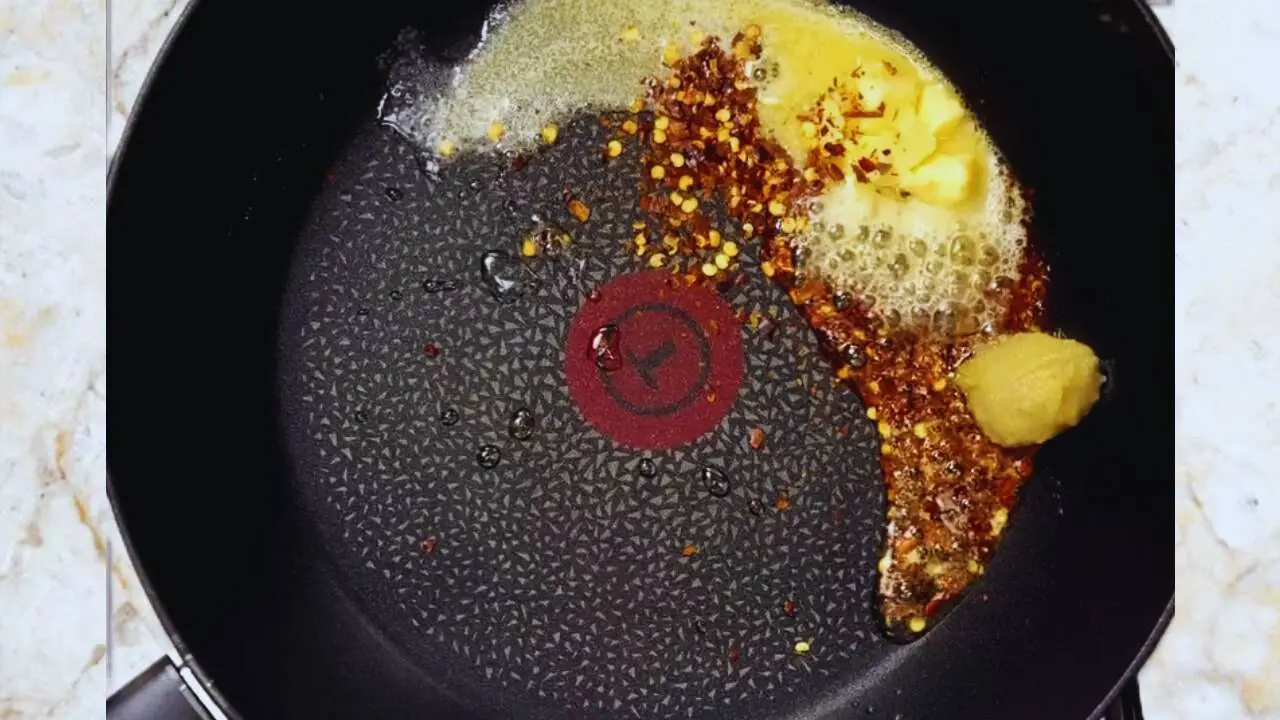
Step 1: Heat 1 tbsp of butter and 1 tbsp of cooking oil in a pan. When the butter melts completely, add ½ tsp of ginger garlic paste and 1 tsp of chili flakes. Fry them nicely on a medium flame for about a minute, stirring continuously.
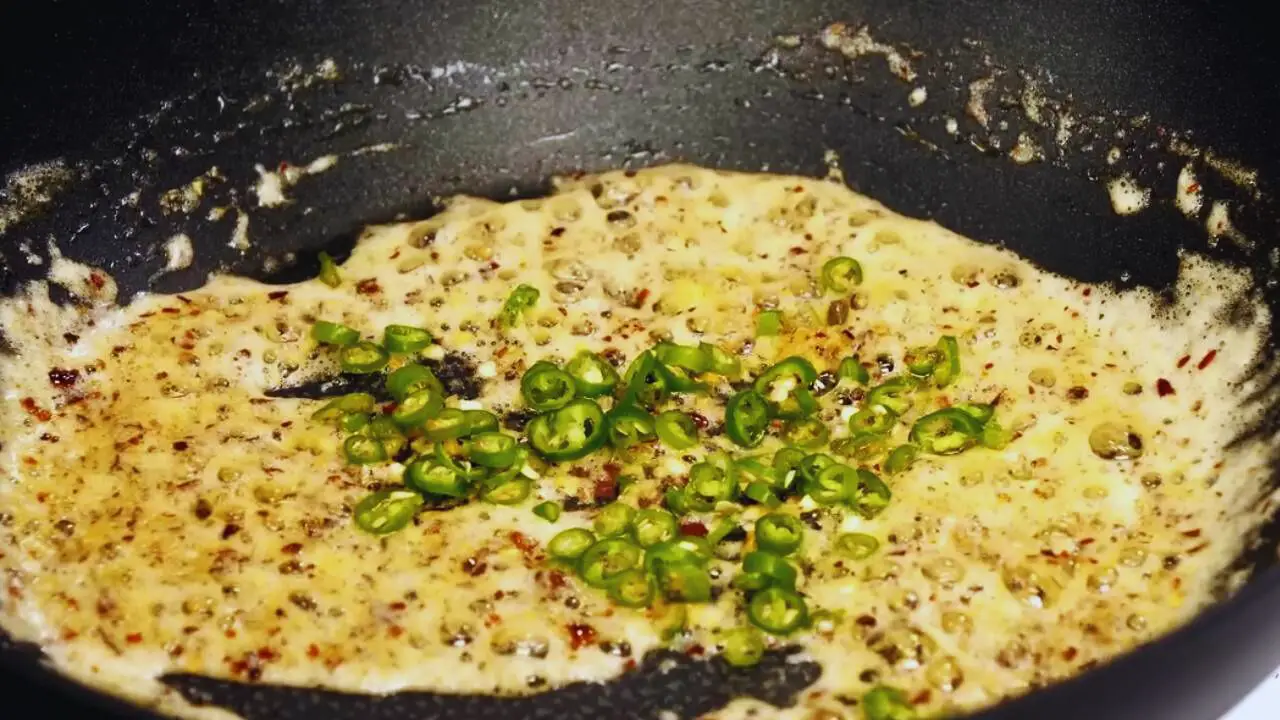
Step 2: When the red chili flakes have fried nicely and you can smell its aroma, add 2 pieces of green chilies (chopped finely) in it. Stir and fry them as well for half a minute.
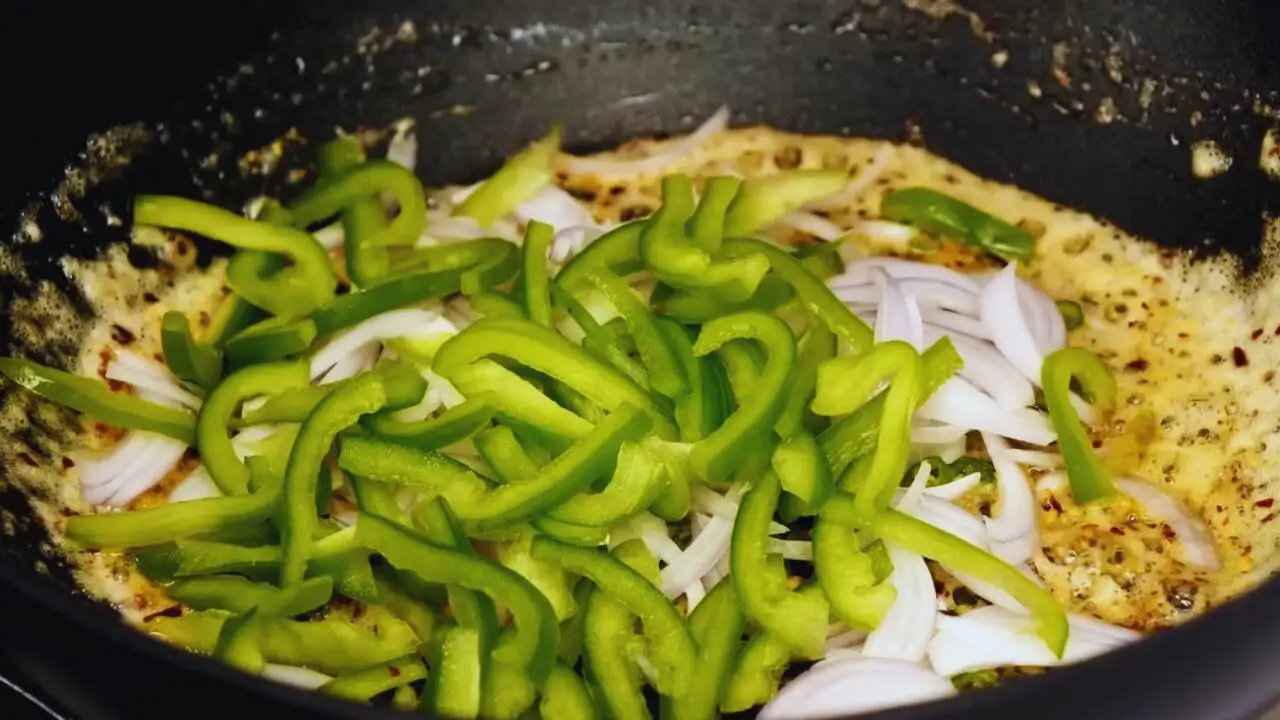
Step 3: Now, add 1 piece of onion (medium size, sliced roughly) and 1 piece of capsicum (medium size, sliced roughly). Stir fry them for a minute on a high flame.
Step 4: Add salt to taste and mix it nicely with the ingredients in the pan.
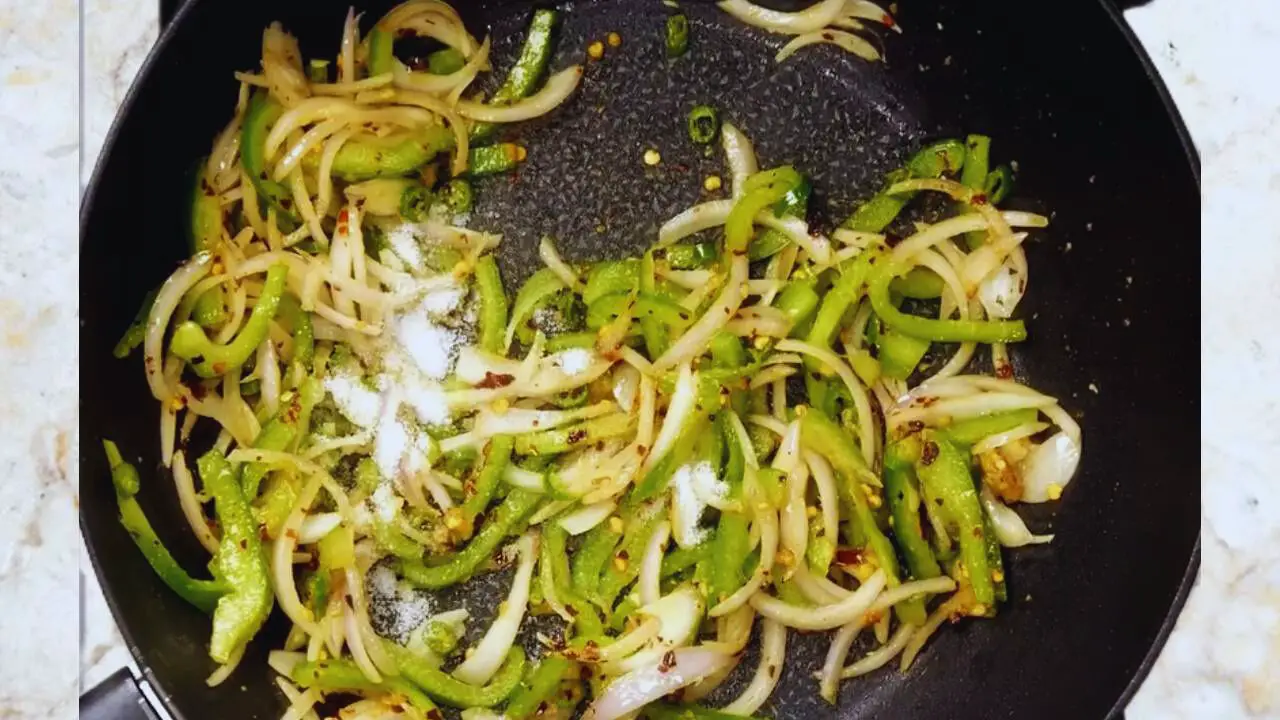
(Pro tip: Adding salt instantly releases moisture which helps in cooking the vegetables properly).
Step 5: Now, add 1 cup of cabbage (finely sliced) and 1 piece of carrot (medium size, grated) to the content in the pan. Mix and cook them on a medium high flame now for about a minute.

Step 6: When done, transfer the cooked vegetable in a mixing bowl and let it cool down for five minutes.

Step 7: After five minutes, add ½ tsp of black pepper powder and ½ cup of mayonnaise to it.

(Pro tip: If you do not have mayonnaise or do not like it, you can use hung curd or dahi).
Step 8: Mix it nicely and keep the bowl aside.

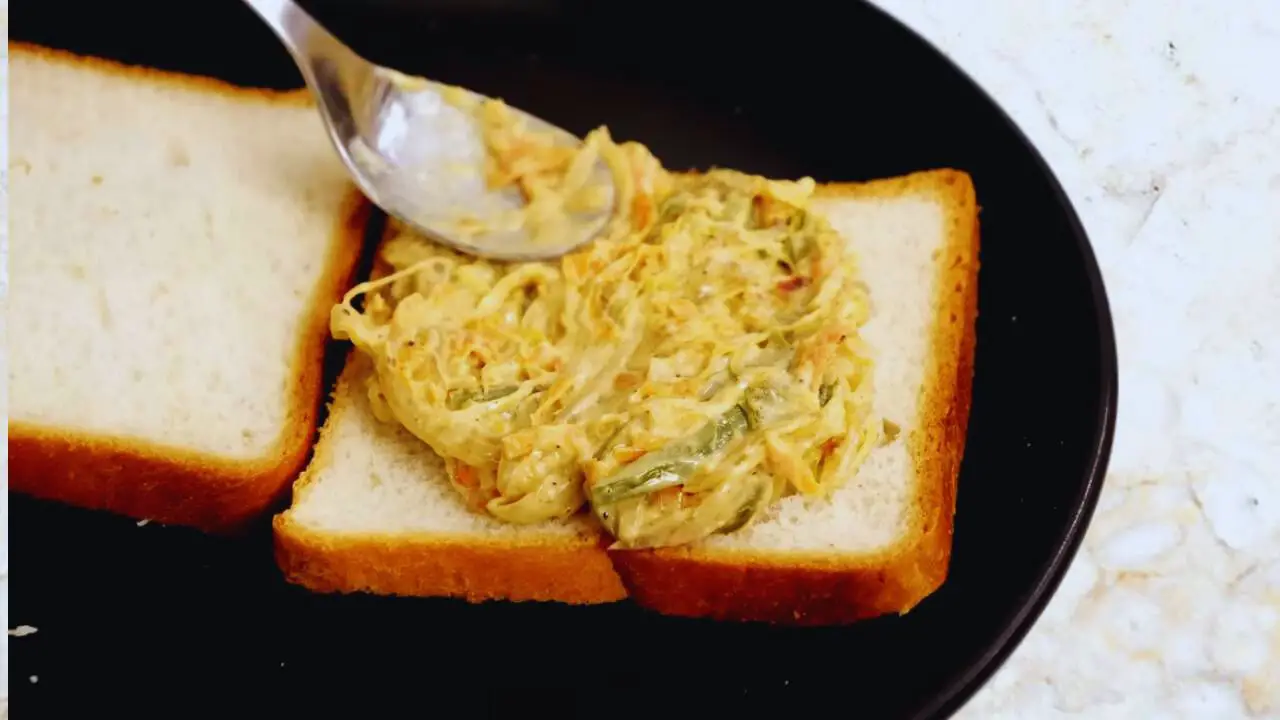
Step 9: Now, take 8 slices of bread (for four sandwiches). Take two slices of bread at a time and spread the fried vegetable on one bread slice only.
Step 10: Put the other bread slice on top of the vegetable stuffing and apply butter on both the sides.
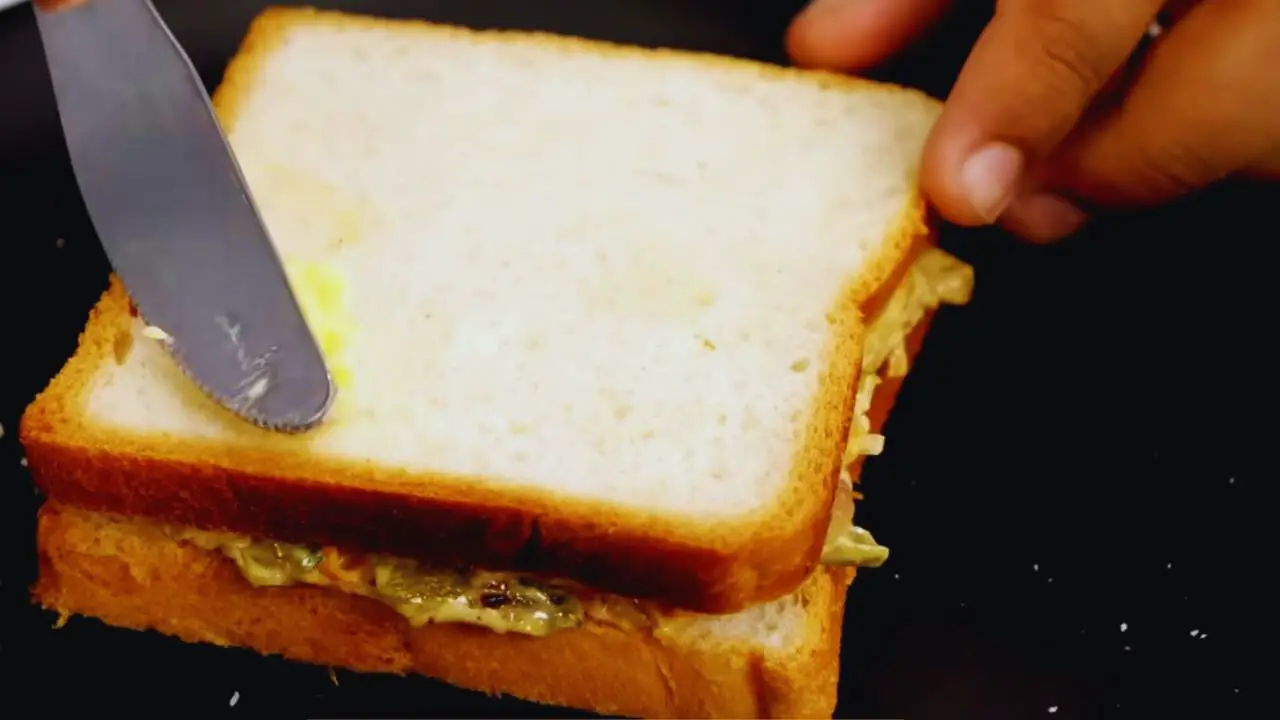
(Pro tip: If you want, you can also apply ghee to the bread slices. This will also make the surfaces crunchy. If you want further crunchiness, toast the bread on a tawa).
Step 11: Now, put one or two sandwiches in a preheated electric grill exactly as shown. Close the grill and set the heat to medium.
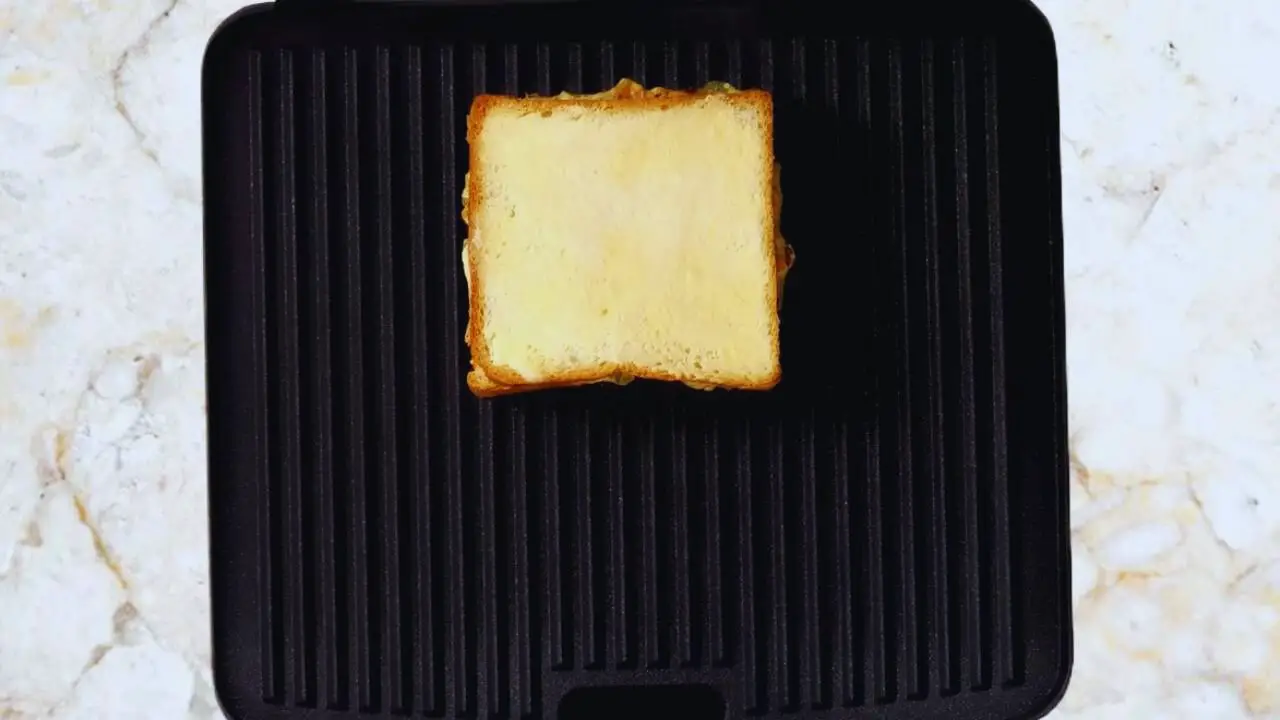
(Pro tip: If you do not have a grill at home, use a regular tawa to toast the bread for making a sandwich.
Step 12: After one minute, open the grill and you will see longitudinal designs on the surface of the bread as shown in the image below.
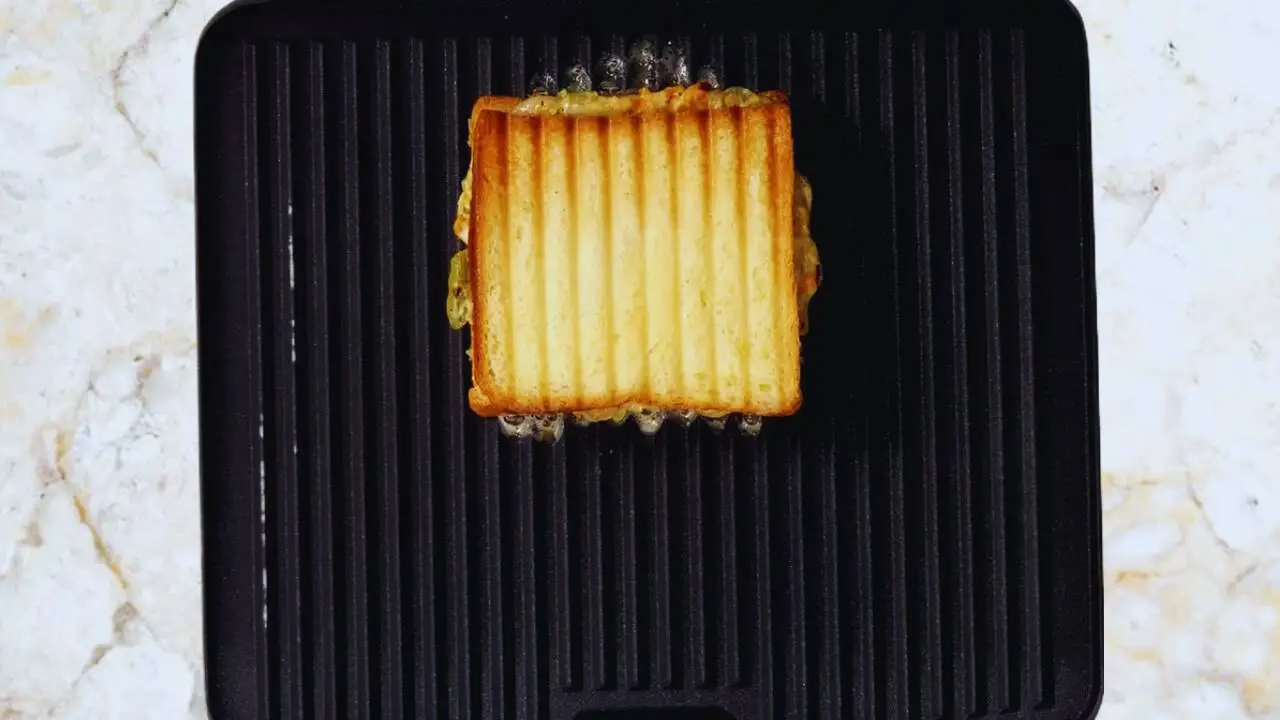
Step 13: Turn the sandwich to 90 degrees on the same side and let it cook for another minute.

(Pro tip: This will make the lovely square marks as you see on the sandwiches available in a café. However, if you do not want them, skip this step and cook the sandwich for 2 minutes straightaway).
Step 14: Follow the same process to make all the sandwiches. Remove them one by one when done carefully with a pair of tongs.

Step 15: Keep them all on a tray or chopping board.
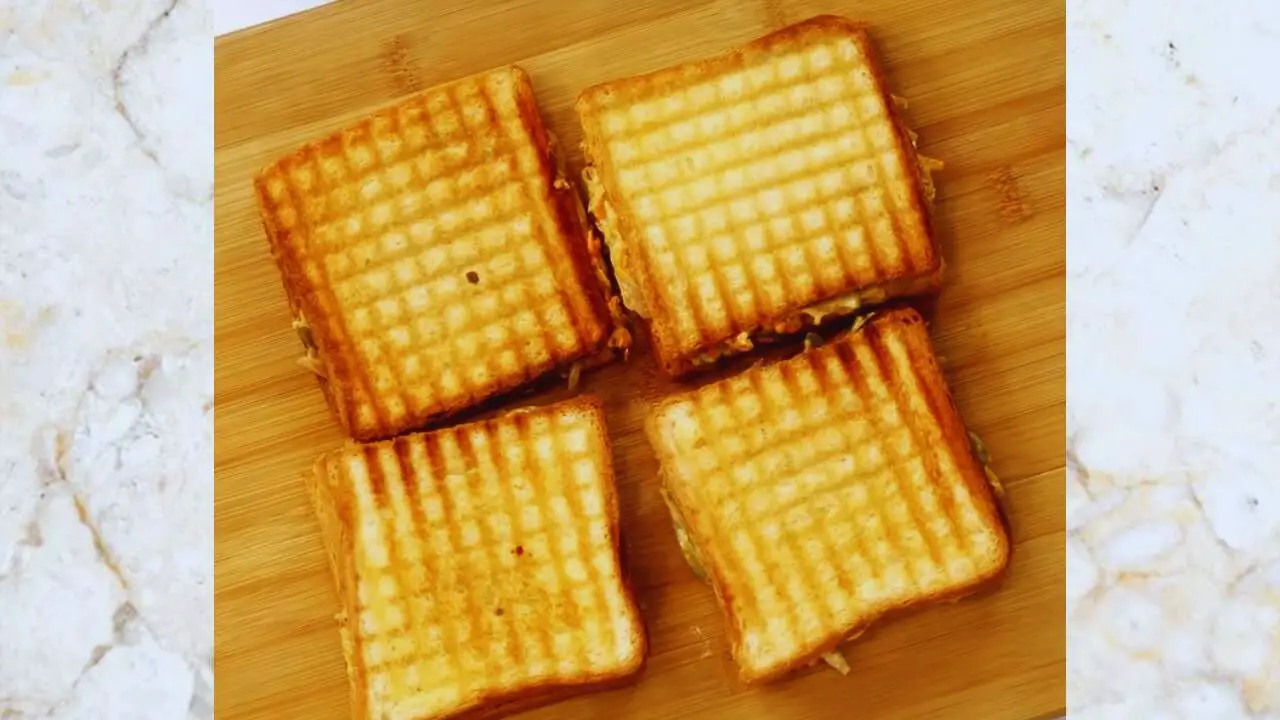
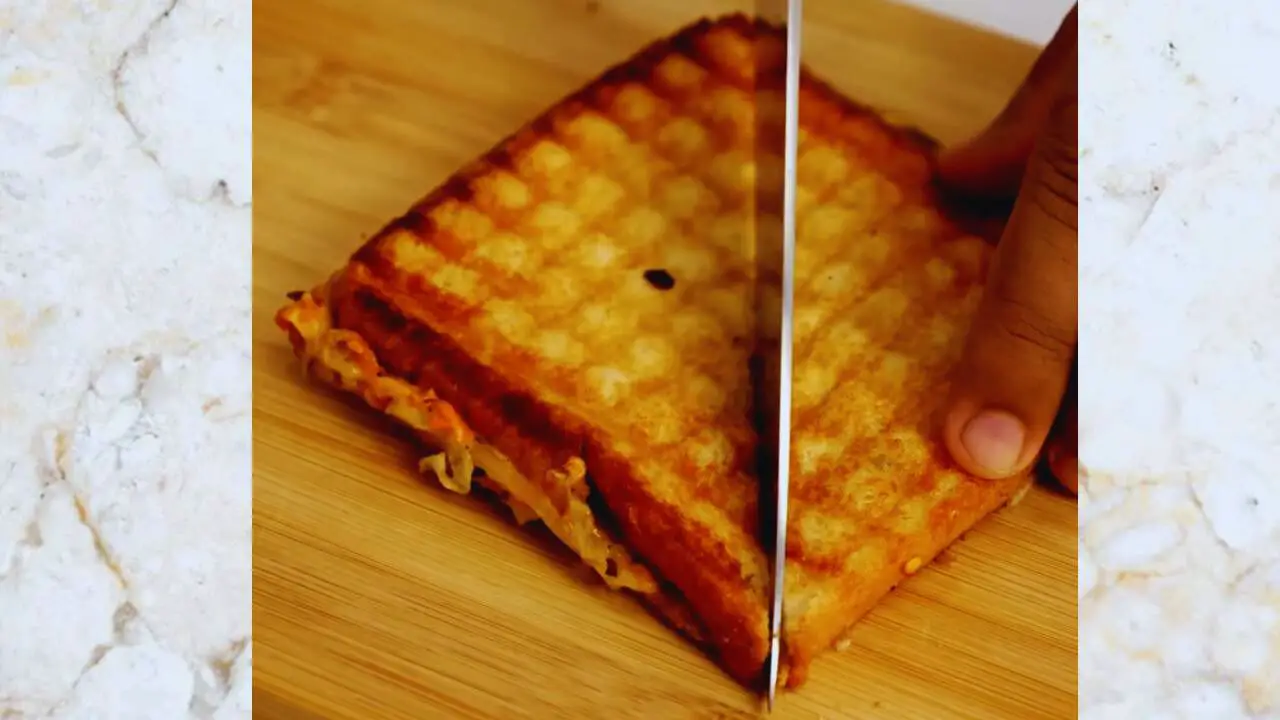
Step 16: Now, take a sharp knife and cut each of the sandwiches diagonally as shown in the figure.
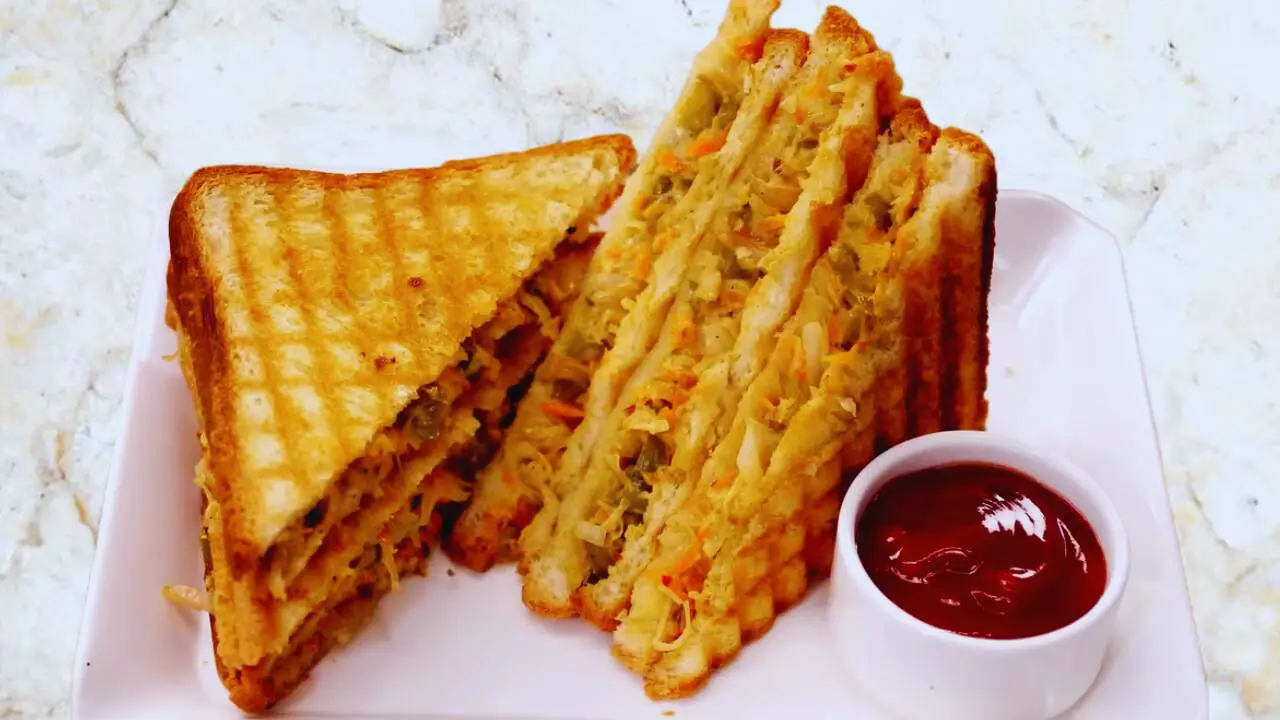
Step 17: Your tasty, spicy and crispy vegetable grilled sandwich is ready to eat. Serve it with tomato ketchup and enjoy.
Recipe Card
Vegetable Grilled Sandwich
Ingredients
- 8 slices bread for four sandwiches
- 1 piece onion medium size, sliced roughly
- 1 piece capsicum medium size, sliced roughly
- 1 cup cabbage finely sliced
- 1 piece carrot medium size, grated
- 1 tbsp butter to fry the vegetables
- 1 tbsp cooking oil
- ½ tsp ginger garlic paste
- 1 tsp chili flakes
- 2 pieces green chilies chopped finely
- Salt to taste
- ½ tsp black pepper powder
- ½ cup mayonnaise
- Butter as required to apply on bread surfaces before grilling
Instructions
- Heat 1 tbsp of butter and 1 tbsp of cooking oil in a pan. When the butter melts completely, add ½ tsp of ginger garlic paste and 1 tsp of chili flakes. Fry them nicely on a medium flame for about a minute, stirring continuously.
- When the red chili flakes have fried nicely and you can smell its aroma, add 2 pieces of green chilies (chopped finely) in it. Stir and fry them as well for half a minute.
- Now, add 1 piece of onion (medium size, sliced roughly) and 1 piece of capsicum (medium size, sliced roughly). Stir fry them for a minute on a high flame.
- Add salt to taste and mix it nicely with the ingredients in the pan. (Pro tip: Adding salt instantly releases moisture which helps in cooking the vegetables properly).
- Now, add 1 cup of cabbage (finely sliced) and 1 piece of carrot (medium size, grated) to the content in the pan. Mix and cook them on a medium high flame now for about a minute.
- When done, transfer the cooked vegetable in a mixing bowl and let it cool down for five minutes.
- After five minutes, add ½ tsp of black pepper powder and ½ cup of mayonnaise to it. (Pro tip: If you do not have mayonnaise or do not like it, you can use hung curd or dahi).
- Mix it nicely and keep the bowl aside.
- Now, take 8 slices of bread (for four sandwiches). Take two slices of bread at a time and spread the fried vegetable on one bread slice only.
- Put the other bread slice on top of the vegetable stuffing and apply butter on both the sides. (Pro tip: If you want, you can also apply ghee to the bread slices. This will also make the surfaces crunchy. If you want further crunchiness, toast the bread on a tawa).
- Now, put one or two sandwiches in a preheated electric grill exactly as shown. Close the grill and set the heat to medium. (Pro tip: If you do not have a grill at home, use a regular tawa to toast the bread for making a sandwich.
- After one minute, open the grill and you will see longitudinal designs on the surface of the bread as shown in the image below.
- Turn the sandwich to 90 degrees on the same side and let it cook for another minute. (Pro tip: This will make the lovely square marks as you see on the sandwiches available in a café. However, if you do not want them, skip this step and cook the sandwich for 2 minutes straightaway).
- Follow the same process to make all the sandwiches. Remove them one by one when done carefully with a pair of tongs.
- Keep them all on a tray or chopping board.
- Now, take a sharp knife and cut each of the sandwiches diagonally as shown in the figure.
- Your tasty, spicy and crispy vegetable grilled sandwich is ready to eat. Serve it with tomato ketchup and enjoy.


