Lemon chutney comprises fresh lemons, sugar, and a few aromatic spices. Follow the simple instructions in my recipe to make lemon chutney at home.

KEY TAKEAWAYS
- Lemon chutney is easy to make at home as it needs common kitchen staples.
- Store the chutney in an airtight jar. Add a layer of oil and refrigerate it to extend its shelf life.
- Serve the chutney with South Indian dishes, different snack items, rice dishes, grilled or roasted chicken, fish or vegetables, sandwiches, and wraps.
- Lemon chutney typically offers a citrusy, sweet, and tangy taste.
- Amla chutney, kokum chutney, and raw mango chutney may offer a closely similar taste as lemon chutney.

I discovered this recipe while participating in a sewing circle at our community hall. One of the ladies brought this chutney and sandwiches for everyone to share with tea. The taste of the chutney was awesome and it added to the taste of the sandwiches. She explained how she made it to all who were intrigued like me. I jotted the details down in my measurement diary.
I made it later that evening. My husband said it felt homey, and the boys called it “needle snack.” Now, it is our favorite chutney. That afternoon reminded me how women pass recipes like patterns—hand-to-hand, quietly, beautifully stitched into the fabric of daily life and friendship.
How to Cook Lemon Chutney? (Step by Step Guide with Images)
Step 1: Take 500 gm of lemon, which will be about 7 to 8 pieces of medium-sized lemons.

(Pro tip: Wash them nicely, rub them with a piece of cloth to dry them, and keep them in a bowl).
Step 2: Cut every lemon into small round pieces.

(Pro tip: You can cut the lemons in any shape but cutting them in circles will help in removing the seeds easily).
Step 3: Remove the seeds of the lemons from the central pieces.

(Pro tip: When you remove the seeds from the lemons, some juice will be lost from the lemon pieces. It is best to take a bowl while removing the seeds. That way, you can collect the juice and add it to the lemon paste which would have been lost otherwise. This will prevent using water to make the paste).
Step 4: Keep all the de-seeded pieces of lemon in a bowl.

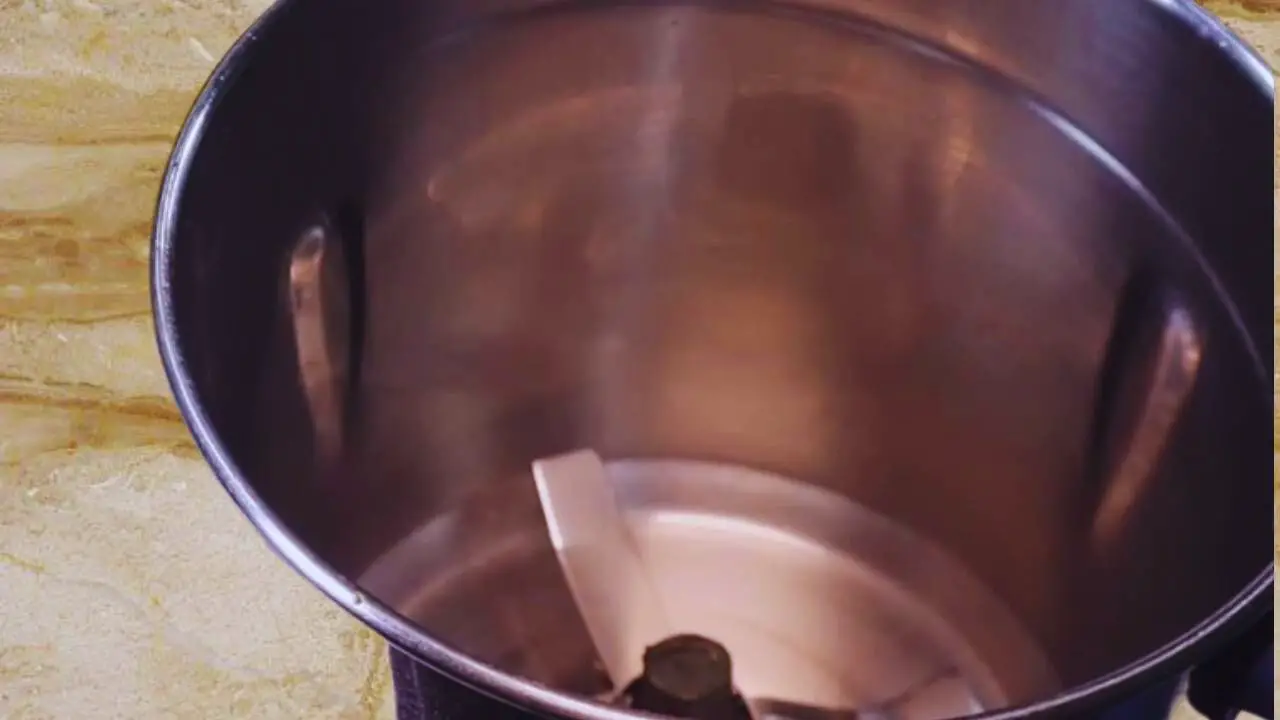
Step 5: Now take a clean grinder.

Step 6: Put the lemon pieces into the grinder.

(Pro tip: To grind the lemon pieces nicely, grind them in small batches. This will ensure you get a smoother paste)
Step 7: Grind the lemon pieces in each batch.

Step 8: Check the texture or coarseness of the paste every time.

(Pro tip: Make sure that the paste is not too fine. It is best to let some fiber or strands of lemons remain in the paste. This will eventually give a lovely texture to the lemon chutney).
Step 9: Now, take a clean bowl.

Step 10: Transfer the lemon paste to the bowl.

Step 11: When you are doing the last batch, place a strainer on the grinder.

Step 12: Take the bowl of juice with the seeds that you collected while removing them from the lemons.

Step 13: Pour the juice with the seeds into the strainer.

Step 14: Separate the juice and the seeds. You may use a spoon to force separate the thick juice and the seeds. Discard the seeds.

Step 15: Grind them one more time.

Step 16: Now, add 500 gm of sugar to it.

(Pro tip: The quantity of lemon and sugar should be equal. This will balance the tanginess of the lemons).
Step 17: Now, take 8 to 10 pieces of cloves and 15 to 20 pieces of black pepper, dry roast them in a frying pan, and grind them to a relatively coarse powder.

Step 18: Add the powdered cloves and black pepper to the bowl.

Step 19: Now, add 2 tsp of regular table salt to the content in the bowl.

(Pro tip: Do not add too much salt to the ingredients. You can check the mixture later and add more if needed. This will prevent the chutney from becoming too salty than sweet).
Step 20: Then, add 1 tsp of black salt to the ingredients.

Step 21: Mix everything nicely.

Step 22: Now, add ½ tsp of red chili powder (degi mirch powder) to the ingredients in the bowl.

(Pro tip: Adding red chili powder is optional. You may add it if you want your lemon chutney to be a bit spicy and have a nice color. However, do not put too much red chili powder in it, or else it will not have its attractive yellowish-orange color).
Step 23: Mix it nicely.

Step 24: Your lemon chutney is almost ready.

(Pro tip: You can consume the chutney at this point but then the sugar will not melt completely. This will not give the right taste of the chutney).
Step 25: Now cover the bowl and keep it aside for an hour or so for the sugar to melt. Then, mix it nicely another time to get your flavorful lemon chutney, ready to be consumed.

(Pro tip: It may not have the texture and look as shown above right away. For the best taste and color, put the container with the lemon chutney outside in the sun for about 15 days at a stretch).
Recipe Card

Lemon Chutney
Ingredients
- 500 grams Fresh lemon medium-sized pieces
- 500 grams Sugar
- 8 pieces Cloves
- 15 pieces Black pepper
- 2 tsp Table salt
- 1 tsp Black salt
- ½ tsp Red chili powder (degi mirch
Instructions
- Take 500 gm of lemon, which will be about 7 to 8 pieces of medium-sized lemons. (Pro tip: Wash them nicely, rub them with a piece of cloth to dry them, and keep them in a bowl).
- Cut every lemon into small round pieces. (Pro tip: You can cut the lemons in any shape but cutting them in circles will help in removing the seeds easily).
- Remove the seeds of the lemons from the central pieces. (Pro tip: When you remove the seeds from the lemons, some juice will be lost from the lemon pieces. It is best to take a bowl while removing the seeds. That way, you can collect the juice and add it to the lemon paste which would have been lost otherwise. This will prevent using water to make the paste).
- Keep all the de-seeded pieces of lemon in a bowl.
- Now take a clean grinder.
- Put the lemon pieces into the grinder. (Pro tip: To grind the lemon pieces nicely, grind them in small batches. This will ensure you get a smoother paste)
- Grind the lemon pieces in each batch.
- Check the texture or coarseness of the paste every time. (Pro tip: Make sure that the paste is not too fine. It is best to let some fiber or strands of lemons remain in the paste. This will eventually give a lovely texture to the lemon chutney).
- Now, take a clean bowl.
- Transfer the lemon paste to the bowl.
- When you are doing the last batch, place a strainer on the grinder.
- Take the bowl of juice with the seeds that you collected while removing them from the lemons.
- Pour the juice with the seeds into the strainer.
- Separate the juice and the seeds. You may use a spoon to force separate the thick juice and the seeds. Discard the seeds.
- Grind them one more time.
- Now, add 500 gm of sugar to it. (Pro tip: The quantity of lemon and sugar should be equal. This will balance the tanginess of the lemons).
- Now, take 8 to 10 pieces of cloves and 15 to 20 pieces of black pepper, dry roast them in a frying pan, and grind them to a relatively coarse powder.
- Add the powdered cloves and black pepper to the bowl.
- Now, add 2 tsp of regular table salt to the content in the bowl. (Pro tip: Do not add too much salt to the ingredients. You can check the mixture later and add more if needed. This will prevent the chutney from becoming too salty than sweet).
- Then, add 1 tsp of black salt to the ingredients.
- Mix everything nicely.
- Now, add ½ tsp of red chili powder (degi mirch powder) to the ingredients in the bowl. (Pro tip: Adding red chili powder is optional. You may add it if you want your lemon chutney to be a bit spicy and have a nice color. However, do not put too much red chili powder in it, or else it will not have its attractive yellowish-orange color).
- Mix it nicely.
- Your lemon chutney is almost ready. (Pro tip: You can consume the chutney at this point but then the sugar will not melt completely. This will not give the right taste of the chutney).
- Now cover the bowl and keep it aside for an hour or so for the sugar to melt. Then, mix it nicely another time to get your flavorful lemon chutney, ready to be consumed. (Pro tip: It may not have the texture and look as shown above right away. For the best taste and color, put the container with the lemon chutney outside in the sun for about 15 days at a stretch).


