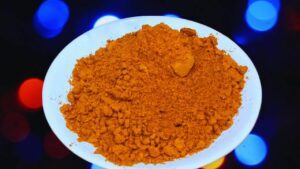
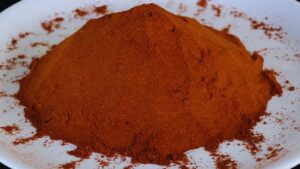
Embark on a flavorful journey with my homemade garlic powder recipe, a culinary essential that adds depth and richness to a myriad of dishes.
Crafting your own garlic powder is not only gratifying but also allows you to tailor the intensity of this versatile seasoning to your liking.
With just a few simple steps, you can transform ordinary garlic cloves into a fragrant and potent powder, enhancing the taste of your favorite recipes.
Let’s dive into the art of making garlic powder, unlocking a world of savory possibilities in your kitchen.
KEY TAKEAWAYS
- Homemade garlic powder adds depth and richness to a variety of dishes, offering a customizable seasoning for your culinary creations.
- With just a cup of sliced garlic and an optional cup of semolina, you can easily create fragrant and potent garlic powder at home.
- The step-by-step guide with images simplifies the process, making it accessible even for novice cooks.
- Slicing uniformly, mindful roasting, semolina savvy, patient stirring, and checking for dryness are key techniques for successful garlic powder production.
- Airtight containers, a cool, dark place, moisture-free environment, temperature control, and avoidance of heat sources ensure optimal storage and longevity for your homemade garlic powder.
How to Make Garlic Powder? (Step by Step Guide with Images)
Step 1: Take a frying pan and heat it on a low flame on your gas stove. When it is hot enough, put 1 cup of garlic cloves in it. Make sure you slice them in thin pieces as shown to ensure better roasting.
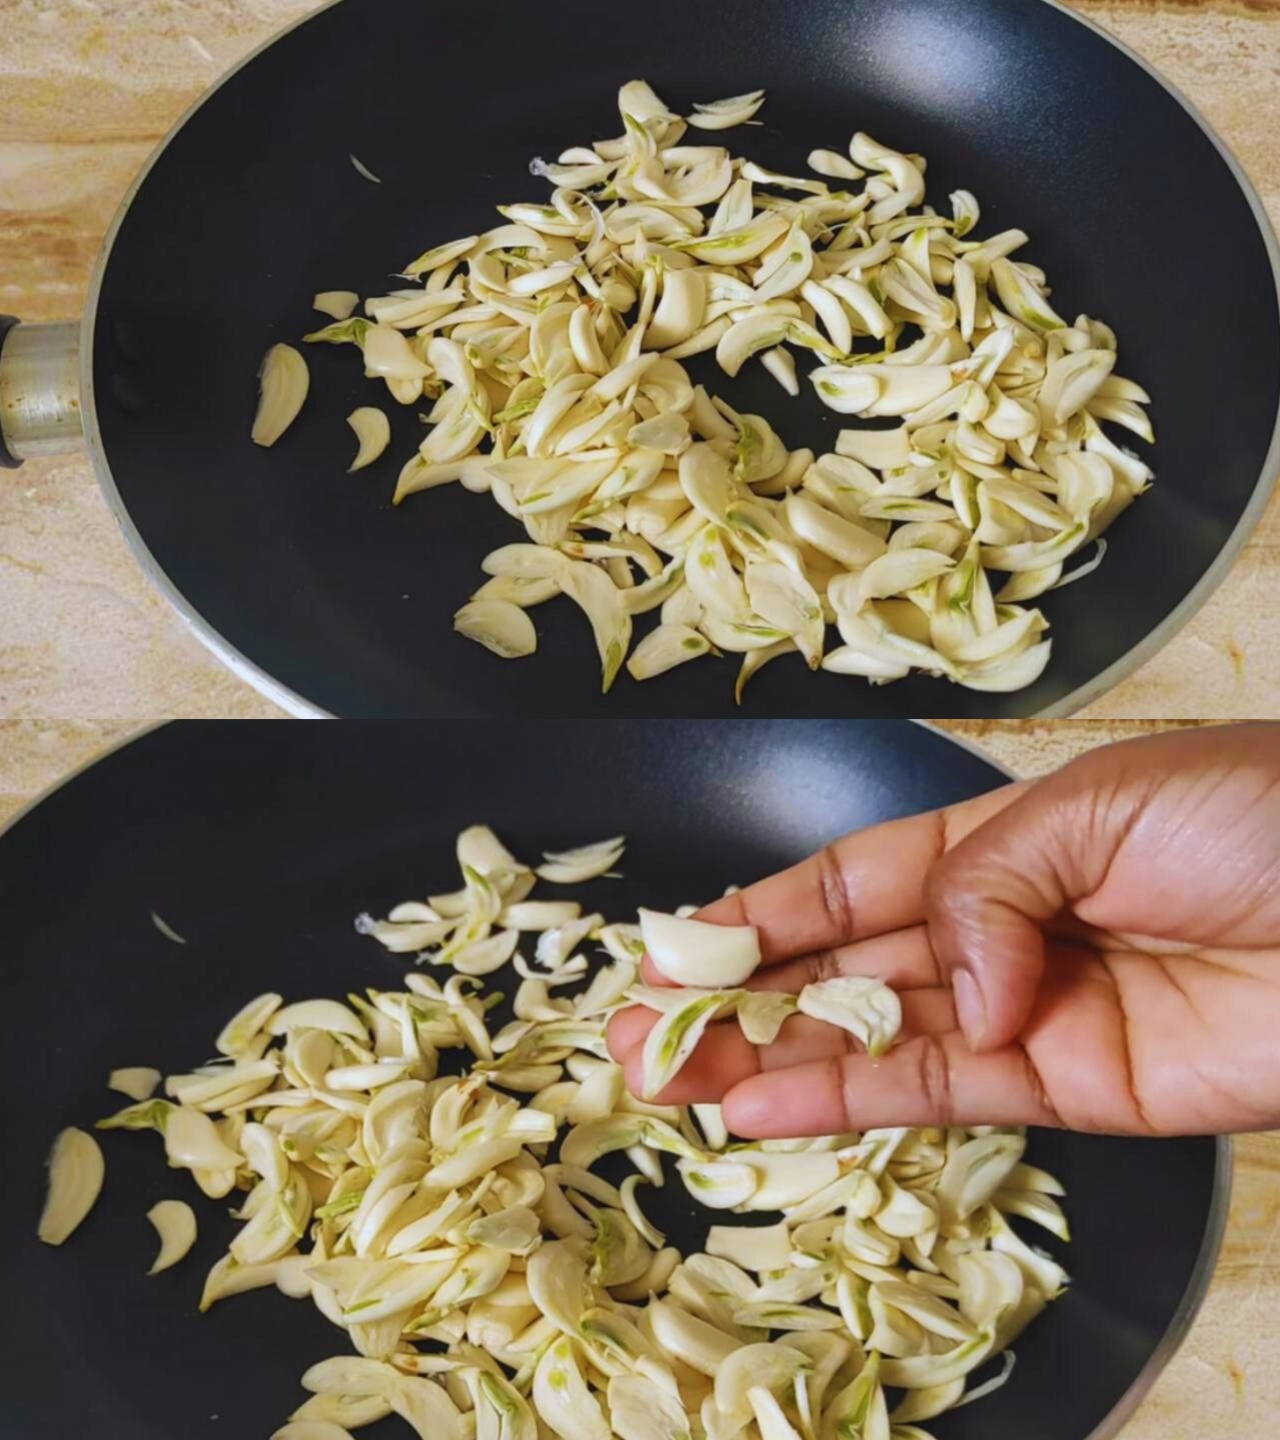
Step 2: Stir them continuously for about 2 minutes on a low flame until they turn slightly golden-brown in color.
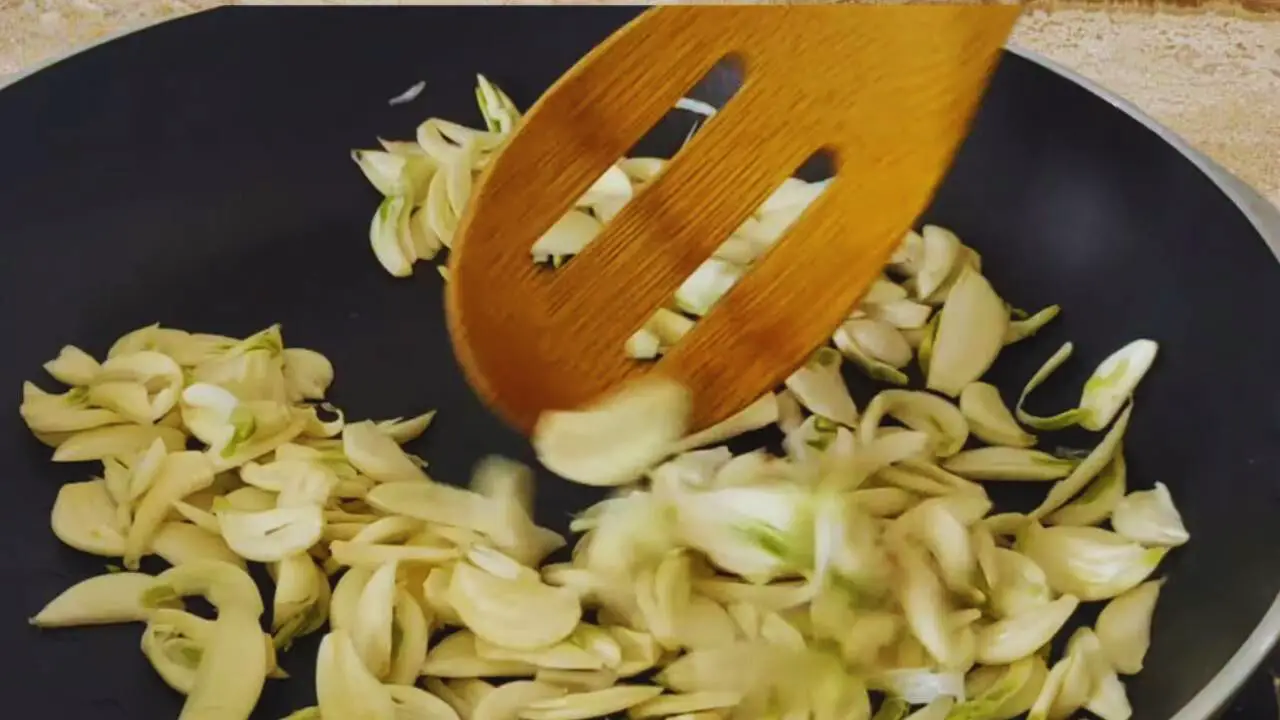
Step 3: Now add 1 cup of semolina to it. Stir them continuously.
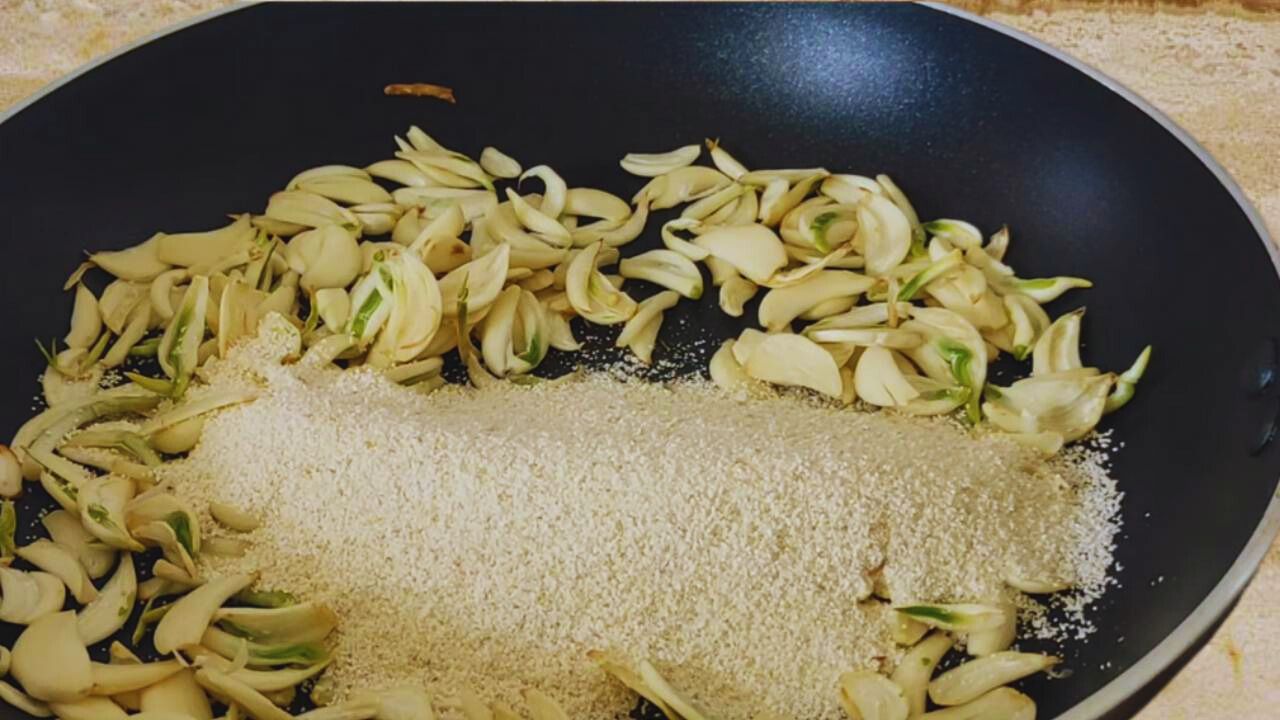
(Expert tip: Adding semolina is not essential. It will primarily prevent the garlic cloves from getting burnt and will also help in losing moisture quickly).
Step 4: After 15 to 20 minutes of stirring, the garlic cloves should be nicely roasted, crispy, and slightly brown in color.
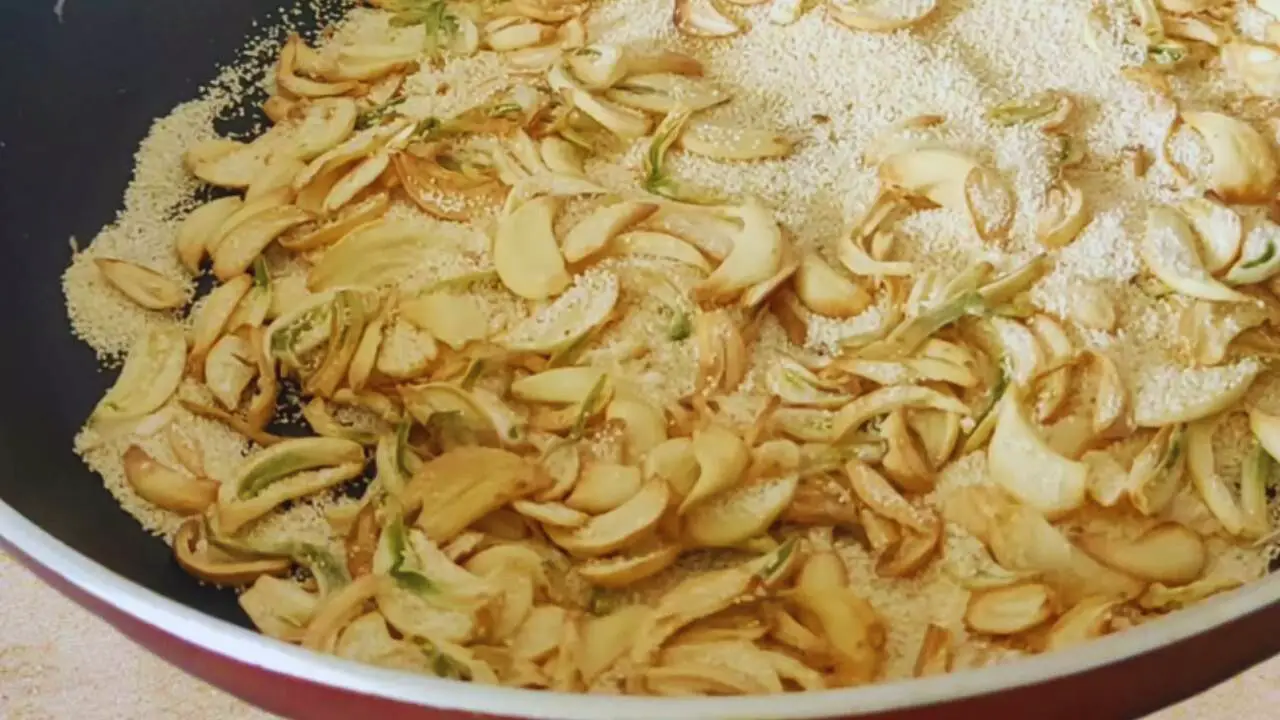
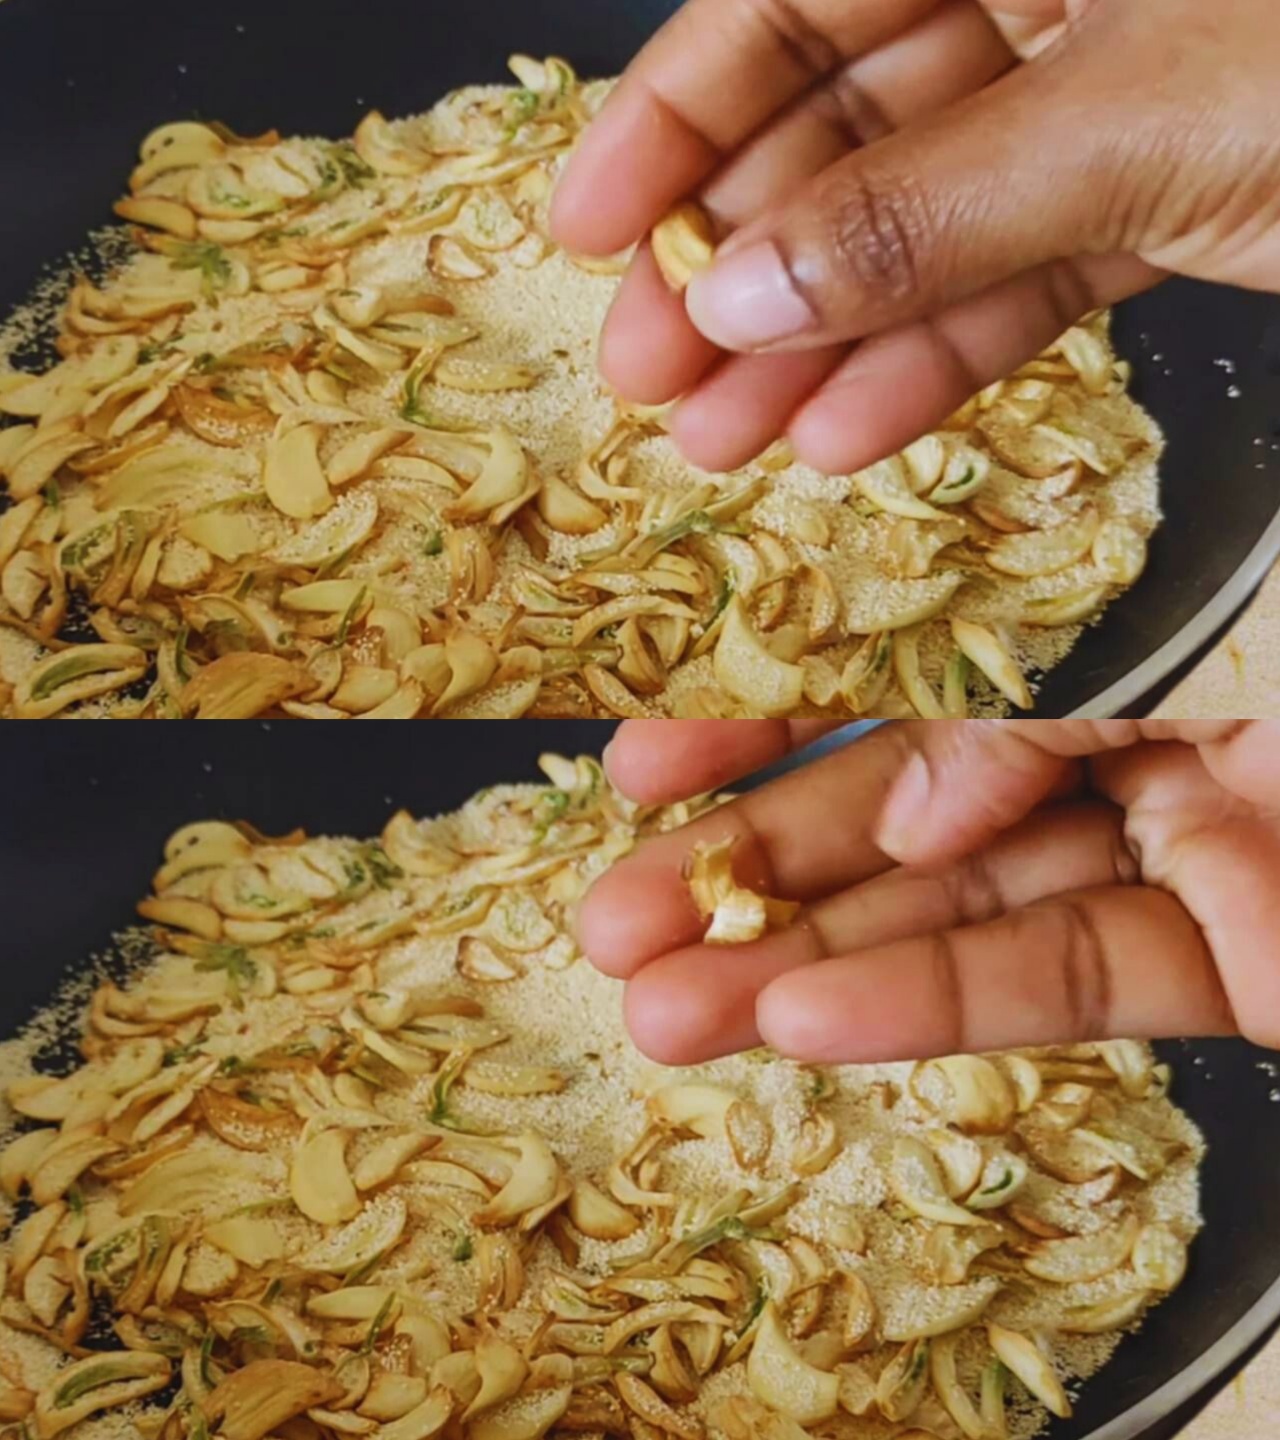
Step 5: Check them. Take one piece and break it. They must be dry and break easily.
Step 6: Now, take a strainer.
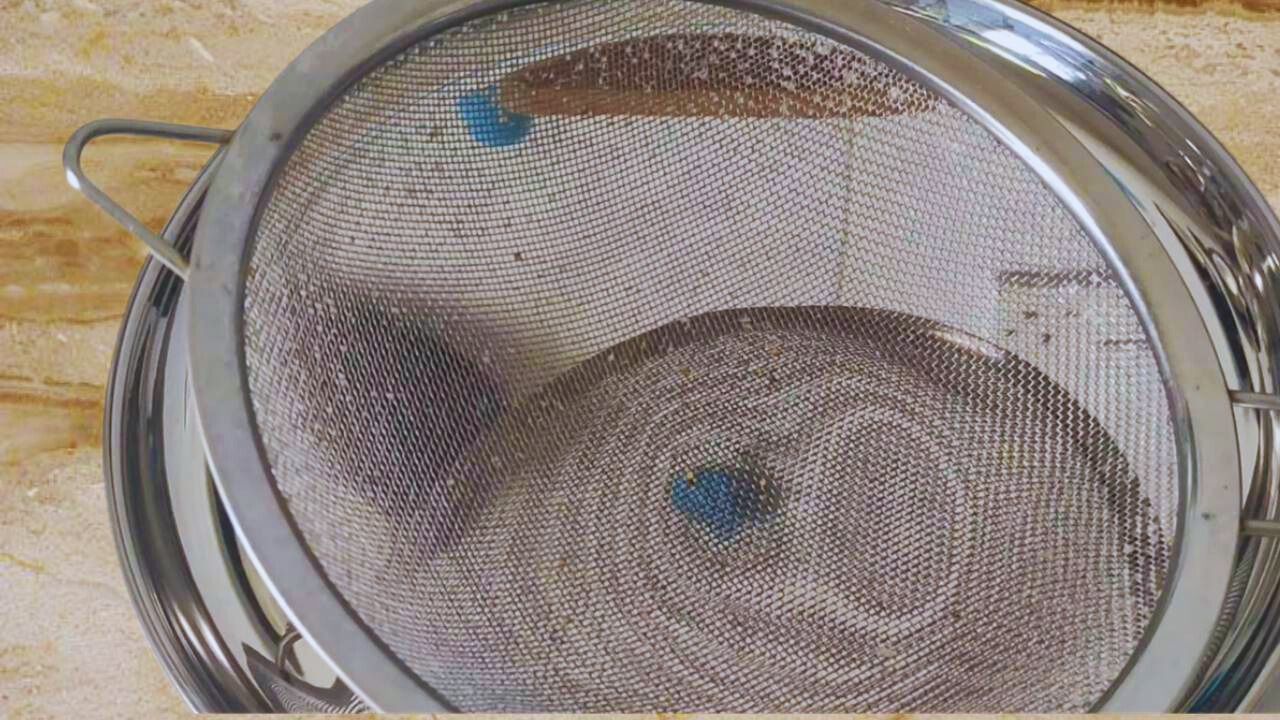
Step 7: Transfer the roasted garlic cloves along with the semolina to the strainer.
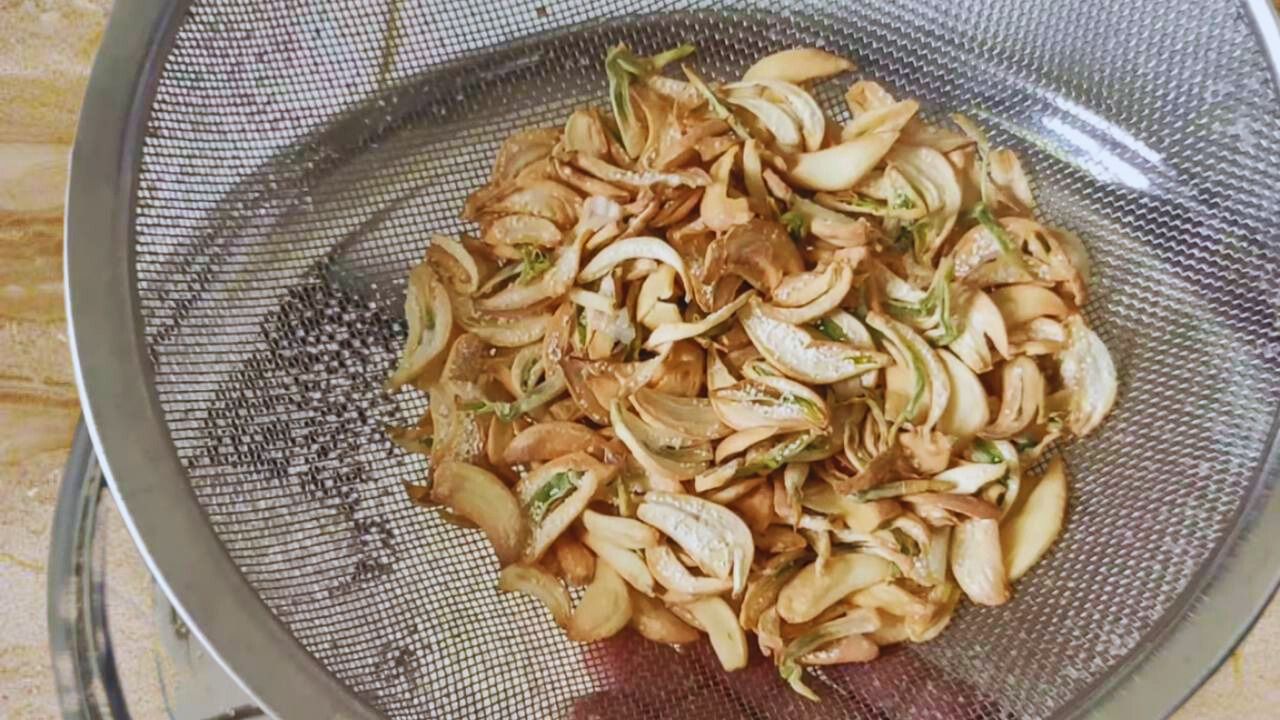
Step 8: Separate the semolina from the garlic cloves. Use your hands to rub and separate the semolina sticking to the garlic cloves. Ignore the few remaining in it.
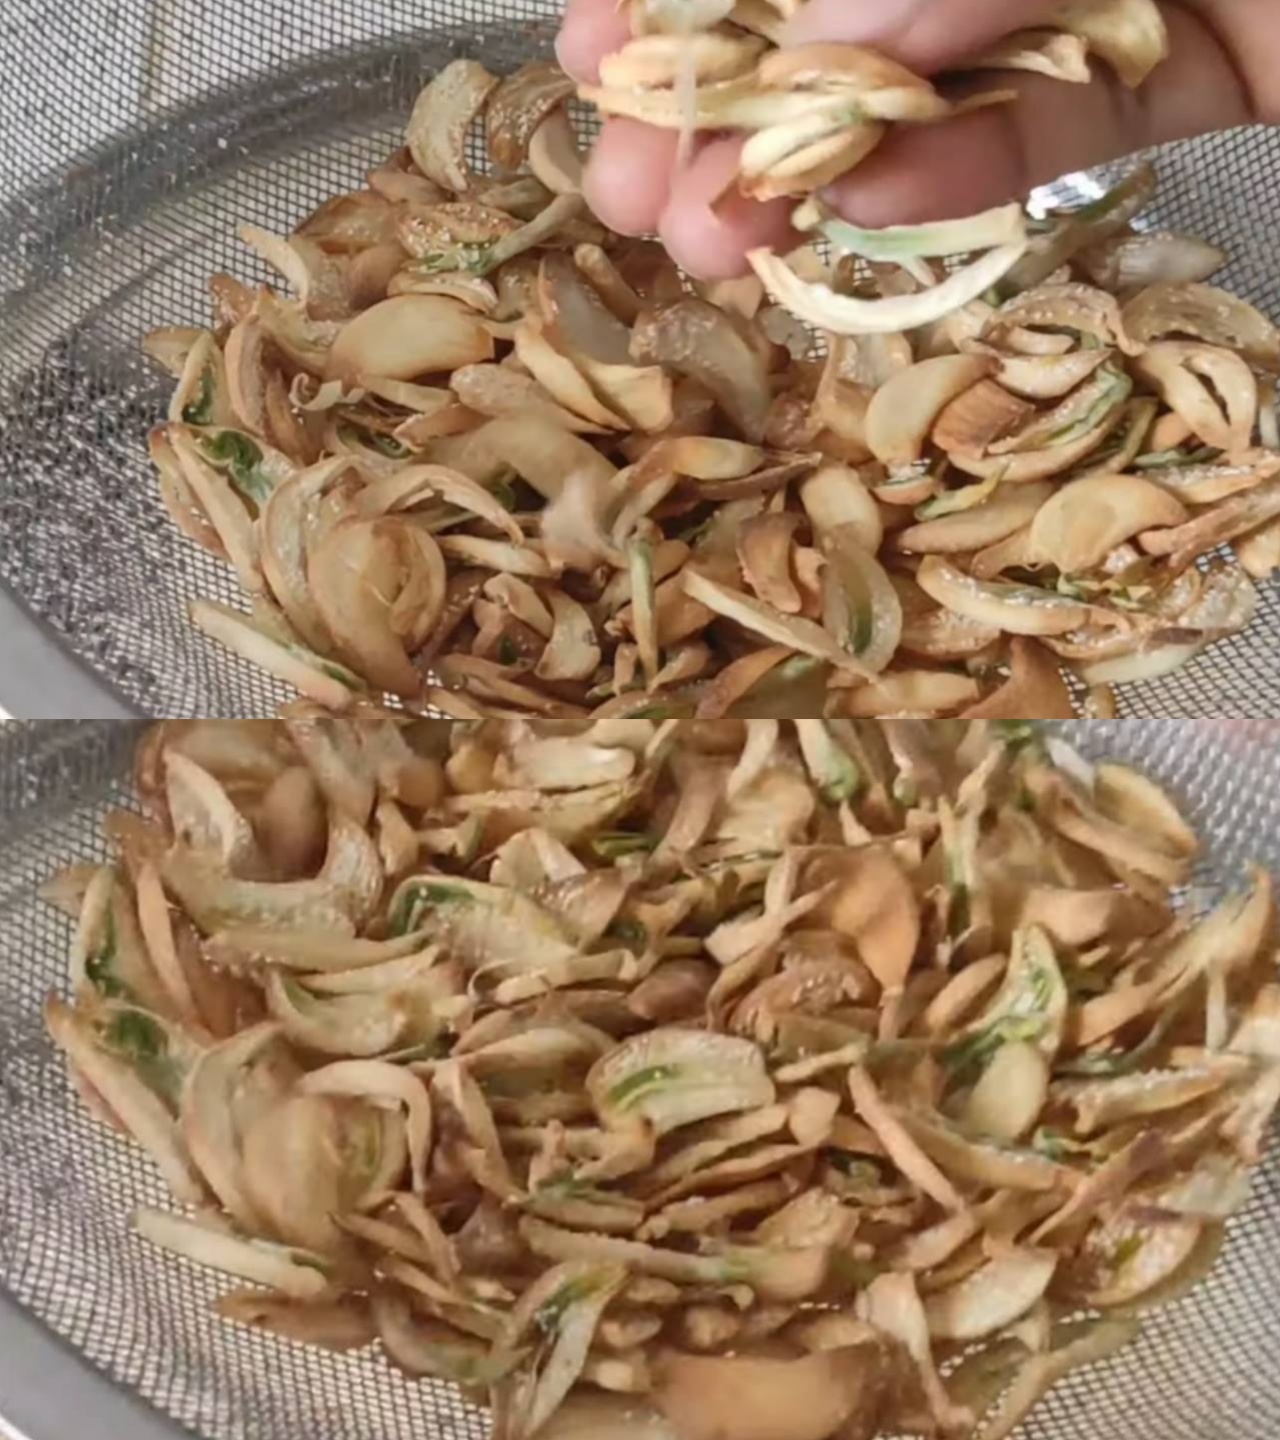
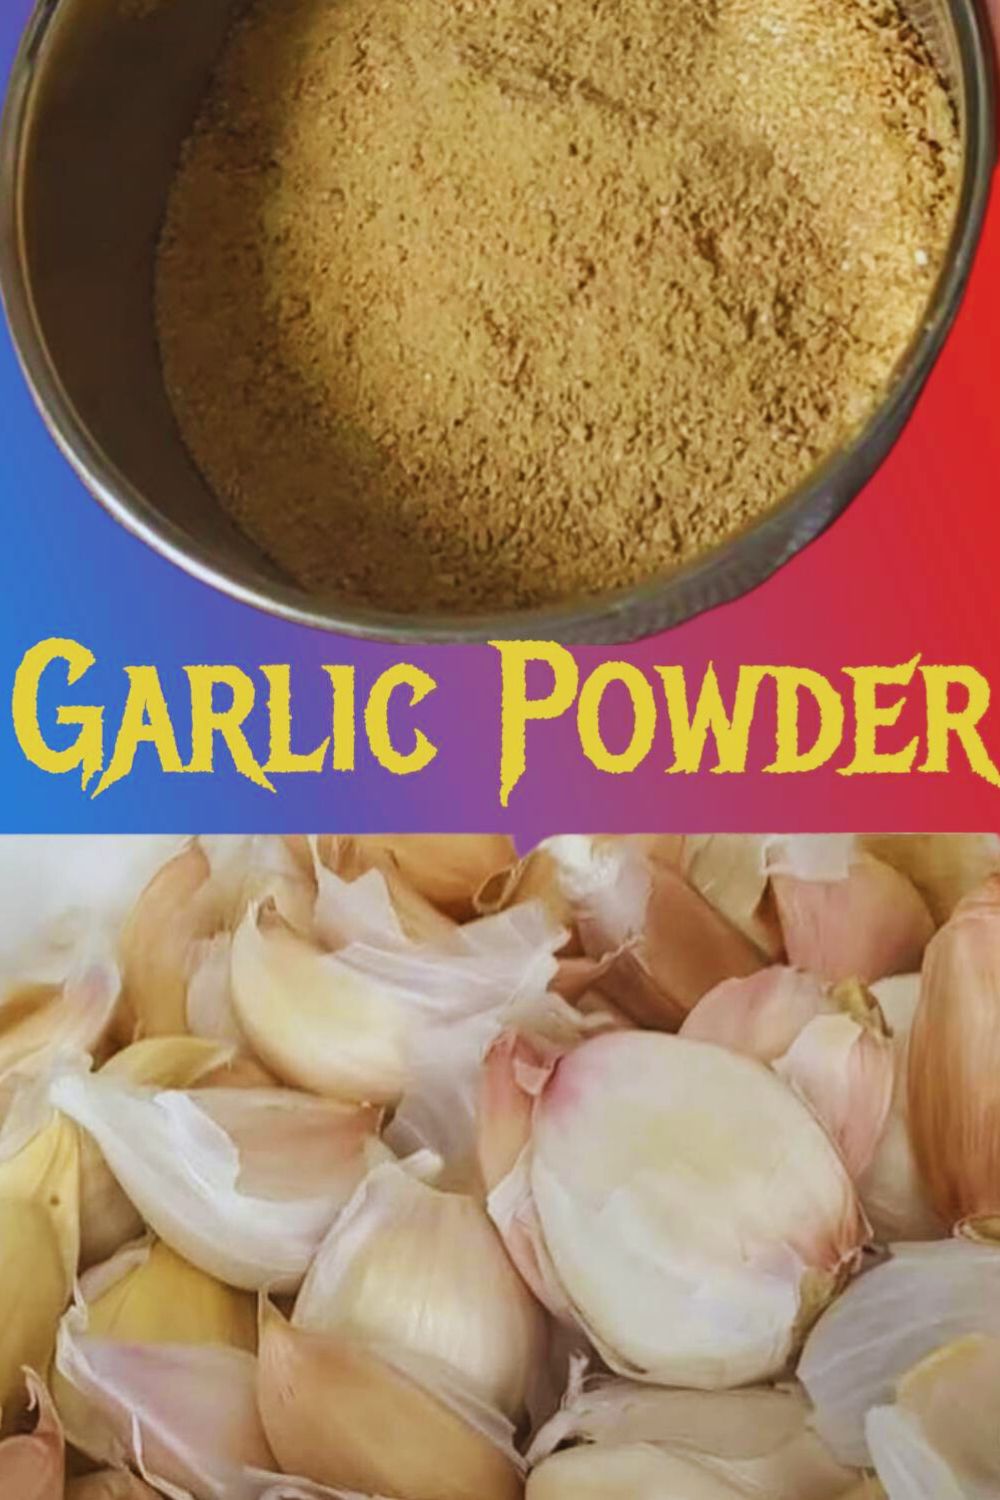
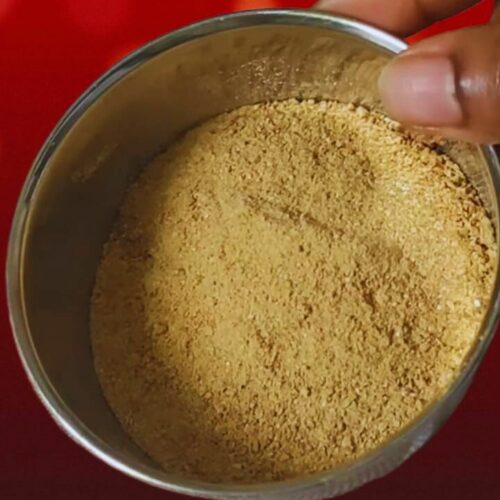
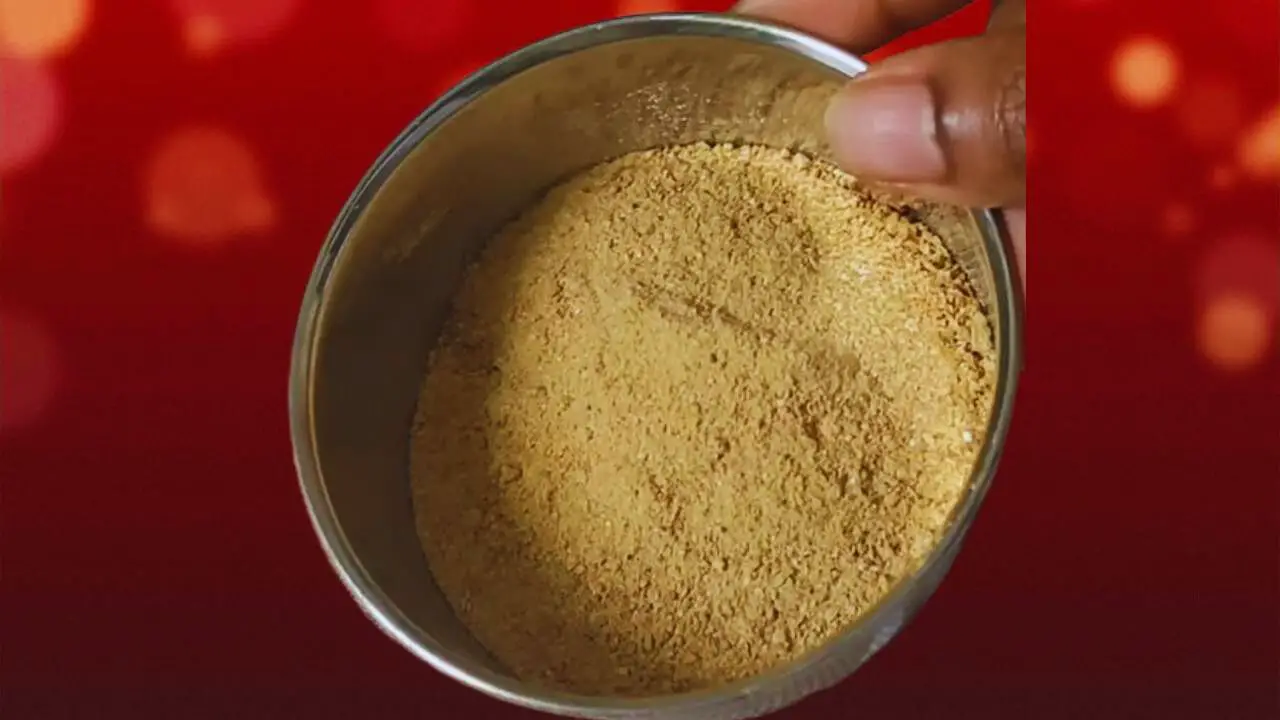
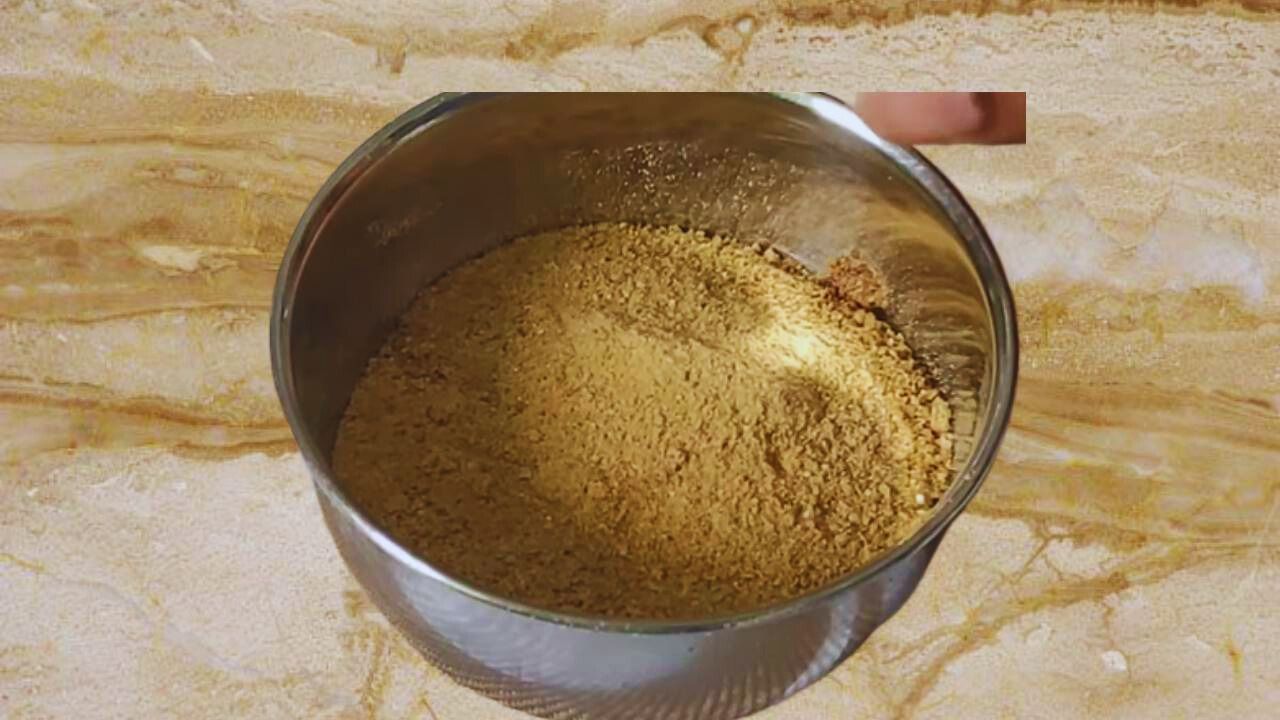
Step 9: Now, take a clean and dry grinder, grind the garlic cloves to a smooth powder, transfer it to a bowl, and your homemade garlic powder is ready to be used in a variety of dishes and curries.
Pro Tips for Making Garlic Powder
Slice Uniformly: Ensure even slicing of garlic cloves for consistent roasting and a uniform powder texture, enhancing flavor distribution.
Mindful Roasting: Keep a close eye on the roasting process; aim for a gentle golden-brown color to avoid bitterness and maintain a balanced flavor profile.
Semolina Savvy: While optional, adding semolina helps prevent burnt garlic and accelerates moisture loss. Adjust the quantity based on your desired texture and moisture content.
Patient Stirring: Stir continuously during roasting for 15 to 20 minutes. Patience in this step ensures crispy, aromatic cloves are ready for grinding.
Check for Dryness: Before grinding, break a piece of roasted garlic. It should be dry and break easily, ensuring the longevity of the powder and preserving its potent flavor.
Effective Straining: Use a strainer to separate semolina from garlic cloves efficiently. A quick rub with your hands ensures pure garlic goodness without any lingering semolina.
Garlic Powder Storing Tips
Airtight Containers: Store your homemade garlic powder in airtight containers to prevent exposure to air, which can compromise its freshness and flavor.
Cool, Dark Place: Keep the garlic powder in a cool, dark place, away from direct sunlight. This helps maintain its potency and prevents degradation due to light exposure.
Moisture-Free Environment: Avoid moisture exposure by ensuring the container is completely dry before storing the garlic powder. Moisture can lead to clumping and a loss of flavor.
Temperature Control: Maintain a consistent storage temperature. Fluctuations in temperature can affect the quality of the garlic powder, so store it in a cool and stable environment.
Avoid Proximity to Heat Sources: Keep the garlic powder away from heat sources such as stovetops or ovens. Elevated temperatures can impact the flavor and shelf life of the powder.
How Does Garlic Powder Taste?
Garlic powder boasts a robust and concentrated flavor, encapsulating the essence of fresh garlic in a convenient, shelf-stable form.
Its taste is pungent, savory, and slightly sweet, offering a versatile addition to various culinary creations.
The powder seamlessly infuses dishes with the distinct, aromatic richness of garlic, enhancing the overall depth and complexity of flavors in everything from soups and sauces to roasted vegetables and marinades.
Garlic Powder Alternatives
If you’re looking for alternatives to garlic powder, there are several options you can consider, depending on the flavor profile you’re aiming for. Here are some alternatives:
Fresh Garlic: Substitute minced or finely chopped fresh garlic for garlic powder. Use about 1 clove of garlic for every 1/8 teaspoon of garlic powder.
Garlic Salt: Be cautious with this option, as garlic salt contains both garlic and salt. Adjust the amount of regular salt in your recipe accordingly.
Granulated Garlic: Similar to garlic powder but has a coarser texture. You can use it as a 1:1 replacement for garlic powder.
Garlic Paste: Mix minced fresh garlic with a small amount of water or oil to create a paste. Use it as a substitute for garlic powder, adjusting the quantity to taste.
What Dishes Can Garlic Powder be Used in?
Curries and Sauces: Add a sprinkle of garlic powder to your sauces and curries for an extra layer of savory goodness.
Roasted Vegetables: Elevate the flavor of roasted vegetables, such as potatoes, broccoli, or cauliflower, by incorporating garlic powder during the cooking process.
Marinades and Grilled Meats: Create flavorful marinades for meats, poultry, or tofu by including garlic powder along with other herbs and spices. Rub the powder while grilling meats, imparting a delicious garlic flavor to the charred exterior.
Salad Dressings: Enhance the taste of your salad dressings with a dash of garlic powder for a subtle yet impactful garlic undertone.
Soups and Stews: Add depth to soups and stews with garlic powder, providing a rich and aromatic base for your hearty dishes.
Bread and Rolls: Incorporate garlic powder into the dough of homemade bread or rolls for a tasty and aromatic twist.
Dips and Spreads: Mix garlic powder into dips and spreads, such as hummus or yogurt-based sauces, to bring out a robust garlic taste.
Popcorn Seasoning: Sprinkle garlic powder over popcorn for a savory and addictive snack.
Egg Dishes: Enhance the flavor of omelets, scrambled eggs, or frittatas by incorporating garlic powder into the egg mixture.
Recipe Card
Garlic Powder
Ingredients
- 1 cup Garlic
- 1 cup Semolina (optional)
Instructions
- Start by heating a frying pan on low flame on your gas stove. Once it's hot, add 1 cup of thinly sliced garlic cloves.
- Stir the garlic continuously for about 2 minutes until they turn a light golden-brown color.
- Optional - Add 1 cup of semolina to the pan and stir continuously.
- After 15 to 20 minutes of stirring, your garlic cloves should be nicely roasted, crispy, and slightly brown.
- Check the garlic by breaking a piece; it should be dry and break easily.
- Use a strainer.
- Transfer the roasted garlic cloves with semolina to the strainer.
- Separate the semolina from the garlic by rubbing them with your hands. Don't worry about a few bits remaining.
- Take a clean, dry grinder, and grind the garlic cloves into a smooth powder. Transfer it to a bowl, and your homemade garlic powder is ready for use in various dishes and curries.
Notes
Nutrition Info (Estimation Only)
Conclusion
In conclusion, crafting your own garlic powder unlocks a world of savory possibilities, allowing you to tailor the intensity to your liking.
With simple steps, pro tips, and effective storage, enjoy the gratifying journey of enhancing your dishes with this versatile homemade seasoning.