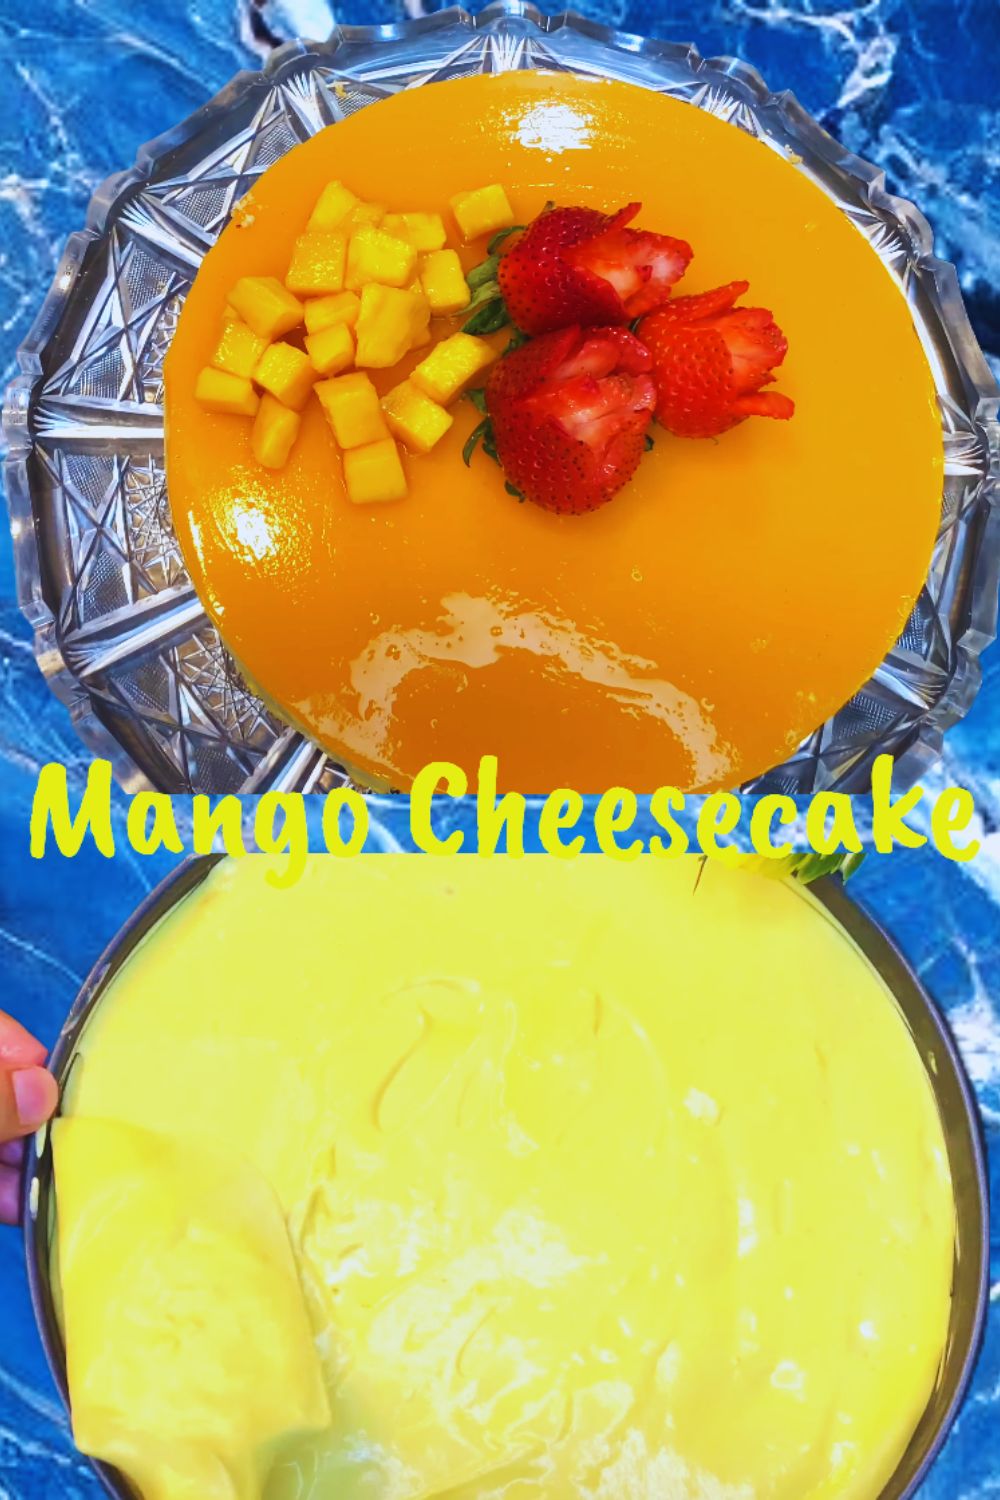
No bake mango cheesecake was not really on my plan. It just happened because I did not want to pick between two desserts I loved just the same. One weekend I was craving both mango and cheesecake, and I kept thinking, why choose at all? I went ahead and made them as one instead of choosing a side. The first slice settled it all. That soft and sweet mango pulp mixed with a cool creamy base and then the crunch came in and did that tie-it-together thing. After a few tries adjusting the ratios a little, everything finally clicked. Now it is the dessert my family asks for again and again instead of a plain regular cheesecake.
Why Love This Recipe?
- No baking needed, each bite still feels unmistakably like mango, just dressed up in cheesecake form.
- I serve mine cold right from the fridge, slice it thin with a warm knife, then add one more mango piece on top for that real touch.
- Most of the effort happens in 25 minutes, and after that it’s basically only letting everything set in the fridge overnight.
- If you are fond of fusion sweets and want the magic of Indian sweets, I would strongly recommend you try rasmalai cheesecake, gulab jamun tiramisu, or mango kulfi cheesecake.
The Ingredients:
For the filling:
- 2 cups mango pulp
- 500 grams cream cheese
- 1 cup sugar
- 1 tsp vanilla essence
- 2 cups fresh cream
- 20 grams gelatine (or 10 grams agar-agar for a vegetarian version, dissolved in hot water/milk)
- ½ cup water
- ½ cup mangos (cut into small pieces)
For the crust:
- 250 grams digestive biscuits
- ¼ cup unsalted butter
For the additional layer:
- 10 grams gelatine
- ¼ cup water
- 1 cup mango pulp
- 1 tbsp sugar
For decoration:
- Mangos (a few, cut into small pieces)
- Strawberries (a few)
How to Make No Bake Mango Cheesecake? (Step by Step Guide with Photos)
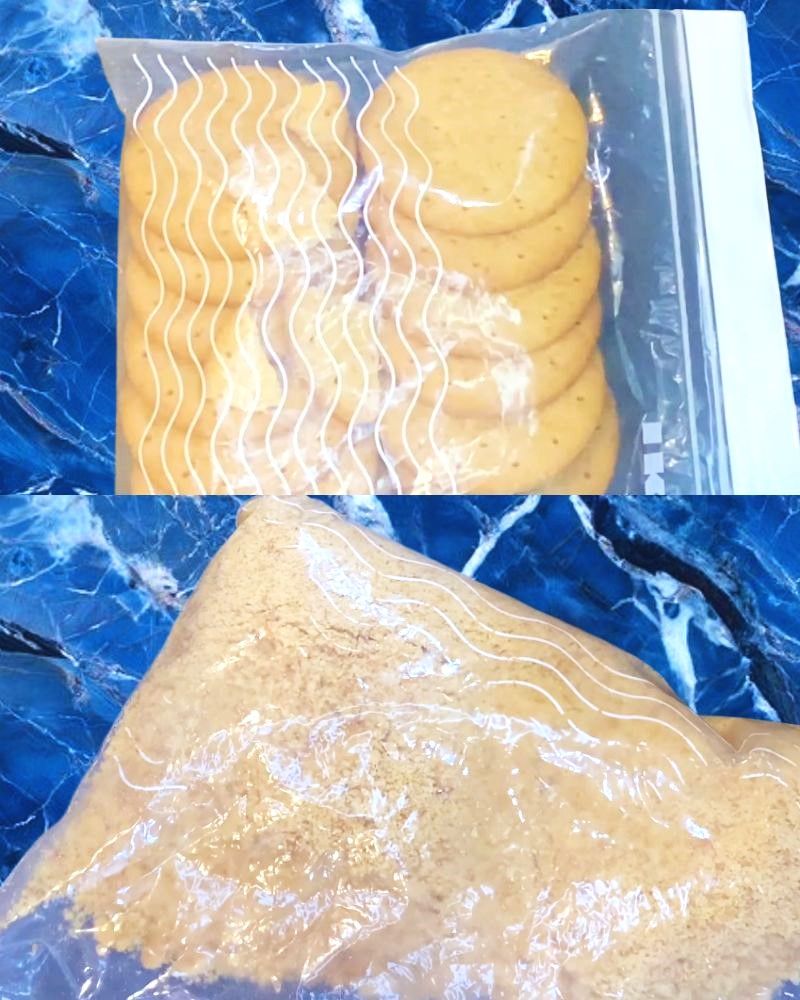
Step 1: Take 250 grams of digestive biscuits in a Ziplock bag and crush them coarsely.
Step 2: Mix ¼ cup of unsalted butter with the ground biscuit crumbs. Spread the mixture evenly in a spring-form loose bottom tin pan, about 8 to 9 inches in size, and refrigerate for an hour to set till we make the filling.
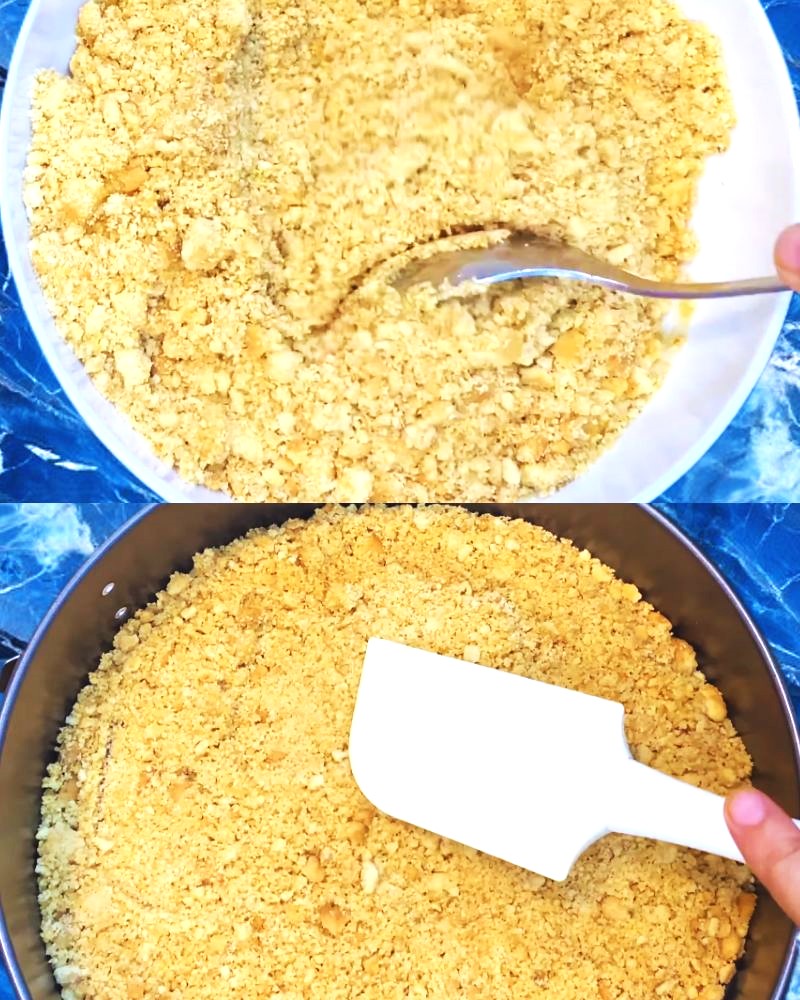
(Pro tip: You can use the back of a measuring cup or a glass to press the mixture. Press well to make it tight and even. I did not do it once and the crust came apart).
Step 3: Soak 20 grams of gelatine in ½ cup of water for 5 minutes to bloom and then microwave it for about 15 seconds or until it melts completely.
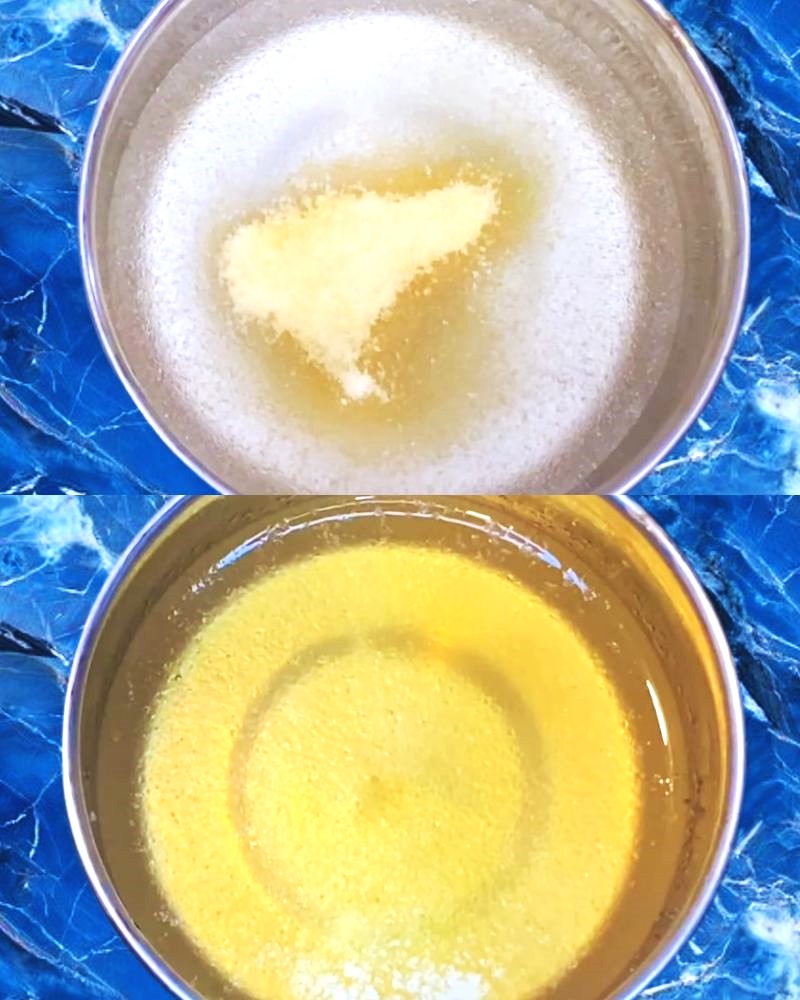
(Pro tip: Watch the gelatine closely in the microwave because overheating will reduce gelling ability and underheating may cause lumps. I have had a soft filling once due to overheating the gelatine. Set it at medium power. Take it out the moment it turns fully clear with no grainy bits. 15 seconds is a guideline, not a rule, since microwaves vary).
Step 4: Whip 500 grams of cream cheese till it softens. Add ½ a cup of sugar and mix again.
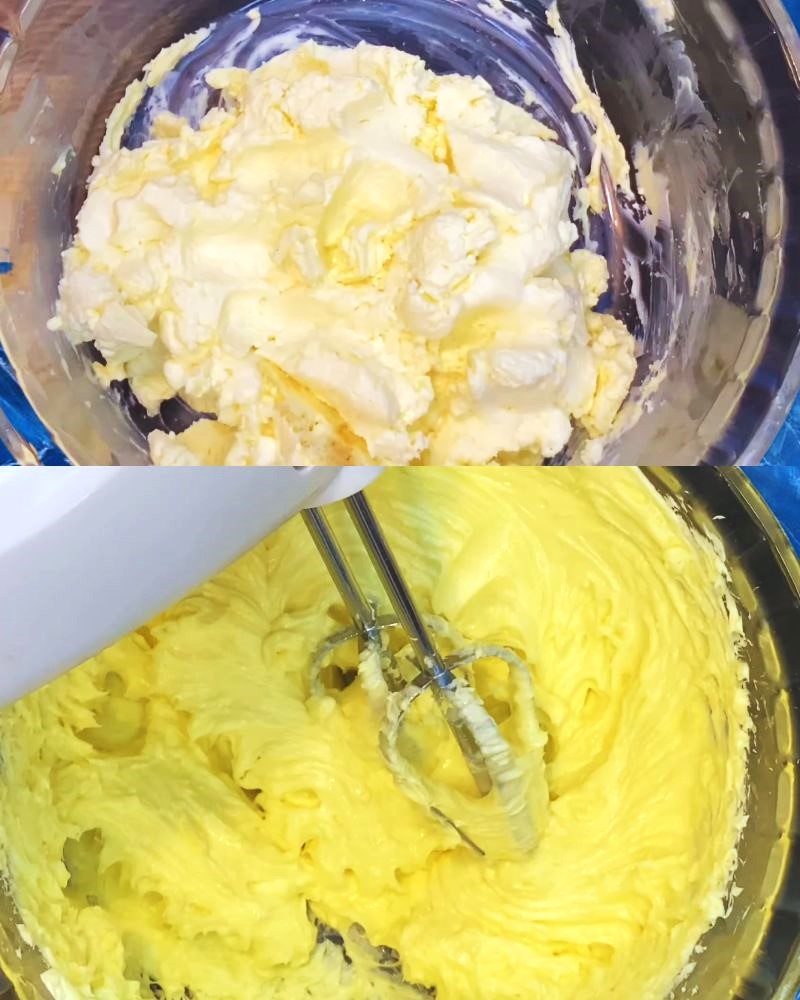
(Pro tip: I use a hand blender and whip it intermittently. It provides best results).
Step 5: Add 2 cups of mango pulp, 1 tsp vanilla essence and mix nicely again. Then mix the gelatine.
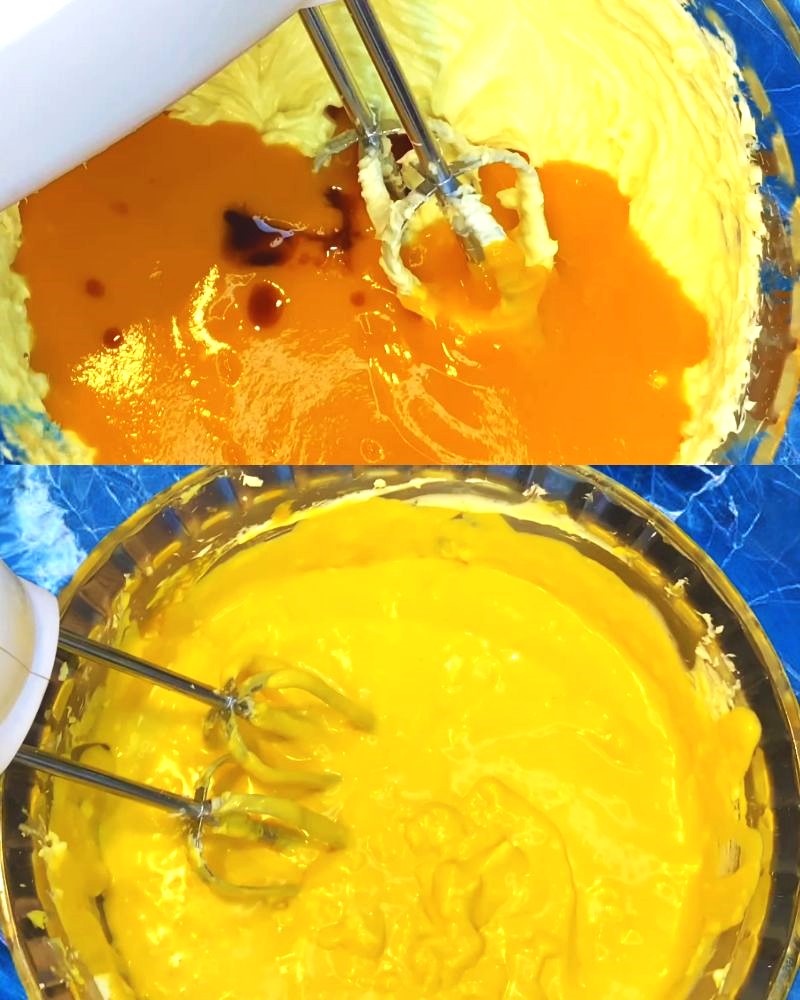
(Pro tip: If the gelatine becomes too thick, warm it a bit, cool down and then mix it. Hot gelatine mixed with cold filling will create lumps).
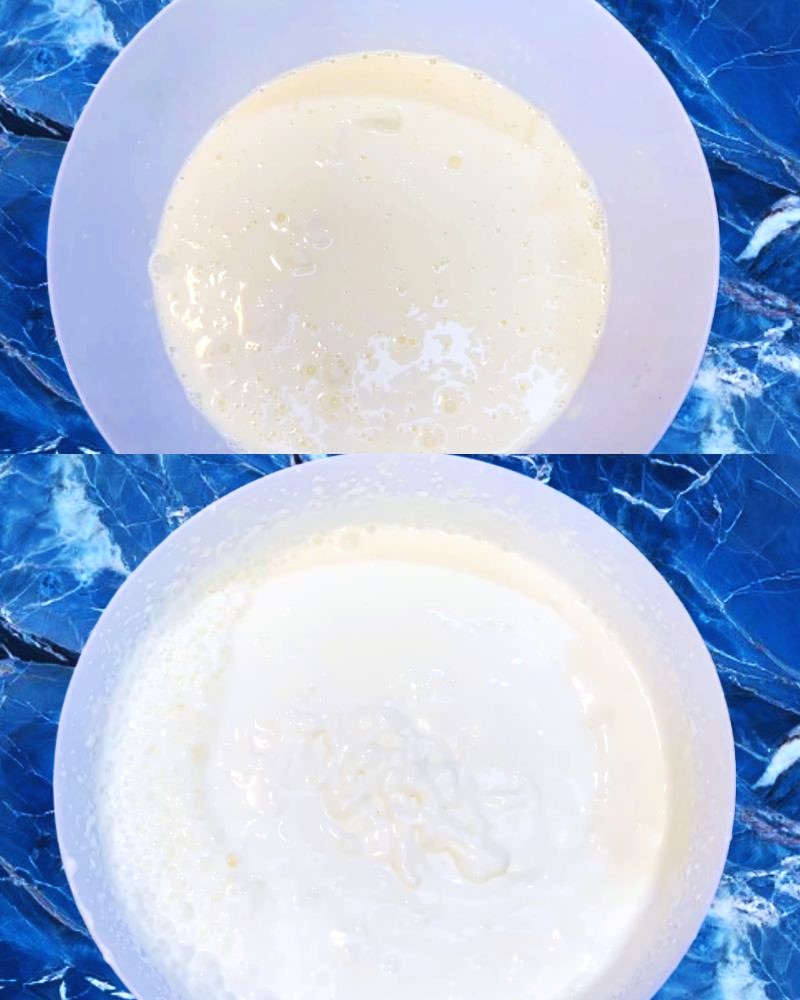
Step 6: Beat 2 cups of fresh cream until it peaks and becomes frothy. Add the remaining sugar and mix until it is soft and smooth.
Step 7: Add it to the cream cheese mixture gradually in batches. Fold it gently. Check the consistency.
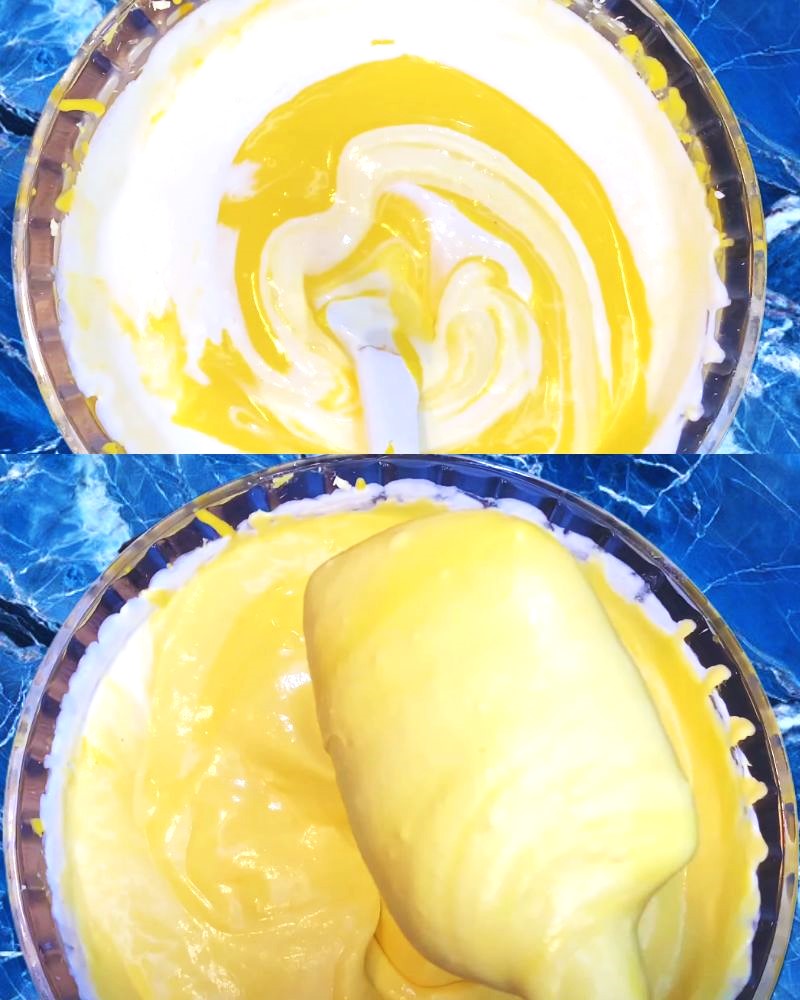
(Pro tip: Don’t stir but fold everything gently at this stage. I know it’s tempting to mix fast for a smooth look, but overmixing knocks the air out and the set cheesecake ends up dense instead of light and mousse-like).
Step 8: Add ½ cup of small pieces of mangos. Mix nicely and transfer it ground biscuit base.
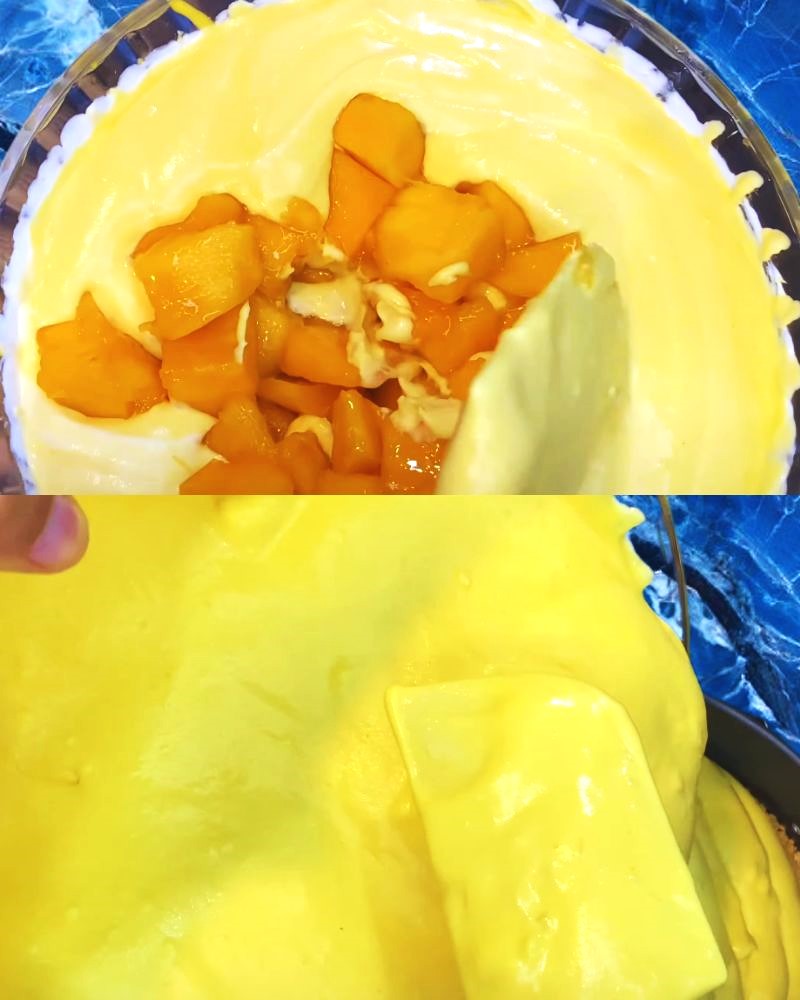
(Pro tip: If any filling is left, store it in the fridge. It will be fine for 2/3 days).
Step 9: Smoothen the sides with a spatula. Tap it a bit. Keep it in the refrigerator for 5 to 6 hours or overnight until it sets.
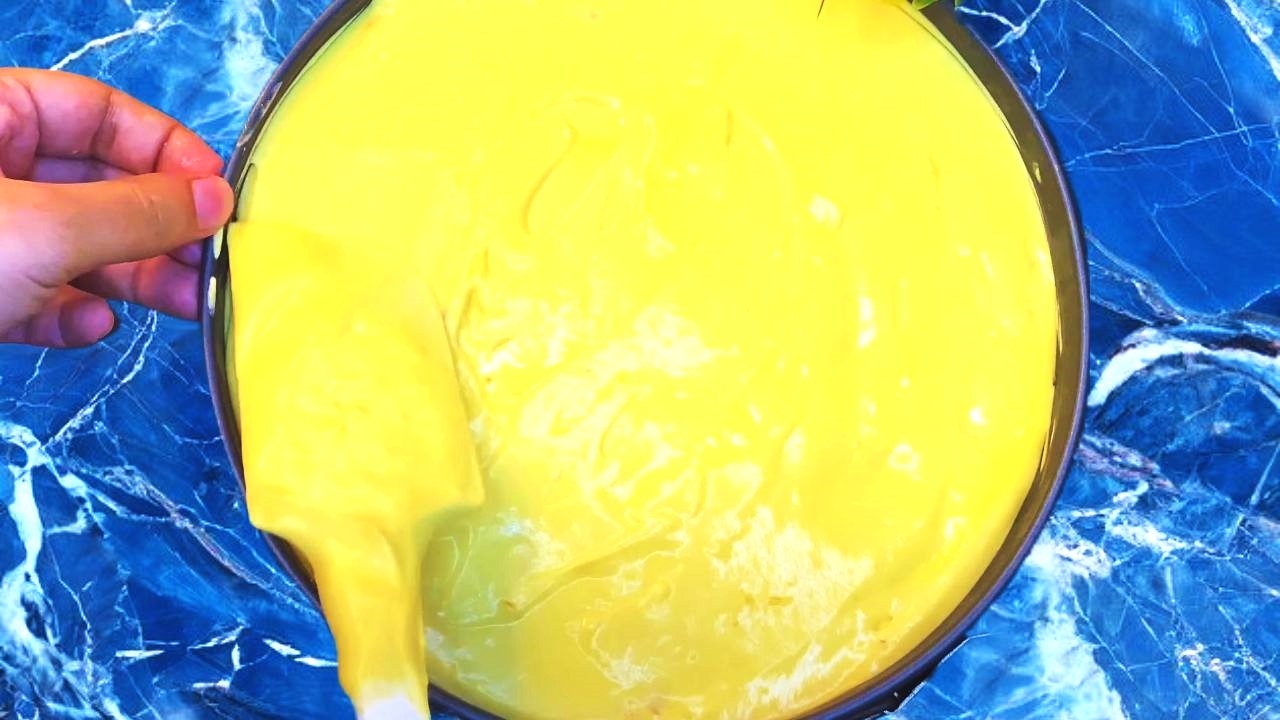
Step 10: Make a gelatine mixture like before, now with 10 grams of gelatine in ¼ cup of water. Let it set, heat it and then add it to 1 cup of mango pulp along with 1 tbsp of sugar. Mix nicely. Add it to the cake and refrigerate again to set properly.
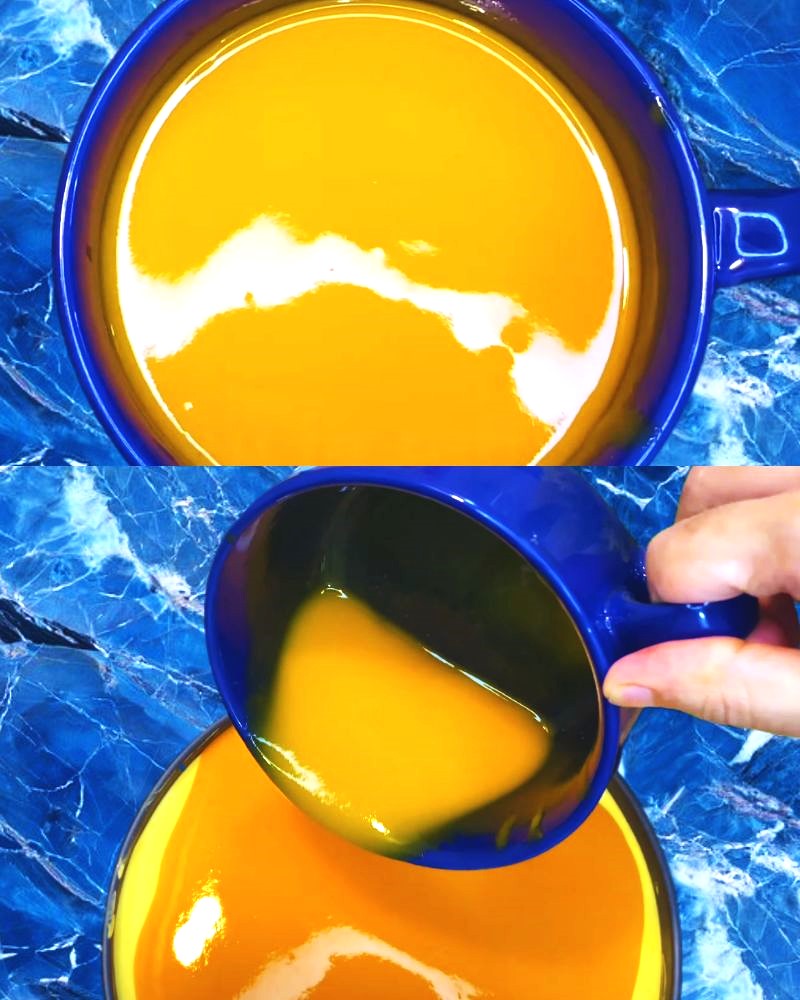
(Pro tip: If it looks thin or watery, you may need slightly more gelatine to set properly).
Step 11: Apply hot towel on the sides, remove the spring clip and the cake carefully.
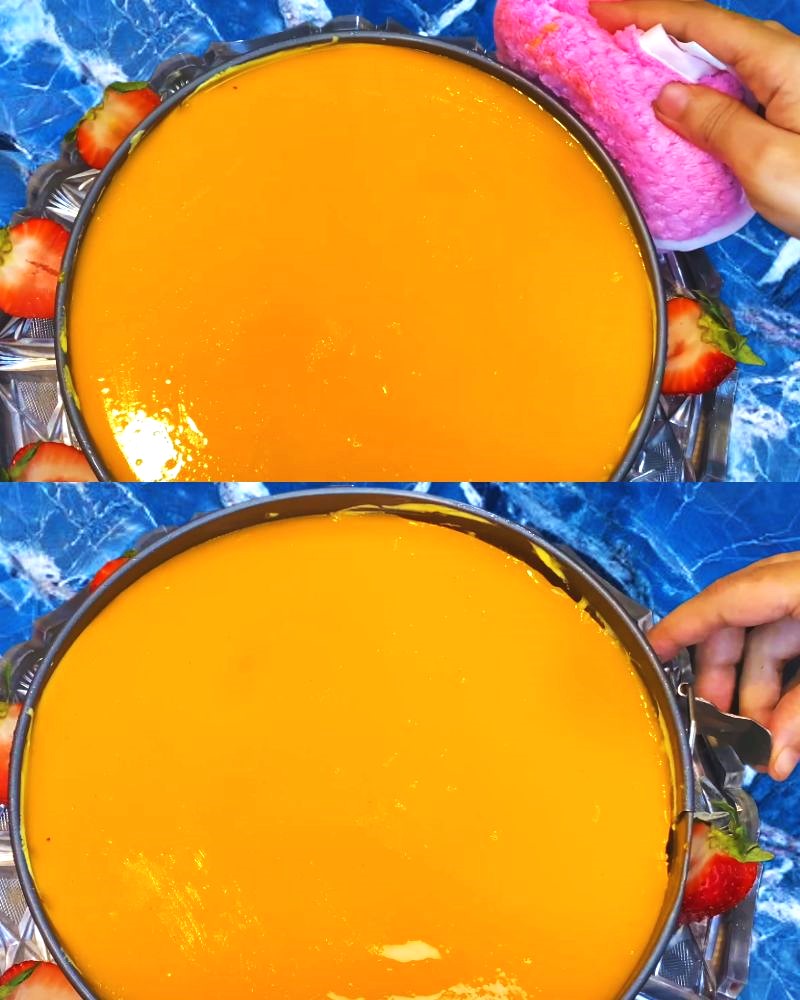
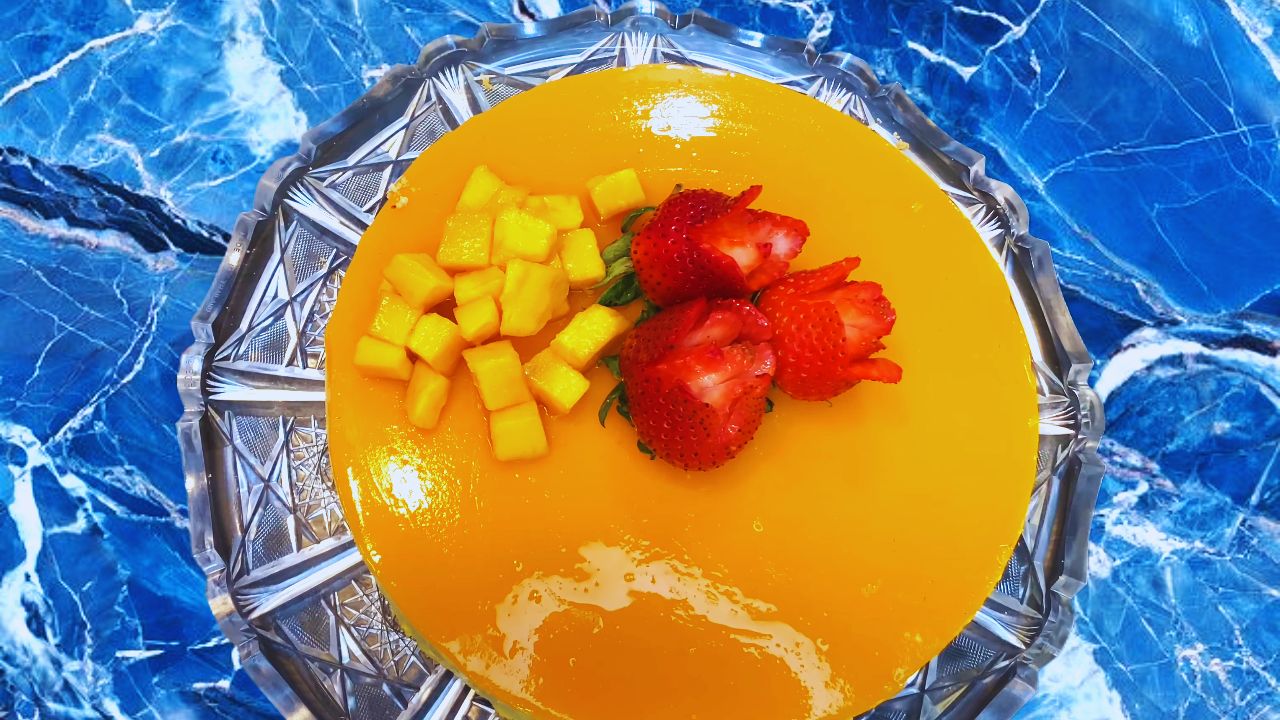
Step 12: Decorate it with a few small pieces of mangos and strawberries. Your sweet and delicious no bake mango cheesecake is ready. Serve cold.
Different Ways to Make It
If you want a more unique fruity experience, swap the vanilla essence for strawberry flavor. I did that once and it felt as good.
I once made a rasmalai version in the summer by mixing a cup of flavored rasmalai milk and placing a few rasmalai pieces in step 9. It was so good that I almost couldn’t bring myself to cut it.
To make it less rich and heavy, you could use half hung curd and half cream cheese in step 4. It is good too, but not as overly sweet and offers a slight tangy twist.
In another variation I have used a mixture of crushed pistachios, almonds and cashews instead of the biscuits for the crust and it was also very good and nuttier.
My chocolate loving family members prefer cocoa biscuits to digestives, and this is also a good option, contrasting nicely with the sweet filling.
No Bake Mango Cheesecake Recipe Quick Fixes
My crust keeps crumbling in every slice. What am I doing wrong?
Next time, press the biscuit mixture much harder right up the sides too, as I did in Step 2. Also, chill it nicely before adding the filling.
The filling looks grainy not silky. Is it still okay to eat?
Yes, it is safe, but that texture usually shows the cream cheese got only partial mixing in Step 4. Beat it longer next time, like I do.
What if I don’t have 5-6 hours and need it to set faster?
I’d avoid this if I could. However, if you have to, just pop it in the freezer for about 2 hours instead, but make sure you serve it that same day.
Can I store this cheesecake?
Yes, you can store it in the fridge for 2/3 days. In fact, it is best enjoyed cold.
Recipe Card
No Bake Mango Cheesecake
Ingredients
For the filling:
- 2 cups mango pulp
- 500 grams cream cheese
- 1 cup sugar
- 1 tsp vanilla essence
- 2 cups fresh cream
- 20 grams gelatine or 10 grams agar-agar for a vegetarian version, dissolved in hot water/milk
- ½ cup water
- ½ cup mangos cut into small pieces
For the crust:
- 250 grams digestive biscuits
- ¼ cup unsalted butter
For the additional layer:
- 10 grams gelatine
- ¼ cup water
- 1 cup mango pulp
- 1 tbsp sugar
For decoration:
- Mangos a few, cut into small pieces
- Strawberries a few
Instructions
- Take 250 grams of digestive biscuits in a Ziplock bag and crush them coarsely.
- Mix ¼ cup of unsalted butter with the ground biscuit crumbs. Spread the mixture evenly in a spring-form loose bottom tin pan, about 8 to 9 inches in size, and refrigerate for an hour to set till we make the filling. (Pro tip: You can use the back of a measuring cup or a glass to press the mixture. Press well to make it tight and even. I did not do it once and the crust came apart).
- Soak 20 grams of gelatine in ½ cup of water for 5 minutes to bloom and then microwave it for about 15 seconds or until it melts completely. (Pro tip: Watch the gelatine closely in the microwave because overheating will reduce gelling ability and underheating may cause lumps. I have had a soft filling once due to overheating the gelatine. Set it at medium power. Take it out the moment it turns fully clear with no grainy bits. 15 seconds is a guideline, not a rule, since microwaves vary).
- Whip 500 grams of cream cheese till it softens. Add ½ a cup of sugar and mix again. (Pro tip: I use a hand blender and whip it intermittently. It provides best results).
- Add 2 cups of mango pulp, 1 tsp vanilla essence and mix nicely again. Then mix the gelatine. (Pro tip: If the gelatine becomes too thick, warm it a bit, cool down and then mix it. Hot gelatine mixed with cold filling will create lumps).
- Beat 2 cups of fresh cream until it peaks and becomes frothy. Add the remaining sugar and mix until it is soft and smooth.
- Add it to the cream cheese mixture gradually in batches. Fold it gently. Check the consistency. (Pro tip: Don't stir but fold everything gently at this stage. I know it's tempting to mix fast for a smooth look, but overmixing knocks the air out and the set cheesecake ends up dense instead of light and mousse-like).
- Add ½ cup of small pieces of mangos. Mix nicely and transfer it ground biscuit base. (Pro tip: If any filling is left, store it in the fridge. It will be fine for 2/3 days).
- Smoothen the sides with a spatula. Tap it a bit. Keep it in the refrigerator for 5 to 6 hours or overnight until it sets.
- Make a gelatine mixture like before, now with 10 grams of gelatine in ¼ cup of water. Let it set, heat it and then add it to 1 cup of mango pulp along with 1 tbsp of sugar. Mix nicely. Add it to the cake and refrigerate again to set properly. (Pro tip: If it looks thin or watery, you may need slightly more gelatine to set properly).
- Apply hot towel on the sides, remove the spring clip and the cake carefully.
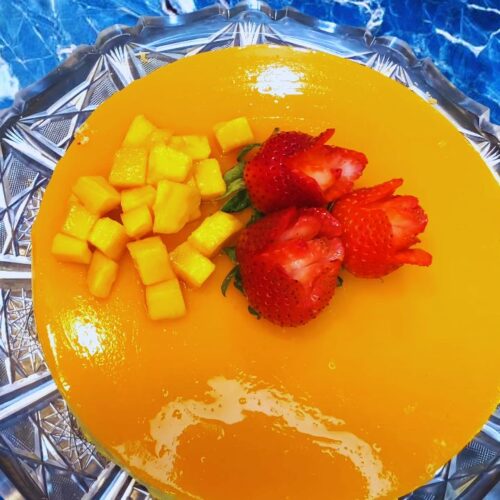
- Decorate it with a few small pieces of mangos and strawberries. Your sweet and delicious no bake mango cheesecake is ready. Serve cold.