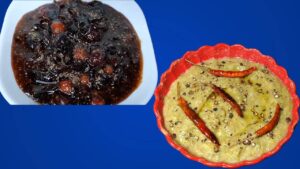
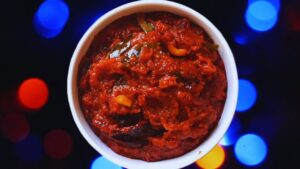
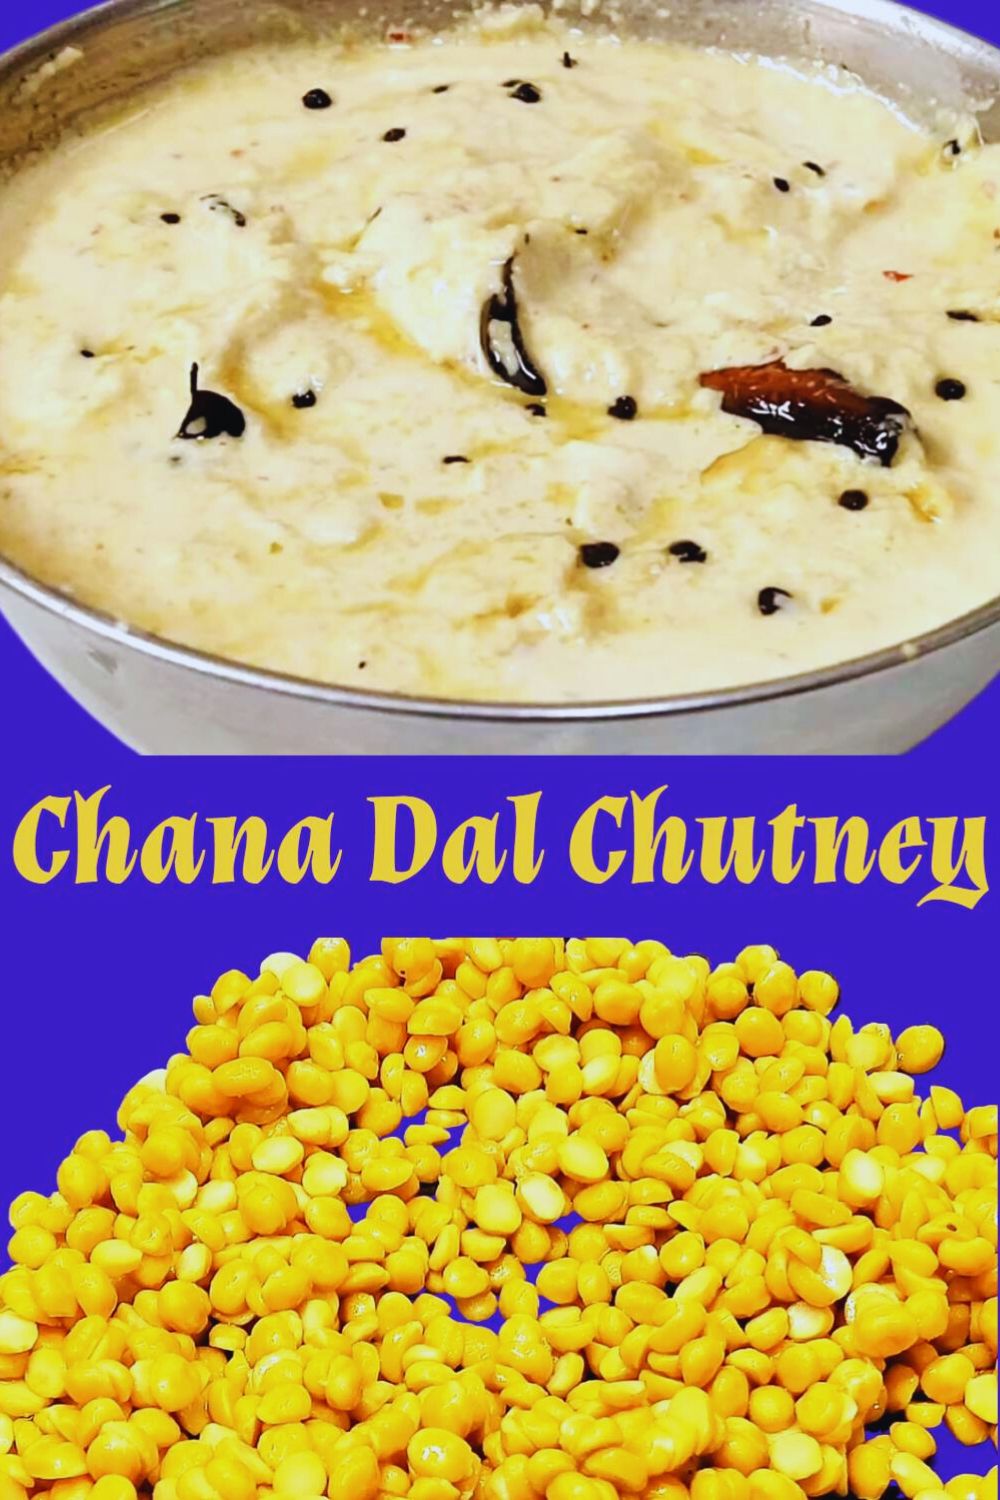
Go on board a gastronomic exploration with my chana dal chutney recipe, a harmonious fusion of split chickpea lentils, roasted peanuts, and aromatic spices.
This step-by-step guide guarantees a flawless interplay of texture and flavor, culminating in a tasteful tempering.
Captivate your taste buds and leave a lasting impression on your guests as you adeptly navigate this user-friendly recipe, bringing a delightful dimension to your dining repertoire.
KEY TAKEAWAYS
- Chana dal chutney offers a delightful blend of nutty chickpea lentils, spicy red chilies, and aromatic spices, creating a rich and flavorful condiment.
- Perfect for dosas, idlis, and rice, this chutney proves its versatility and can also add a unique twist to your favorite vegetable biryani.
- Follow the easy steps for washing, frying, and grinding to create this chutney, ensuring a seamless cooking experience.
- The addition of roasted peanuts not only enhances the texture but also introduces a satisfying crunch, elevating the overall eating pleasure.
- Keep the chutney fresh by storing it in an airtight container in the refrigerator, ensuring a quick and tasty condiment whenever you crave it.
How to Cook Chana Dal Chutney? (Step by Step Guide with Images)
Step 1: Take 1 cup of split chickpea lentils (chana dal) in a bowl, add water, and wash them nicely rubbing them thoroughly with your finger. Wash it a couple of times so that the chana dal is absolutely clean.
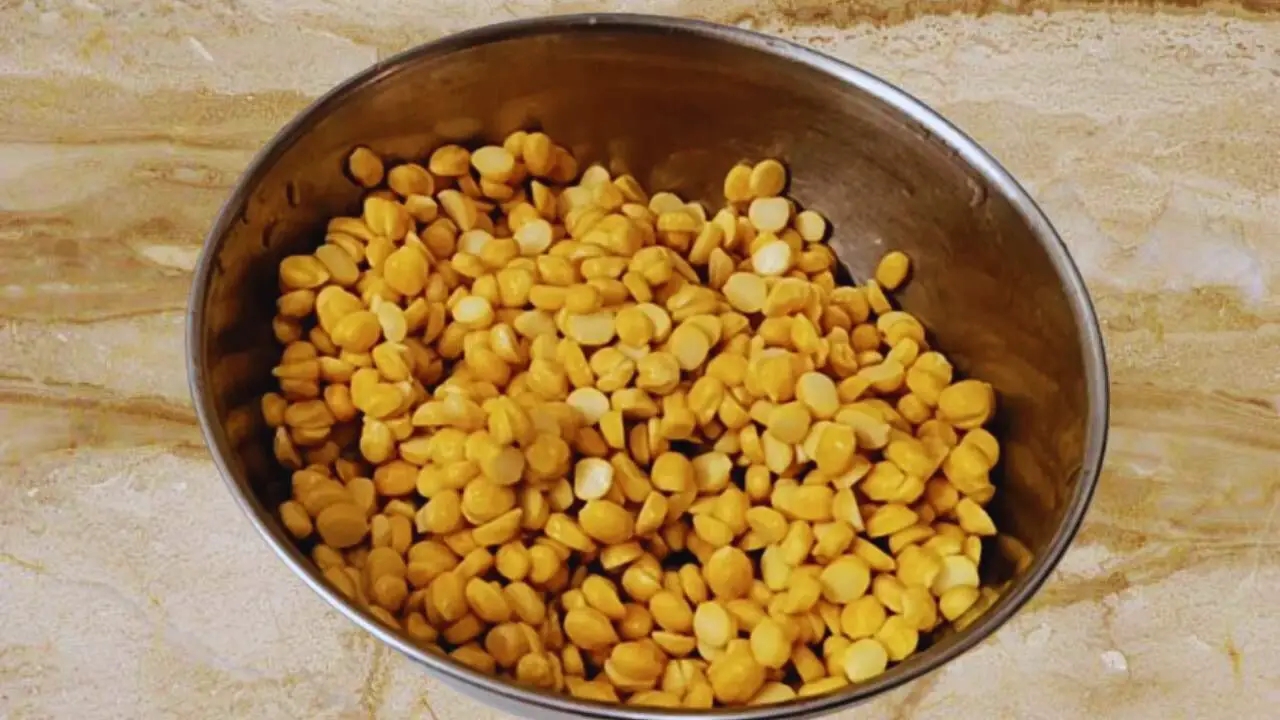
(Expert tip: It is important to wash them nicely as that will contribute to the taste and flavor of the chutney).
Step 2: Now you will need to fry the split chickpea lentils. Take a wok or a frying pan, heat it on your gas stove, and put 1 tsp of mustard oil in it.
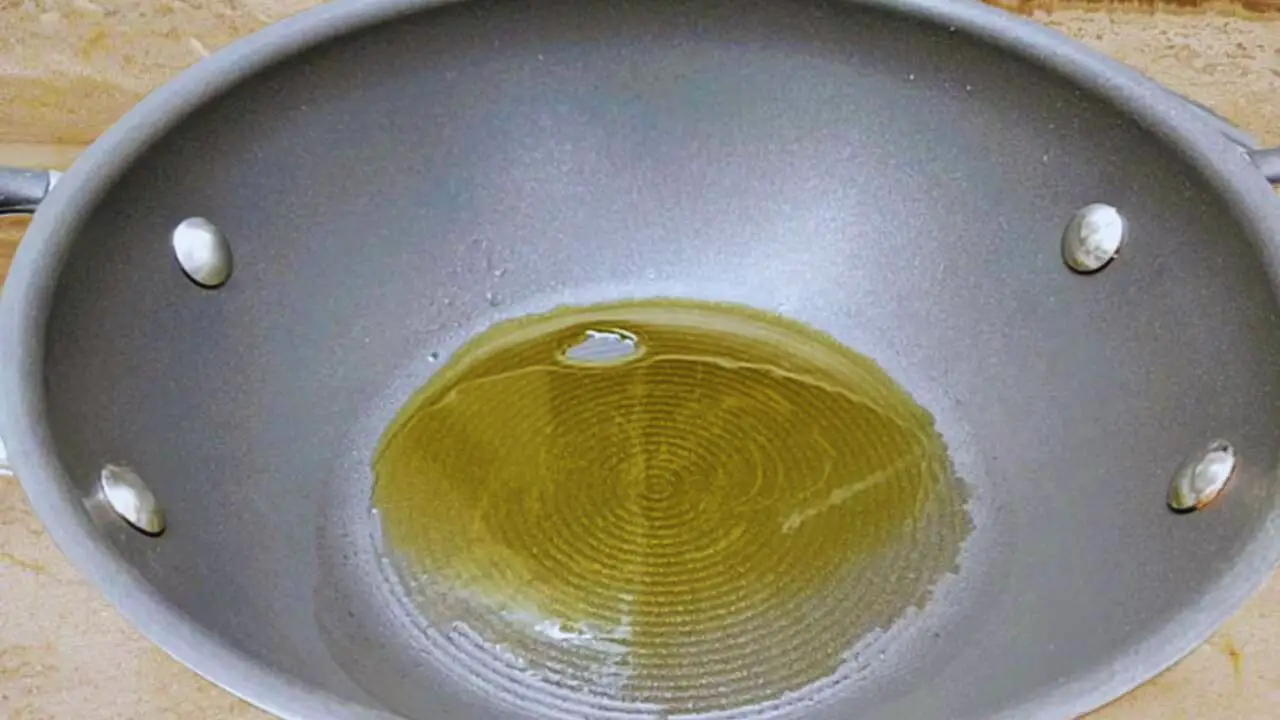
(Expert tip: You may use any other type of oil, even white oil for frying the split chickpea lentils. However, using mustard oil will enhance the taste and flavor of the chutney).
Step 3: Now, put 1 cup of washed split chickpea lentils in the wok.
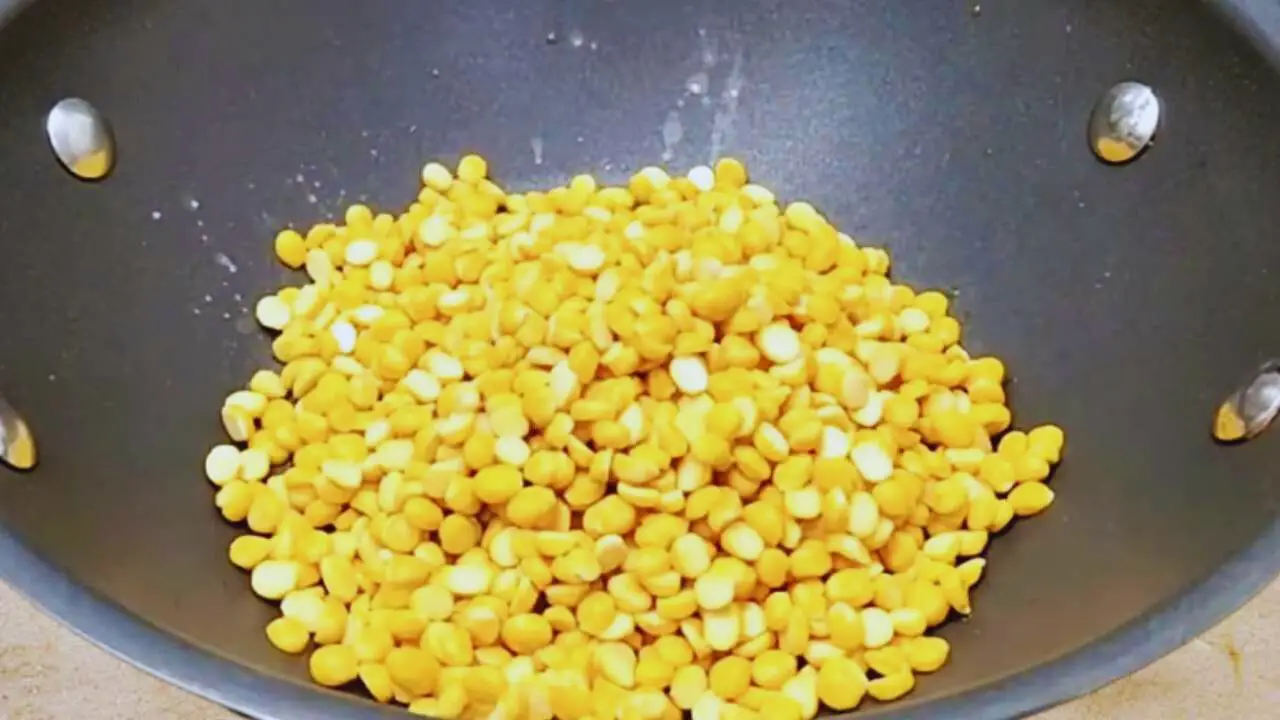
Step 4: Stir them for about 3 to 4 minutes to fry them nicely on a high flame.
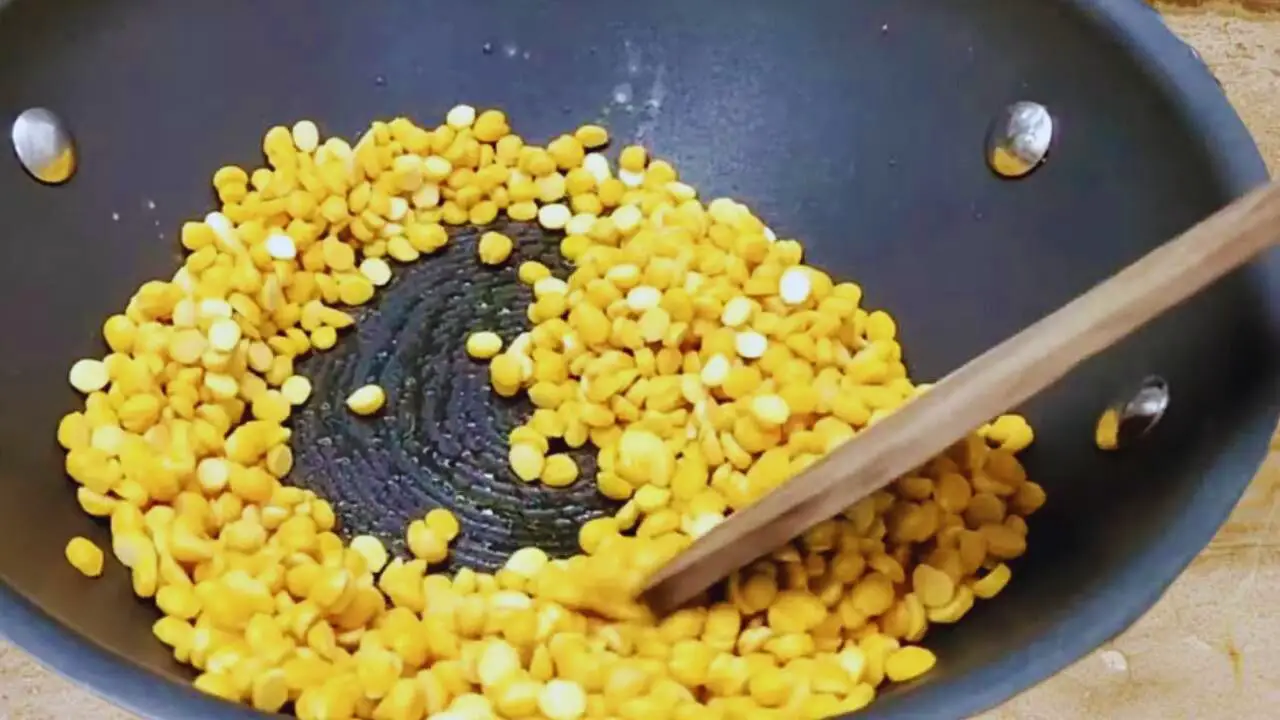
Step 5: Check it and make sure that it is dry and fried nicely.
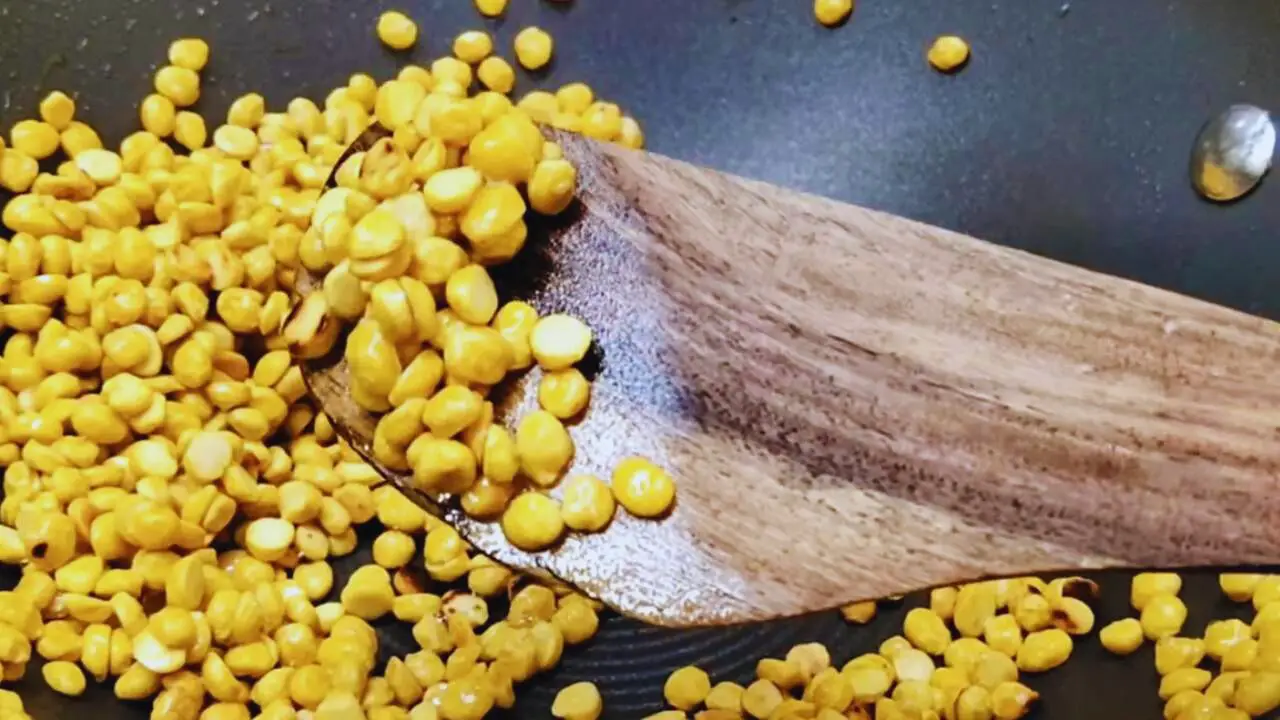
Step 6: Fry them a bit more if needed and look for a slight change in color.
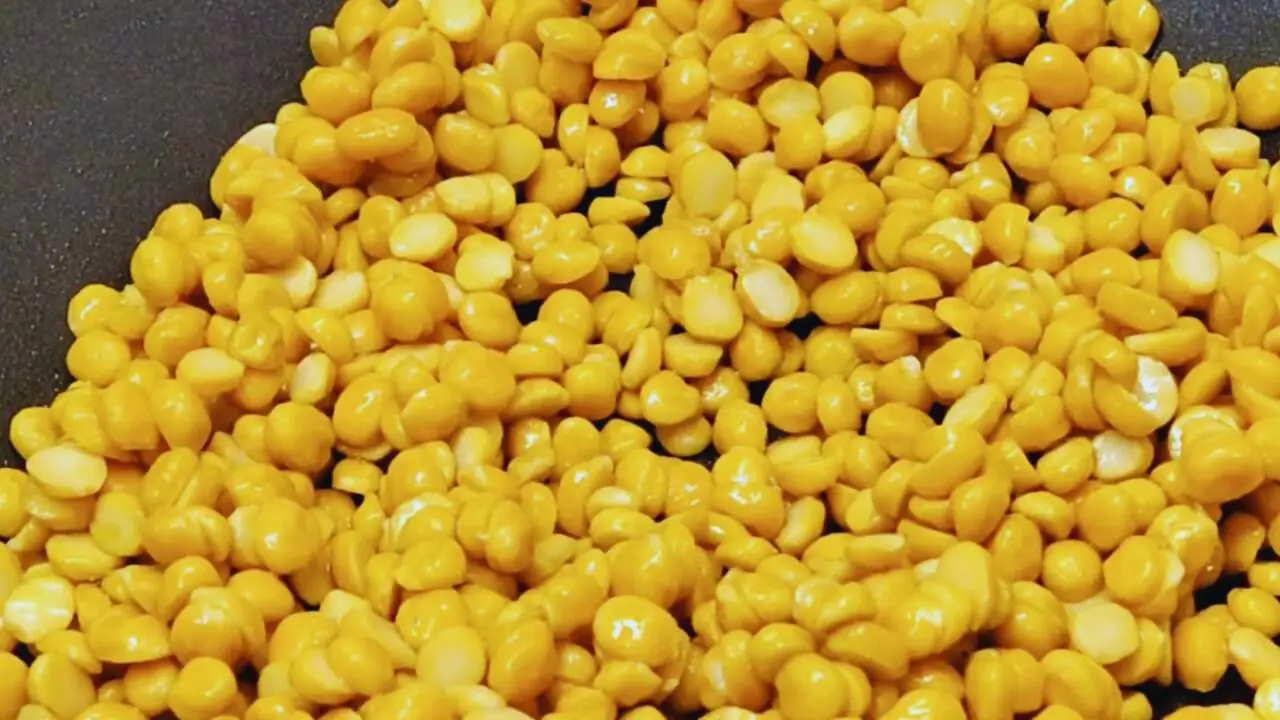
(Expert tip: Make sure that the color of the split chickpeas does not change much. Turn the flame of your gas stove off when you notice a slight change in color so that it does not get fried excessively).
Step 7: Now transfer the fried split chickpeas into a bowl.

Step 8: Now pour ½ glass of water into the bowl.
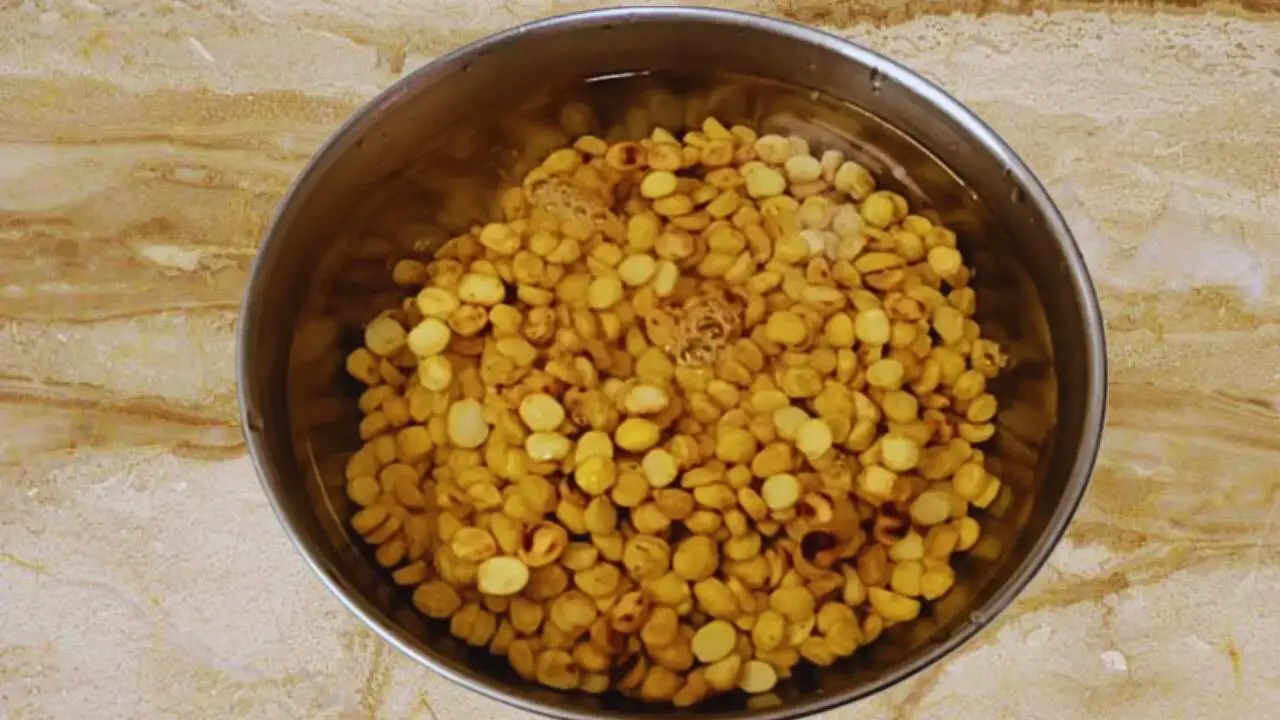
Step 9: Stir to make sure every piece is soaked nicely in water. Cover the bowl and let it sit for about 5 minutes.
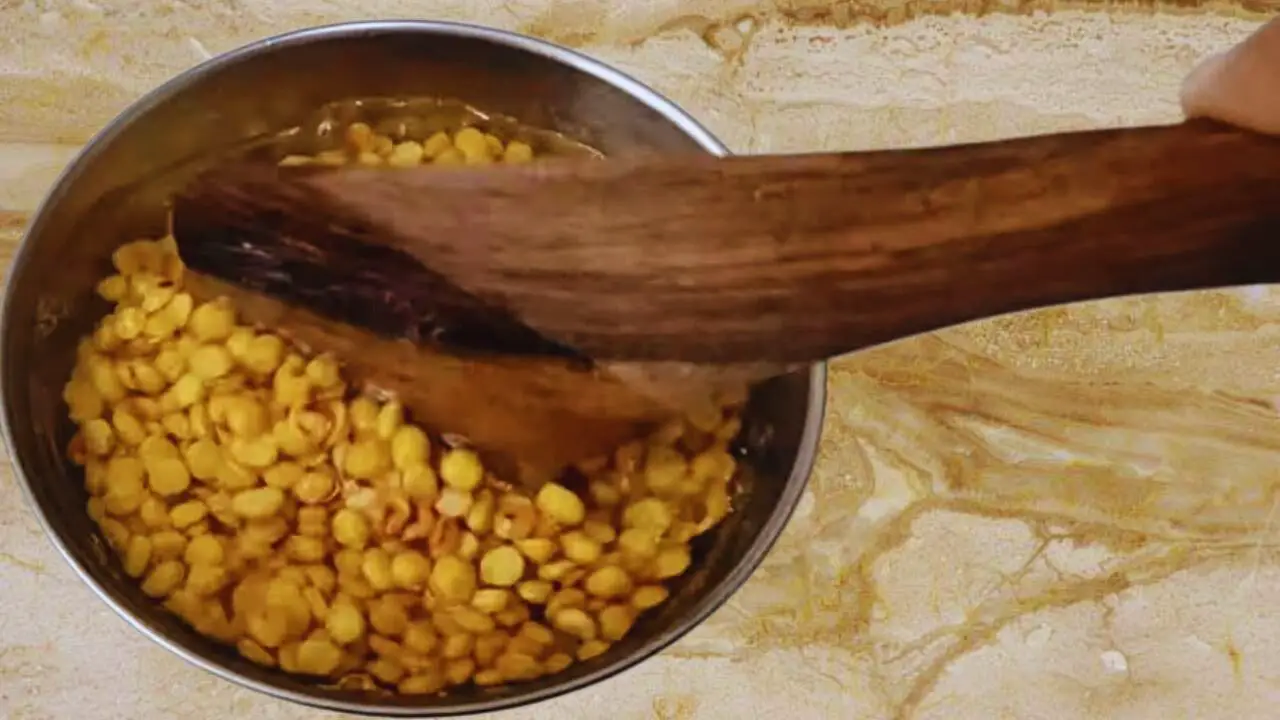
Step 10: Now, check the split chickpeas which should be swollen by now.
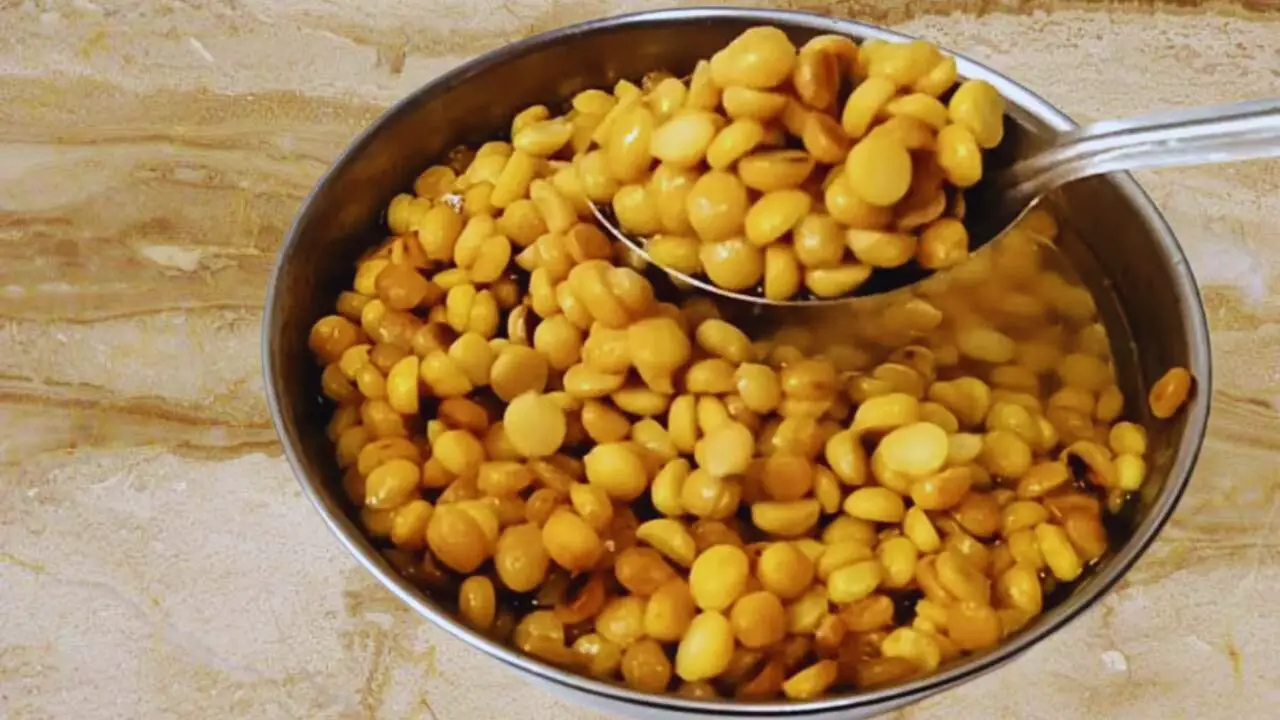
Step 11: Now, take a clean grinder.
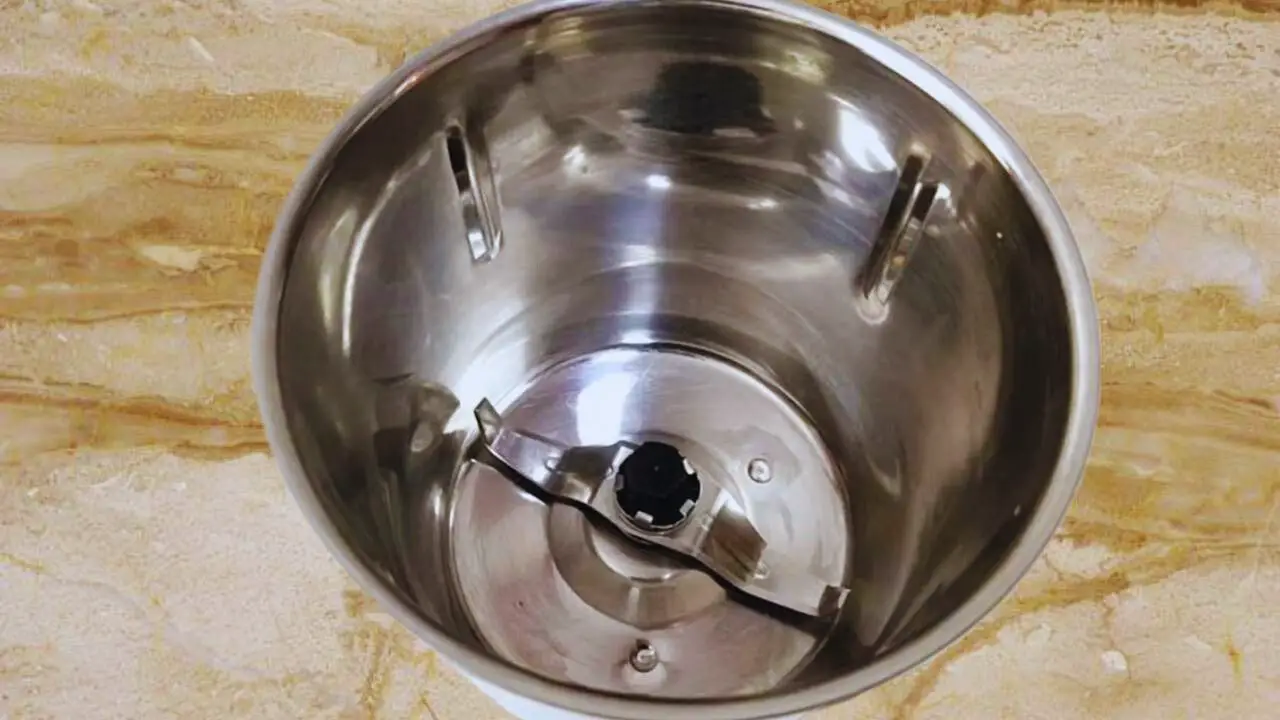
Step 12: Transfer the split chickpeas into the grinder from the bowl along with a little bit of water in which it was soaked.
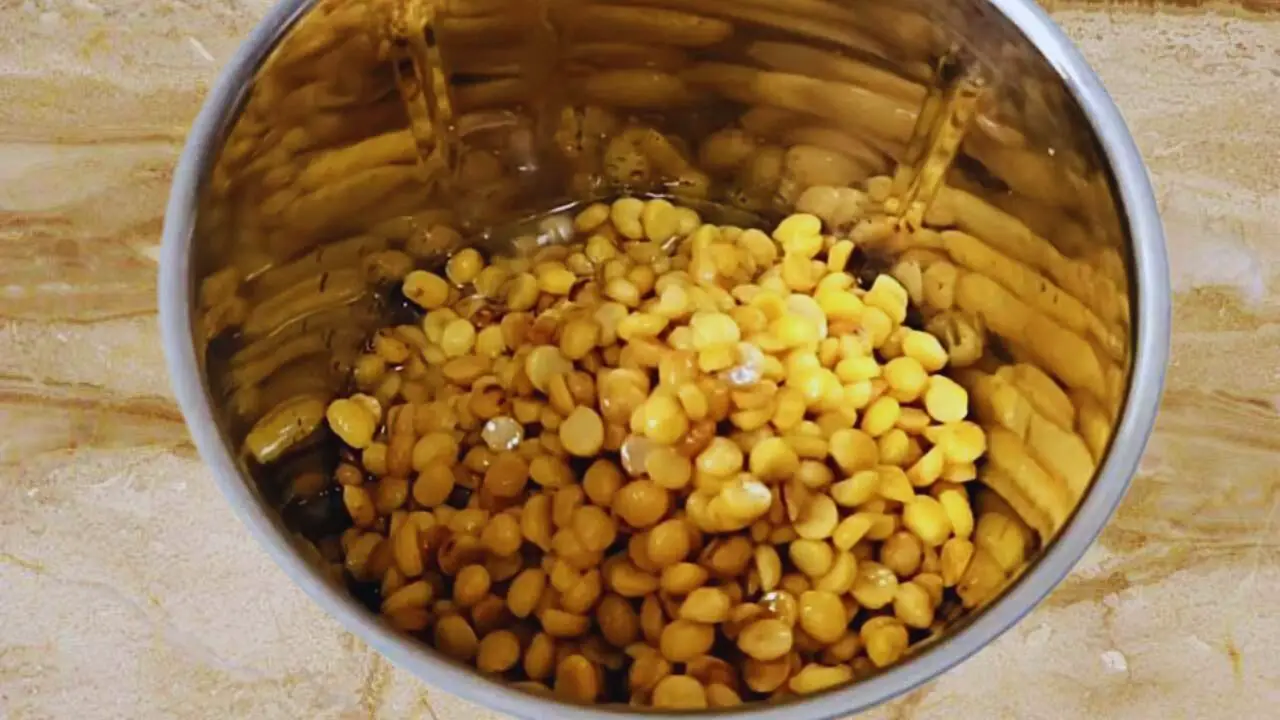
(Expert tip: Do not mind the leftover water. Keep it aside so that you can use it later on if you want to alter the consistency of the chutney).
Step 13: Now add 10 garlic cloves to the content in the grinder.
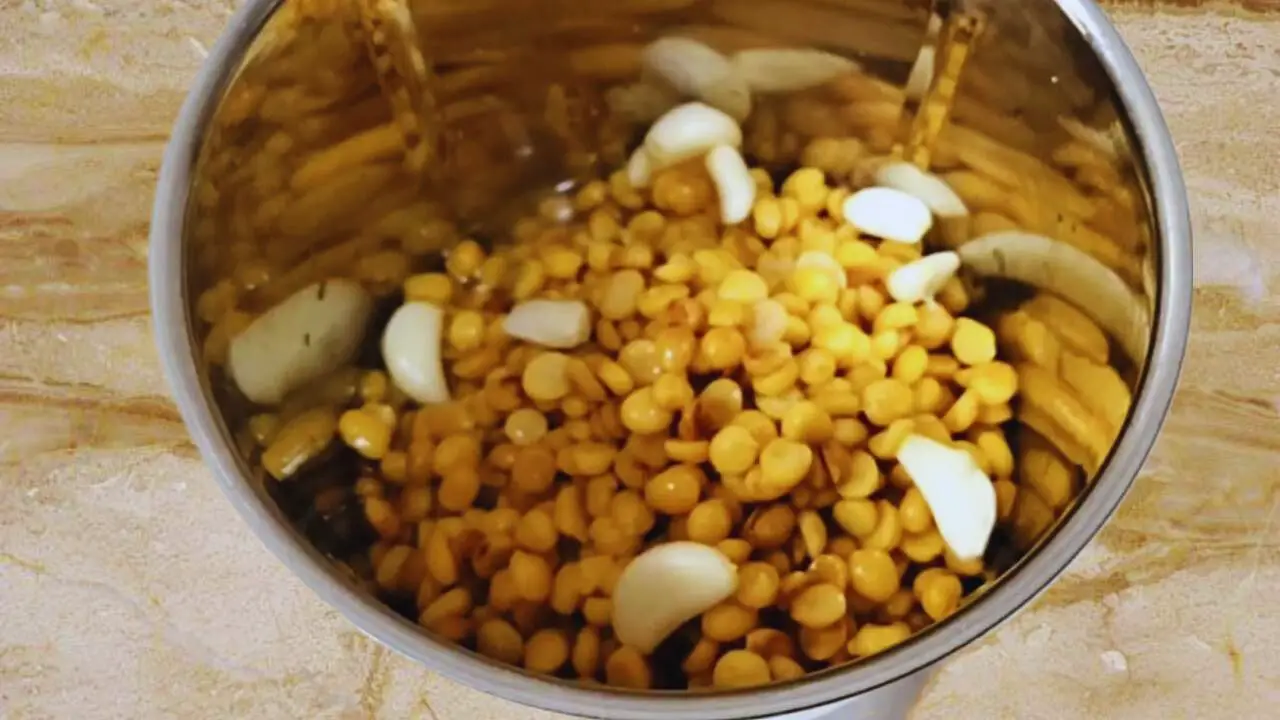
Step 14: Then add 3 pieces of dry red chilies. You can tear them in half.
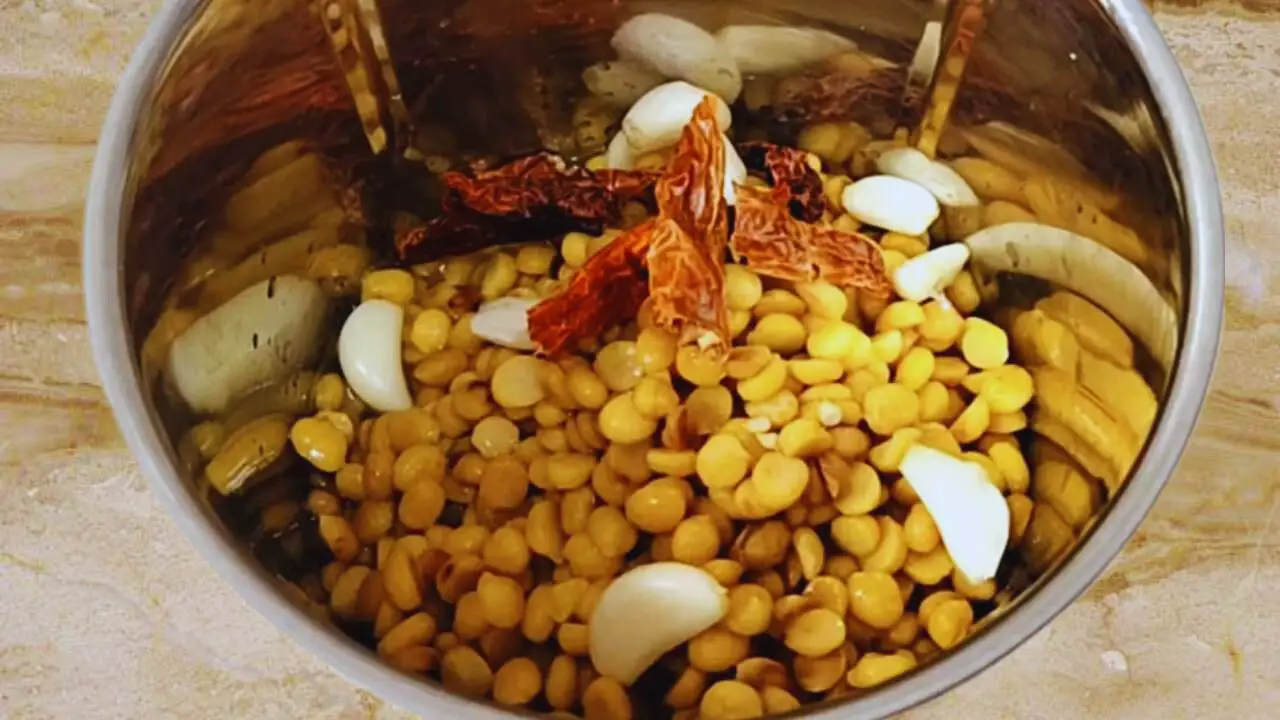
Step 15: Now add about 1 tsp of regular salt to the split chickpeas and other contents in the grinder.
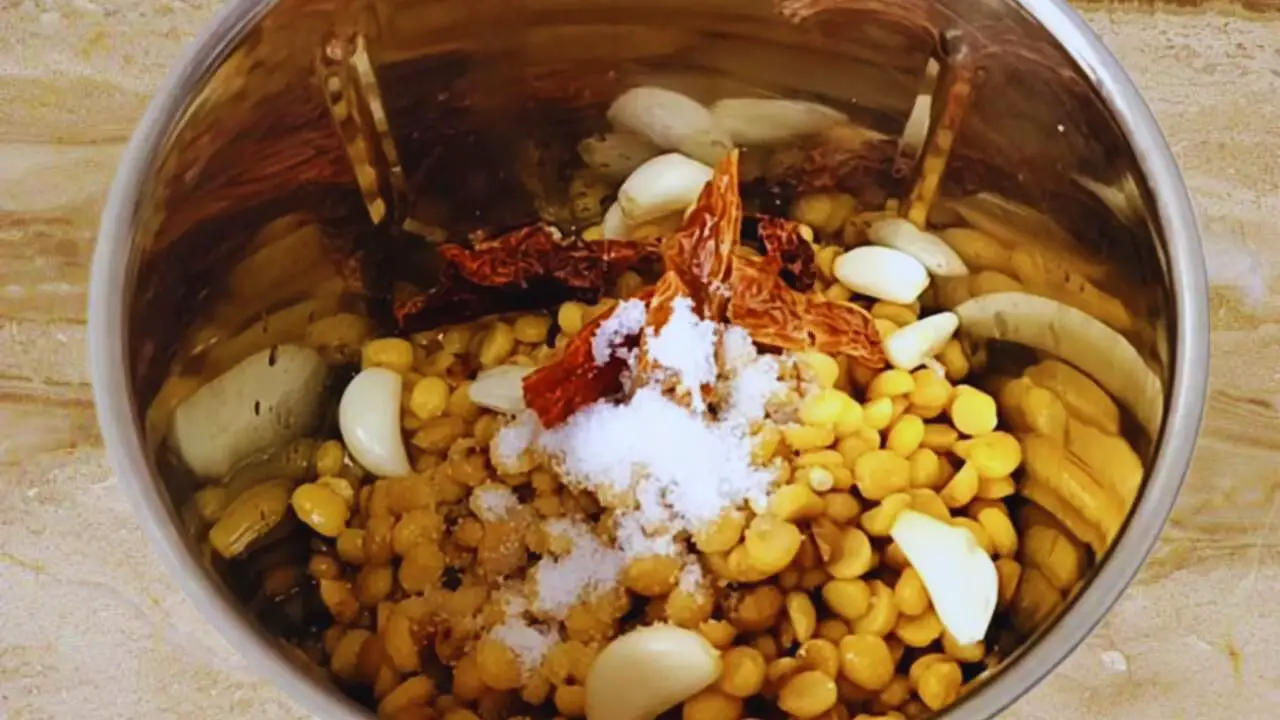
Step 16: Finally, add 3 tbsp of roasted peanuts into the grinder. This will give the chutney a very nice texture and taste.
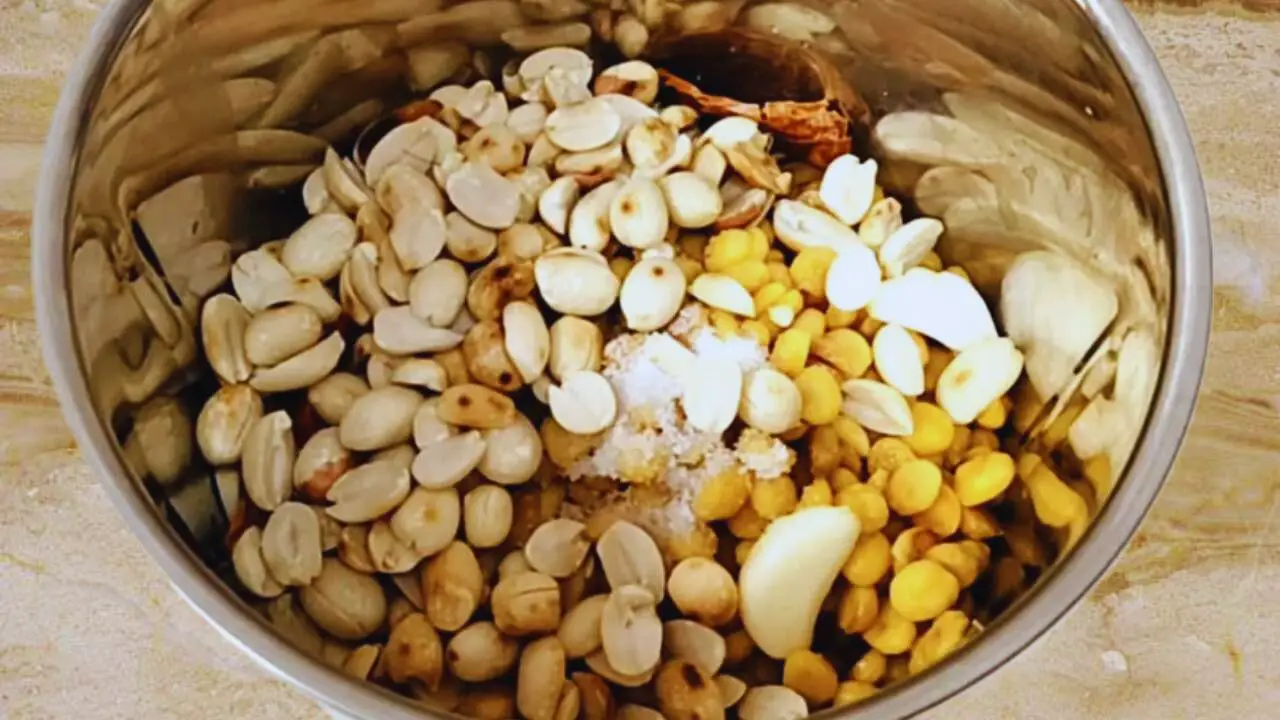
Step 17: Now, grind the content into a fine paste.
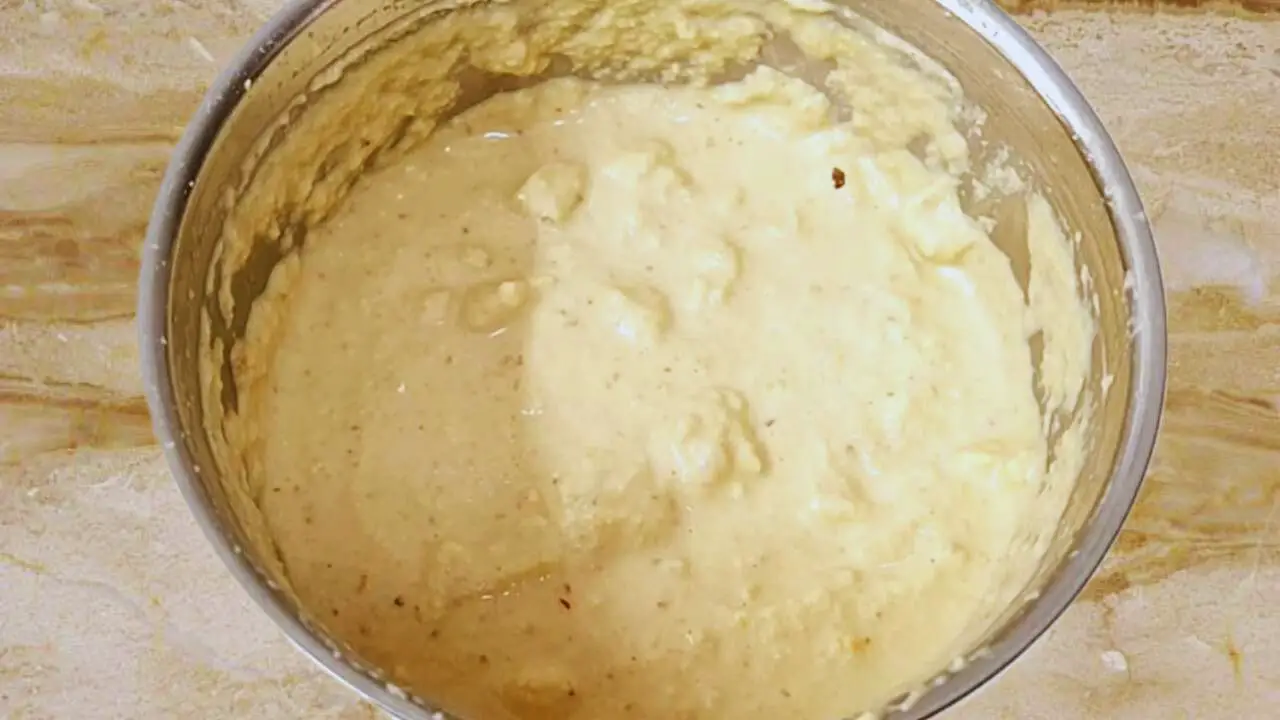
Step 18: Check the consistency of the chutney.
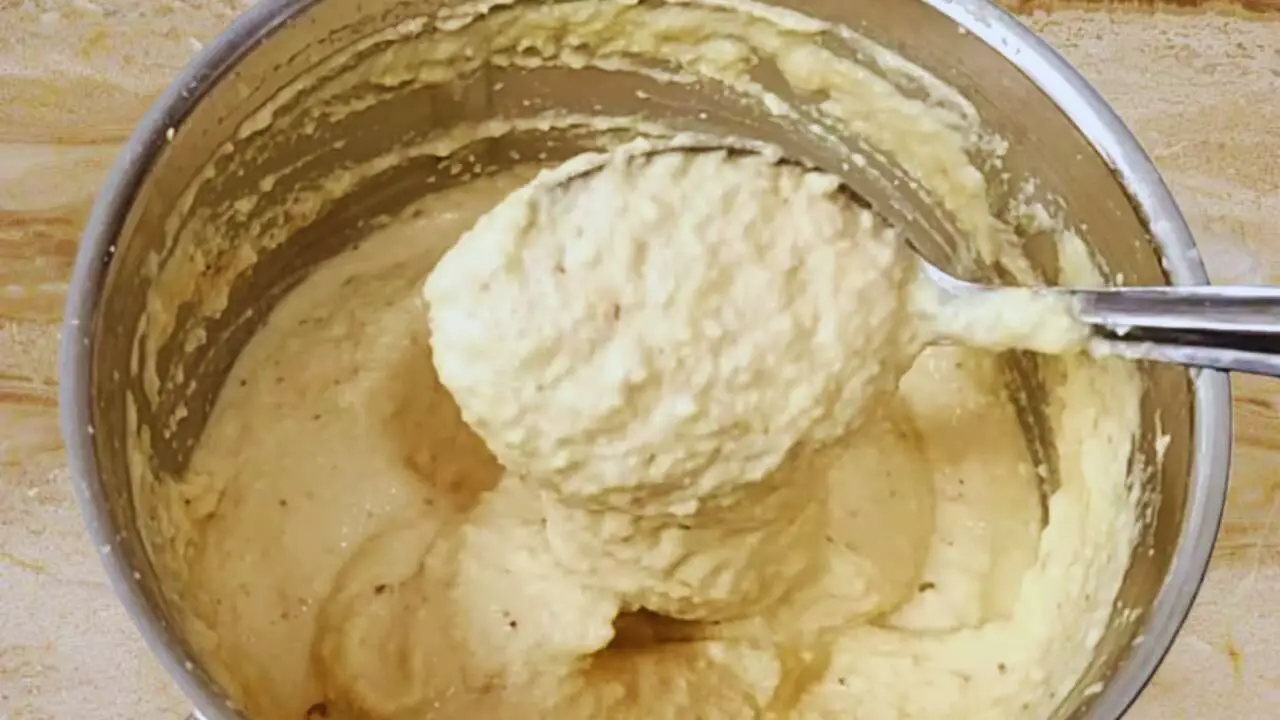
(Expert tip: At this point, if you feel that the chutney is too thick, you may add a few spoons of water you kept aside earlier to the chutney to liquefy it).
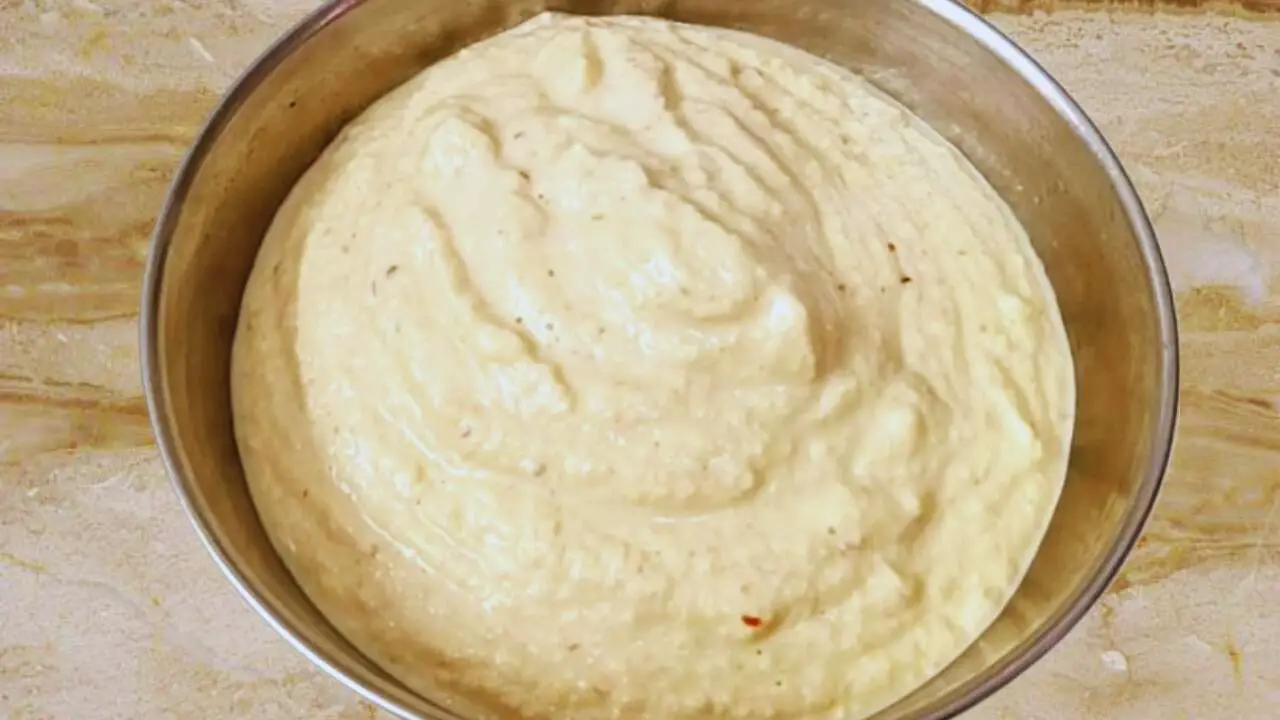
Step 19: When you are satisfied with the consistency of the chutney, transfer it from the grinder into a bowl.
Step 20: Now for tempering the chutney, take a tadka pan and heat it on a high flame on your gas stove. Put 2 tbsp of white oil in it.
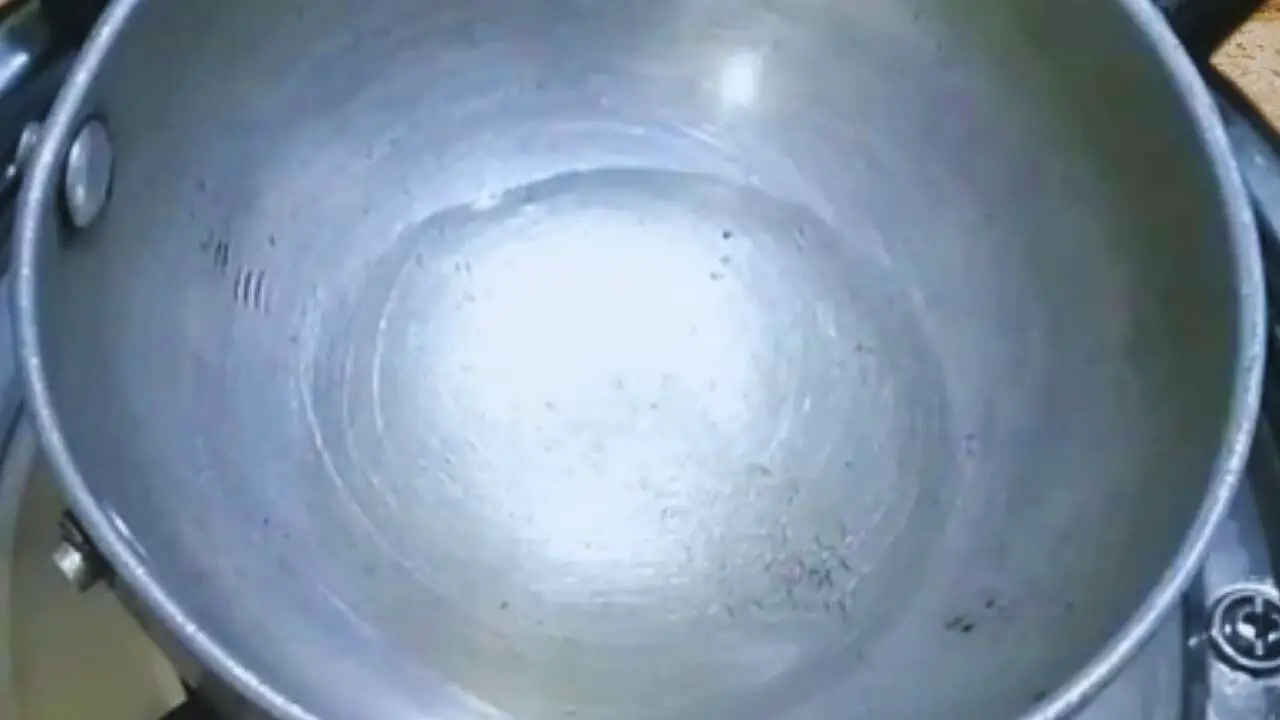
(Expert tip: You may use any type of white oil, even coconut oil for tempering the chutney).
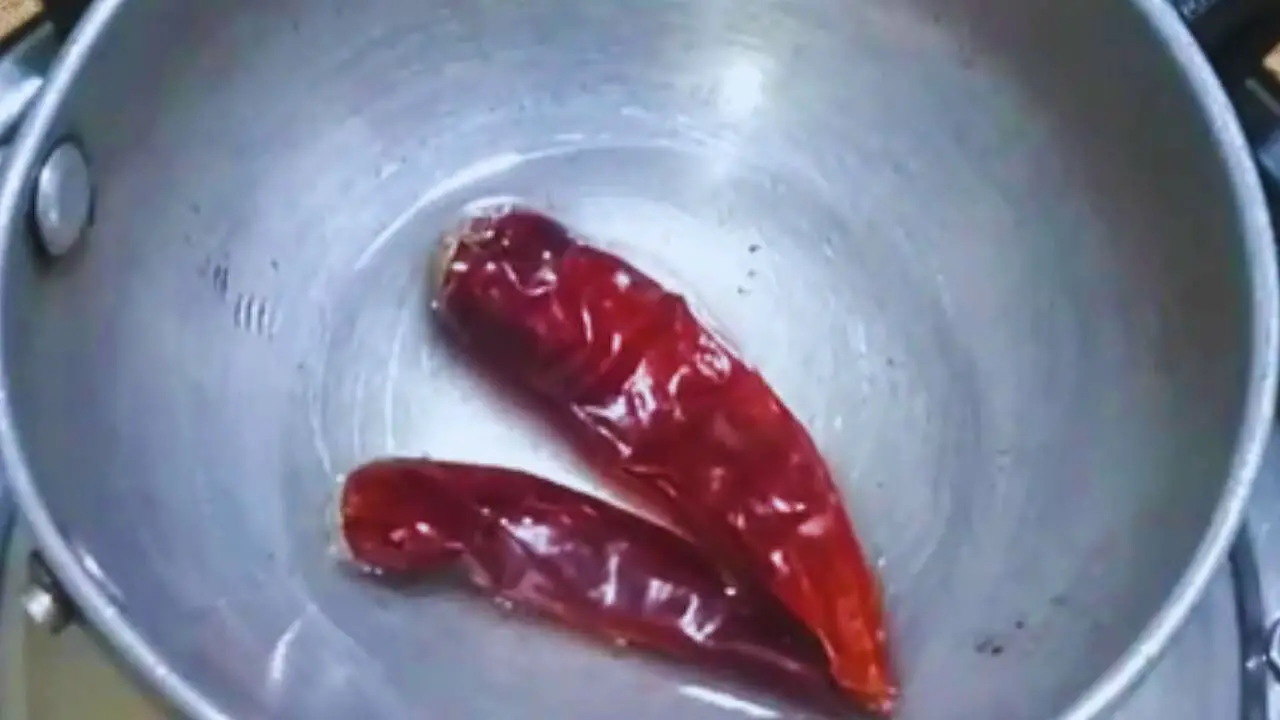
Step 21: When the oil is hot, put 2 pieces of dry red chilies in it.
Step 22: Then add 1 tsp of mustard seeds.
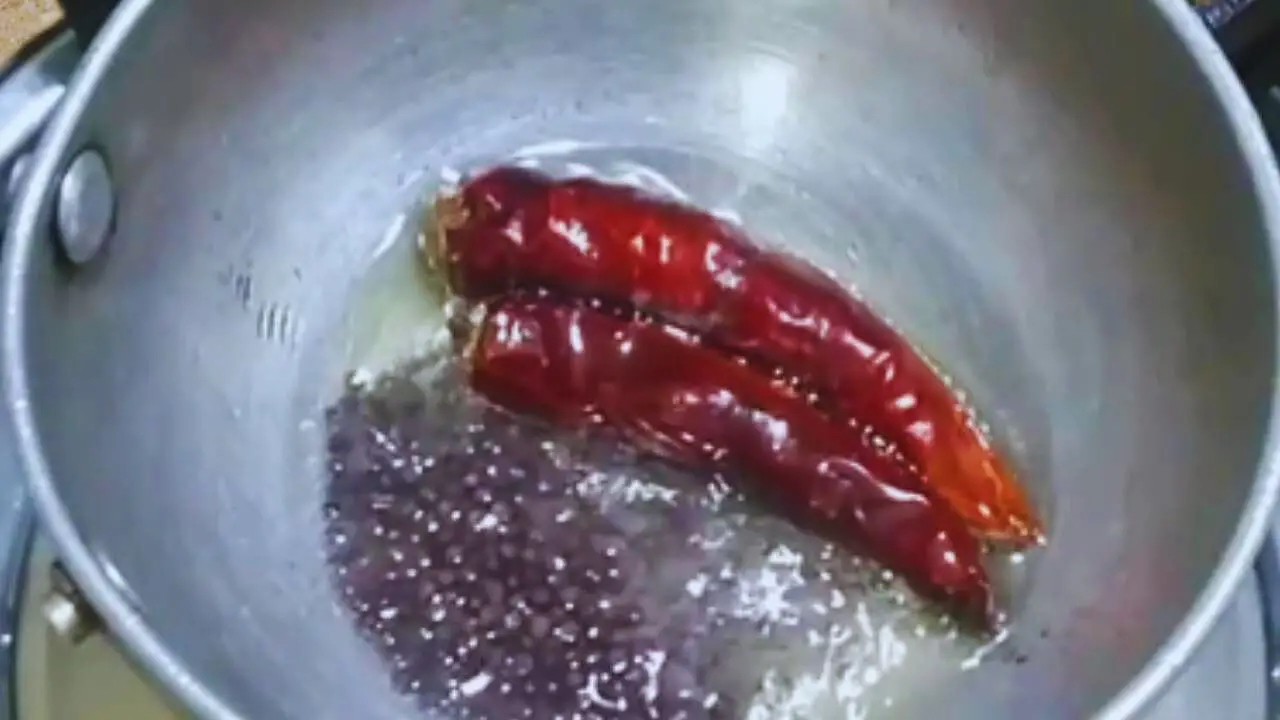
(Expert tip: The mustard will start to crackle immediately and sprinkle hot oil as a result. So, be very careful with it).
Step 23: Finally, add about 10 pieces of fresh curry leaves in it.
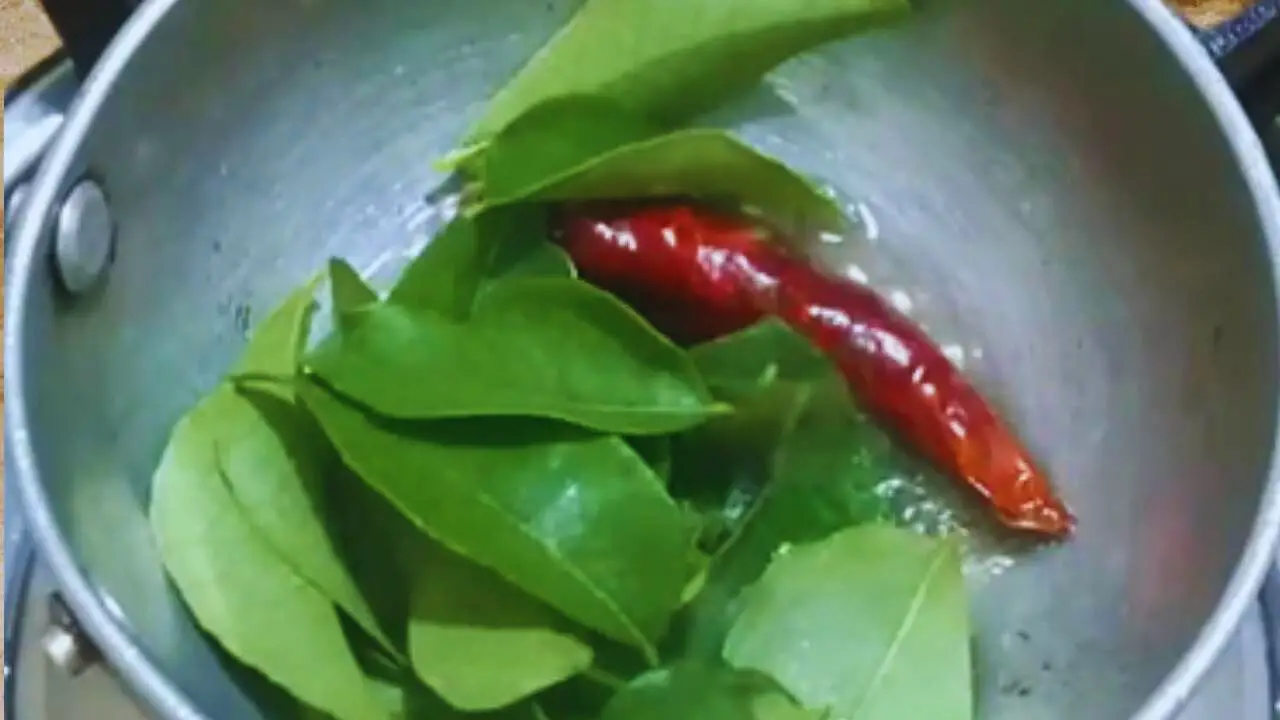
Step 24: Stir the contents a bit.
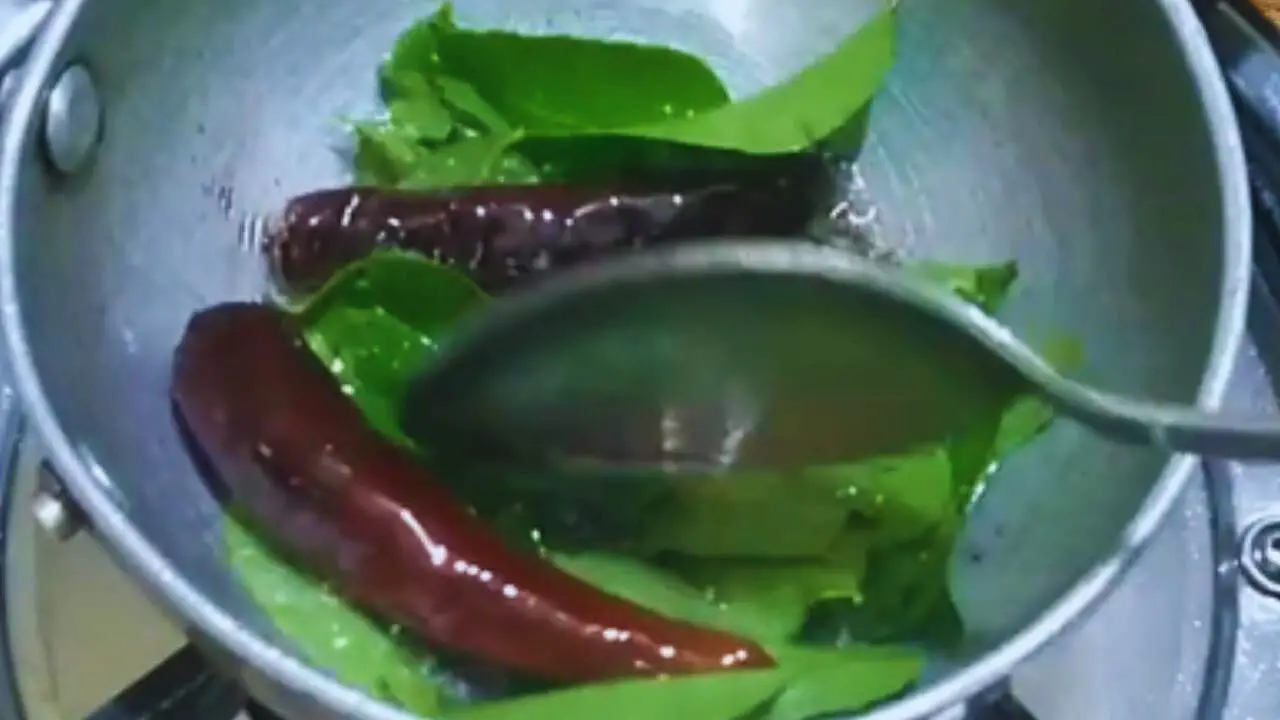
Step 25: When the contents reduce and the color of the fresh green curry leaves changes, you may turn the flame of your gas stove off at this stage.
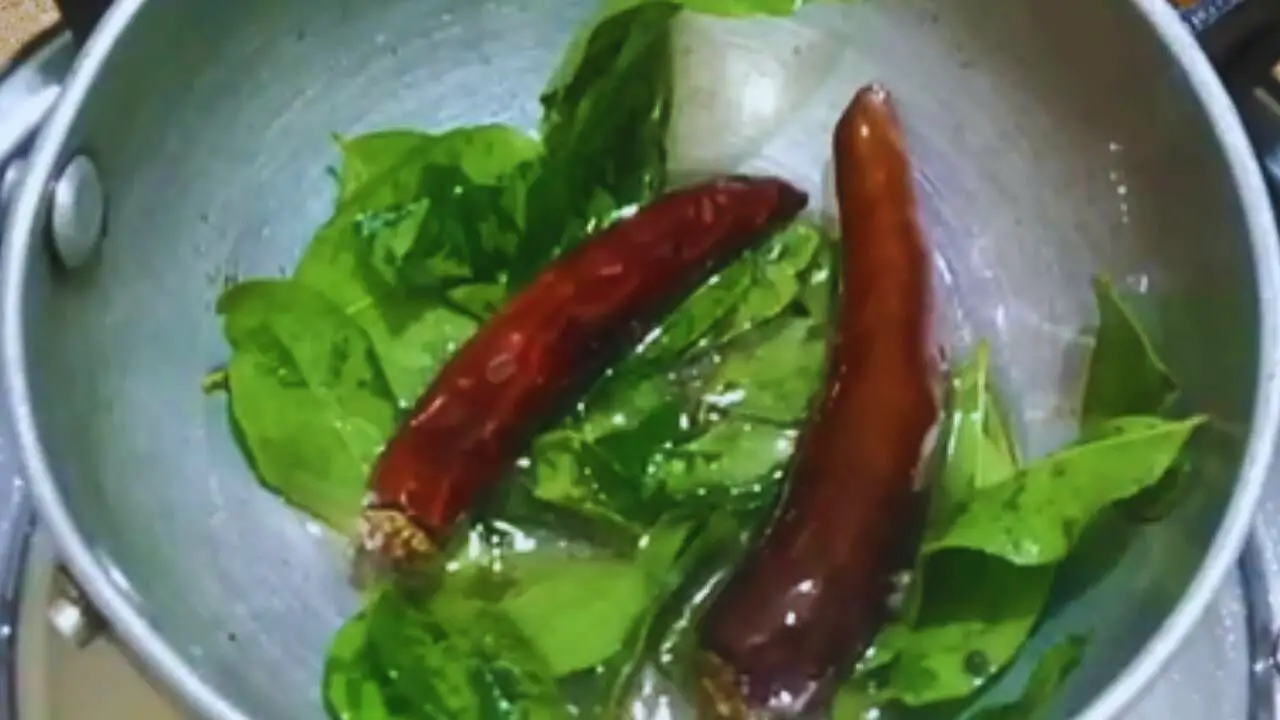
(Expert tip: Frying the contents a bit more will enhance the taste and flavor of the chana dal chutney. Since I prefer a bit of burnt taste, I continued to fry them a bit more).
Step 26: Finally, when it is ready, add the tadka to the chana dal chutney you kept in the bowl.
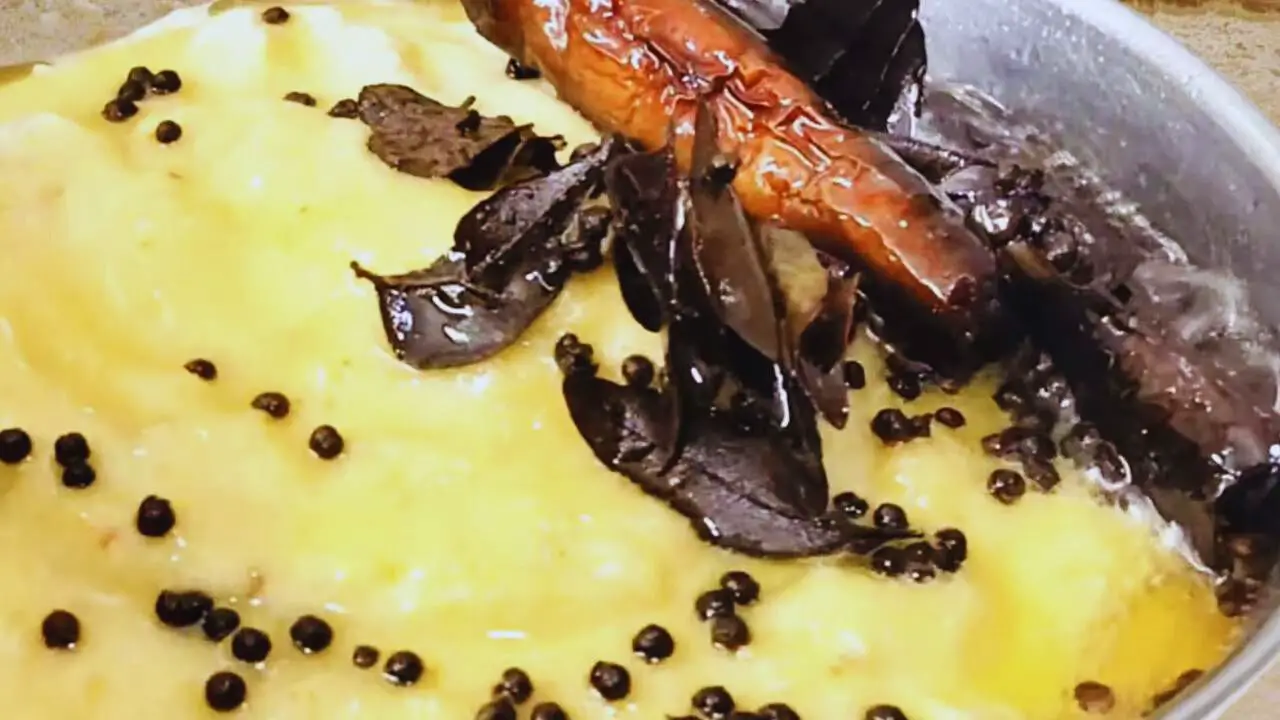
Step 27: Now, take a spoon and mix the tadka nicely with the chutney immediately after pouring it into the bowl.
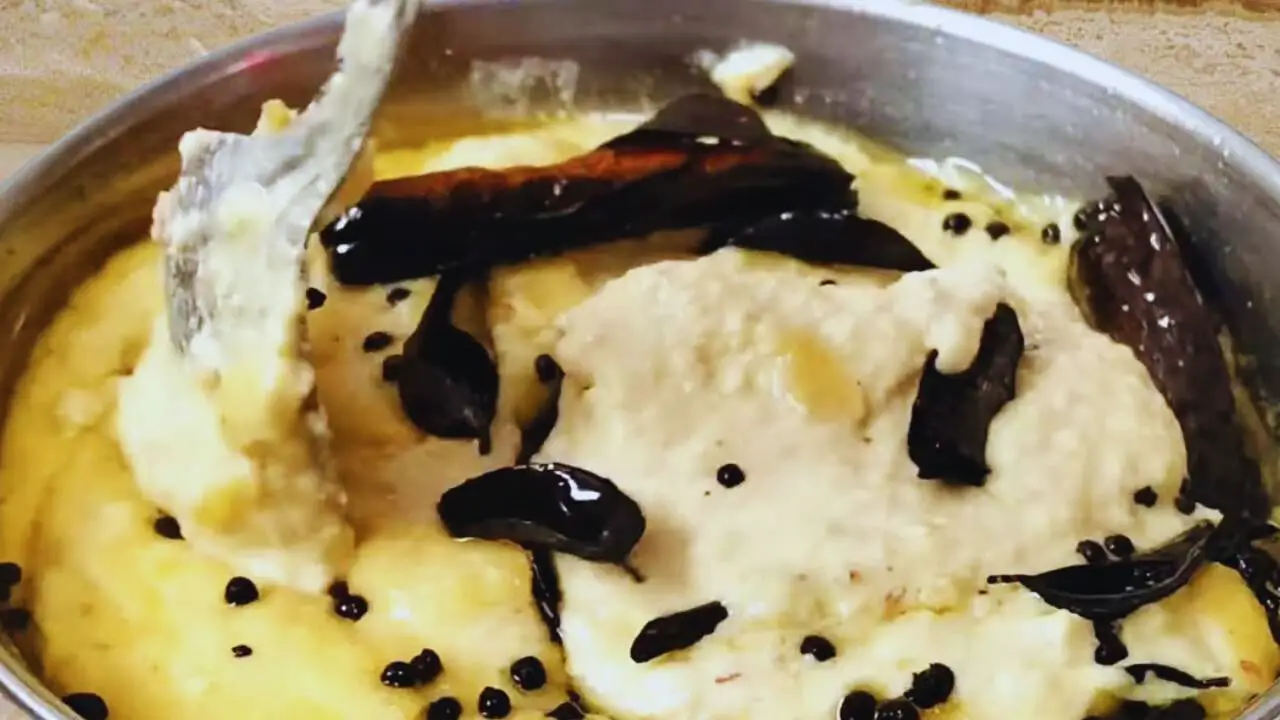
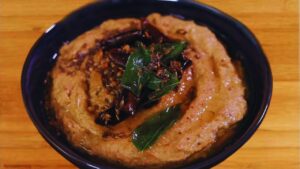
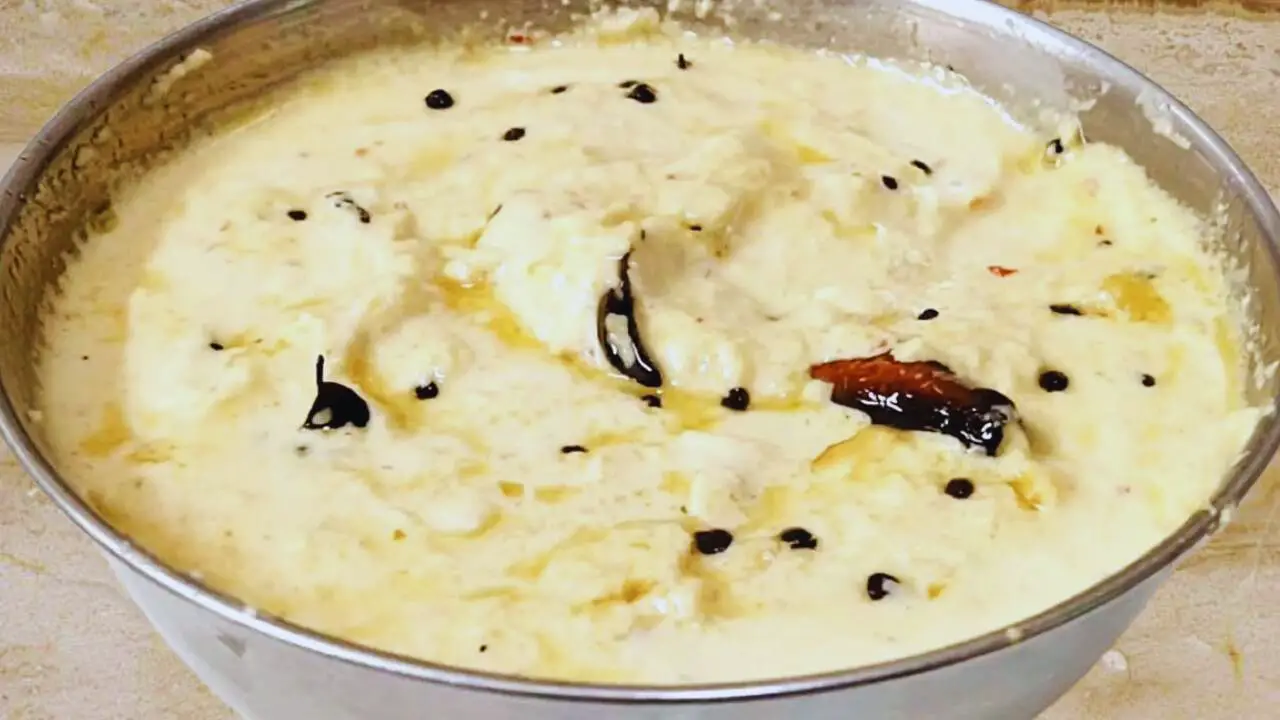
Step 28: Your flavorful chana dal chutney is ready to be served with a variety of dishes.
Pro Tips for Cooking Chana Dal Chutney
Thorough Washing Matters: Ensure a delightful taste by meticulously washing the chickpea lentils. This simple step significantly contributes to the overall flavor of the chutney.
Oil Choices: While mustard oil enhances the taste, feel free to experiment with other oils for frying the chickpea lentils. White oil or even coconut oil can provide interesting variations.
Mind the Flame: When frying the lentils, pay attention to the flame intensity. Prevent excessive browning by turning off the gas stove at the first sign of a slight change in color.
Water Management: Keep the water used for soaking the lentils. It might come in handy later to adjust the chutney’s consistency during the grinding process.
Texture Booster: The addition of roasted peanuts not only contributes to the texture but also brings a unique taste to the chutney. Don’t skip this step for a well-rounded flavor profile.
Consistency Check: After grinding, assess the chutney’s consistency. If it appears too thick, use the reserved water to achieve the desired liquefied texture.
Tempering Variations: Experiment with different oils for tempering, such as coconut oil, to introduce diverse flavors. Adjust quantities based on personal preferences.
Mind the Mustard Seeds: Be cautious when adding mustard seeds to the hot oil during tempering, as they tend to crackle and may splatter hot oil.
Curry Leaves Finale: Frying the tempering a bit more enhances the chutney’s taste. However, tailor this step to personal preference, as a slightly burnt taste can add a unique dimension.
Immediate Mixing: After adding the tempering to the chutney, promptly mix it well to ensure an even distribution of flavors.
Chana Dal Chutney Storing Tips
Airtight Container: Store your homemade chana dal chutney in an airtight container. This helps preserve its freshness and prevents the absorption of external odors.
Refrigeration: For an extended shelf life, refrigerate the chutney. The cool environment inhibits bacterial growth and maintains the chutney’s flavors.
Use Clean Utensils: When serving or retrieving the chutney from the container, ensure that the utensils are clean and dry. This helps prevent contamination and preserves the chutney’s quality.
Avoid Moisture: Keep the chutney away from moisture to prevent it from becoming too watery. A dry environment helps maintain the desired consistency.
Consume Promptly: While chana dal chutney can be stored, it’s best enjoyed when fresh. Aim to consume it within a reasonable time frame for optimal taste and texture.
How Does Chana Dal Chutney Taste?
Nutty and Earthy: The roasted peanuts infuse the chutney with a delightful nuttiness, complemented by an earthy undertone from the split chickpea lentils. This combination creates a rich and grounded flavor profile.
Spicy and Aromatic: The presence of dry red chilies and garlic adds a spicy kick to the chutney, while the aromatic spices elevate its overall fragrance. The balance of spice and aroma contributes to a tantalizing taste experience.
Savory and Tangy: The tempering of mustard seeds and fresh curry leaves imparts a savory note to the chutney. Additionally, a hint of tanginess from the mustard oil enhances the overall taste, creating a well-rounded and savory flavor.
Chana Dal Chutney Alternatives
When it comes to chutneys, it is important to note that each chutney brings its own character and flavor profile to the table and chana dal chutney is no different.
Therefore, finding a perfect substitute for chana dal chutney is quite difficult and might involve some experimentation.
Still, if you are looking for a substitute with a similar base, you may consider:
Urad Dal Chutney: You may use Black gram split or urad dal instead of split chickpeas or chana dal since this specific chutney also offers a comparable texture and nutty flavor. Therefore, it is a suitable alternative with a distinct taste.
What Dishes Can Chana Dal Chutney Be Served with?
Dosa: Spread a generous layer of chana dal chutney on crispy dosas for a delicious South Indian breakfast or snack.
Idli: Elevate the taste of soft and fluffy idlis by serving them alongside chana dal chutney, creating a delightful combination.
Uttapam: The nutty and spicy notes of the chutney complement the savory flavors of uttapam, making it a flavorful accompaniment.
Roti or Paratha: Use chana dal chutney as a flavorful side dish for plain rotis or stuffed parathas, adding an extra layer of taste to your meal.
Rice: Mix chana dal chutney with steamed rice for a quick and flavorful rice dish, perfect for a simple and satisfying meal.
Chaat: Incorporate chana dal chutney into chaat preparations to add depth and spice to the overall taste.
Sandwiches and Wraps: Spread a thin layer of chana dal chutney on sandwiches or wraps to introduce a unique and flavorful element.
Vegetable Biryani: You can even experiment with serving chana dal chutney alongside vegetable biryani for an extra burst of taste that complements the aromatic rice dish.
Recipe Card
Chana Dal Chutney
Ingredients
- 1 cup Split chickpea lentils (chana dal)
- 1 tsp Mustard oil
- ½ glass Water
- 10 cloves Garlic
- 3 pieces Dry red chilies
- 1 tsp Salt
- 3 tbsp Roasted peanuts
For Tempering
- 2 tbsp White oil
- 2 pieces Dry red chilies
- 1 tsp Mustard seeds
- 10 pieces Fresh curry leaves
Instructions
- Wash Chana Dal: Thoroughly wash 1 cup of chana dal in water, rubbing them to ensure cleanliness.
- Fry Chana Dal: Heat 1 tsp of mustard oil in a pan. Fry the washed chana dal for about 3-4 minutes until dry and slightly changed in color.
- Soak Chana Dal: Transfer the fried chana dal to a bowl, add ½ glass of water, cover, and let it soak for 5 minutes.
- Grind Ingredients: In a grinder, add soaked chana dal, 10 garlic cloves, 3 dry red chilies (torn), 1 tsp salt, and 3 tbsp roasted peanuts. Grind to a fine paste.
- Adjust Consistency: If needed, add reserved water to adjust the chutney's thickness. Transfer it to a serving bowl.
- Prepare Tempering: Heat 2 tbsp of white oil in a tadka pan. Add 2 dry red chilies, 1 tsp mustard seeds, and 10 curry leaves. Fry until fragrant.
- Add Tempering: Pour the tempering over the chutney immediately, mix well, and serve.
Notes
Nutrition Info (Estimation Only)
Conclusion
In conclusion, chana dal chutney adds a burst of flavors to your meals, proving to be a versatile and delightful companion.
Master the simple steps for a homemade treat that elevates your culinary creations effortlessly.

