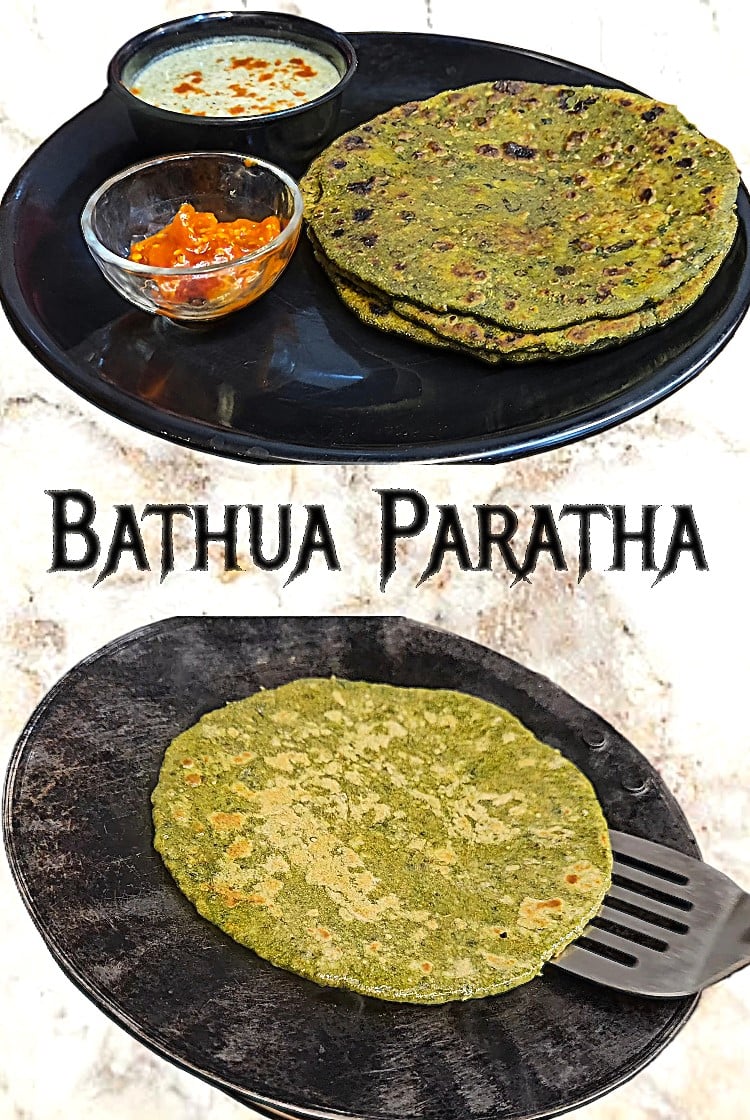
Every winter, my kitchen smells like Bathua the moment each Bathua paratha hits the tawa. It is one of those recipes I look forward to all year, mostly because the season for it is so short. It is simple and I feel nothing beats it fresh off the tawa with a spoon of ghee.
The Basics
- I prepare Bathua paratha a lot during winters.
- It has an amazing earthy and bitter taste which is simply irresistible for me.
- I always take my Bathua paratha with homemade white butter.
- In my kitchen, it takes almost 40 to 45 minutes to prepare this mouthwatering paratha, starting from washing the leaves to finally having it.
- Once you get hooked to this paratha, you will also love making methi or palak paratha. I generally prepare them in the same way.
The Ingredients:
- 250 grams Bathua
- 2 cups wheat flour
- Salt to taste
- ¼ tsp cumin seeds
- ½ tsp fennel seeds
- ¼ tsp red chili powder
- Water as required
- Ghee as required for frying
How to Make Bathua Paratha? (Step by Step Guide with Photos)
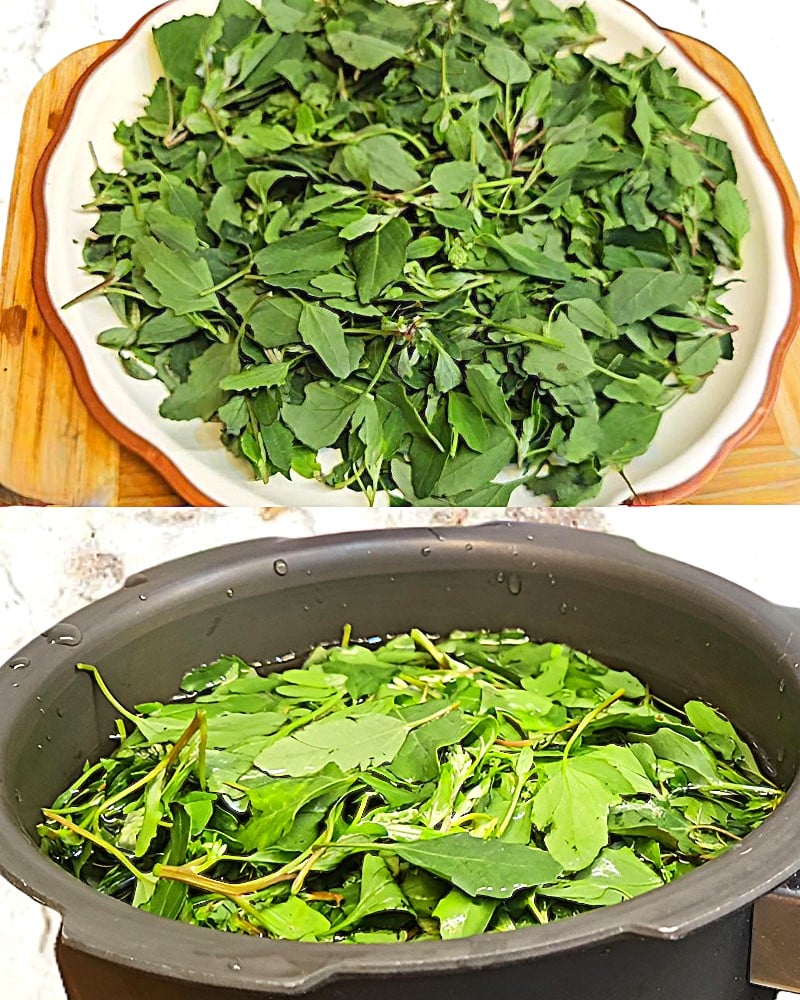
Step 1: Take the leaves of 250 grams of Bathua, wash and boil them for 5 to 6 minutes on a high flame.
Step 2: Transfer the boiled Bathua leaves to a mixer grinder and make a paste.
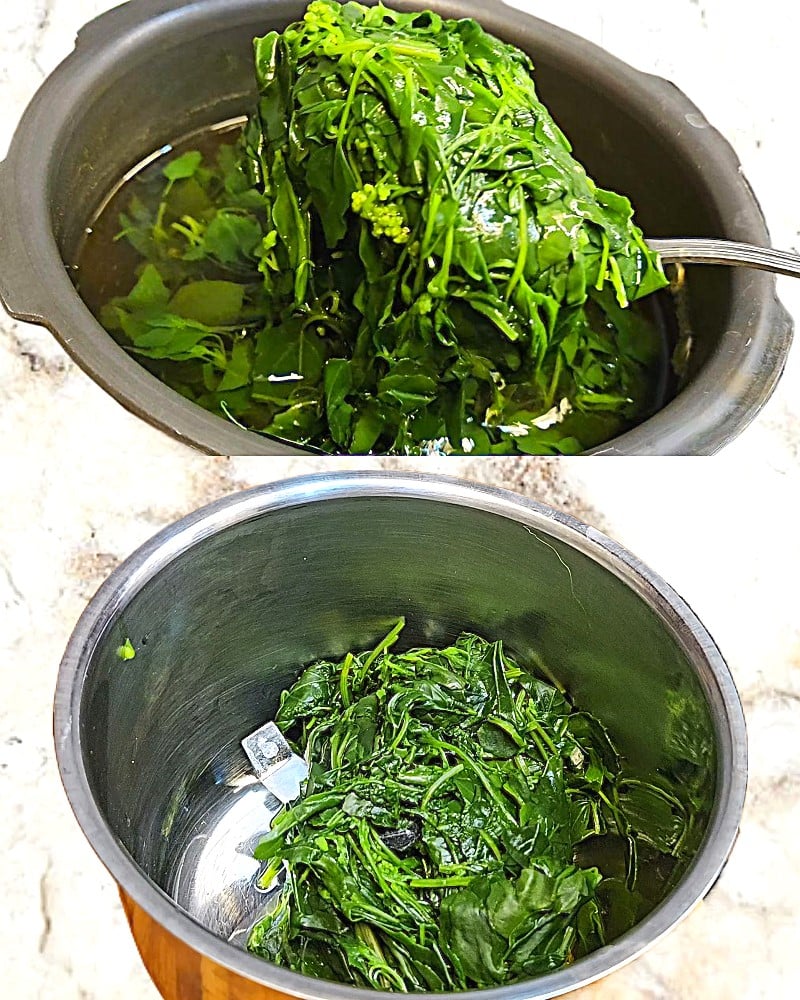
(Pro tip: Grind the bathua coarse, not silky smooth. It holds the dough’s texture better.)
Step 3: Make a soft dough with 2 cups of wheat flour, salt to taste, ¼ tsp of cumin seeds, ½ tsp of fennel seeds, ¼ tsp of red chili powder, the Bathua paste and water as required.
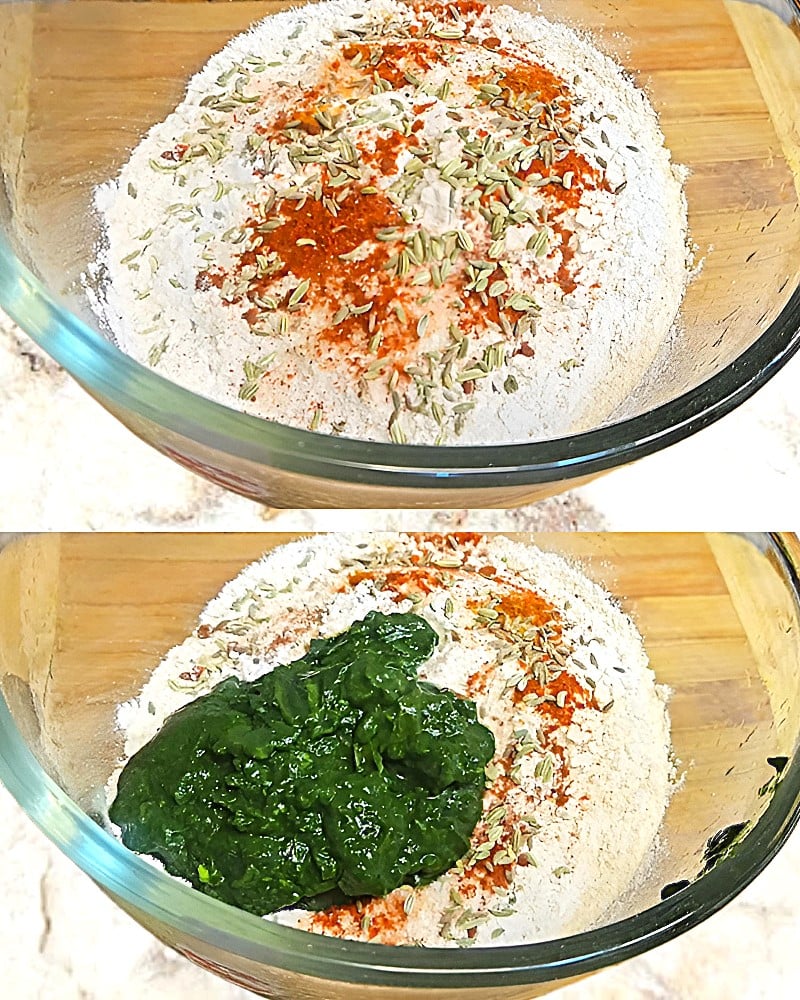
(Pro tip: I always add water a little at a time, because the Bathua paste has a lot of moisture in it. If too much water is added, the dough will be difficult to roll.)
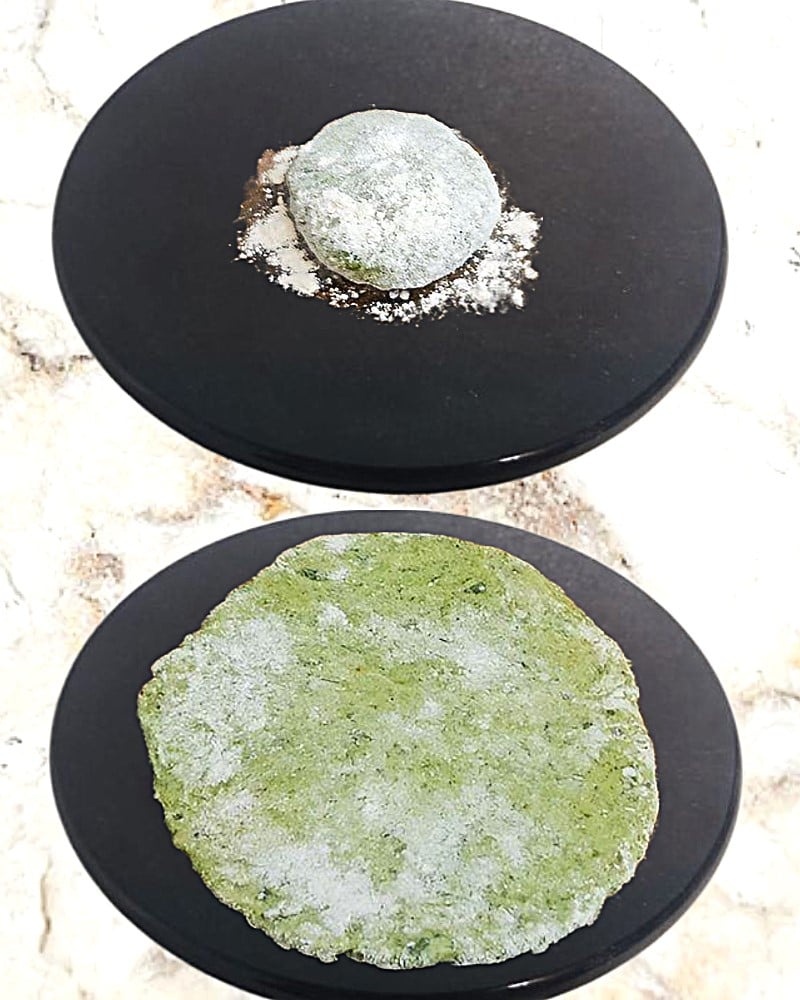
Step 4: Make a small peda out of the dough, roll it into a paratha.
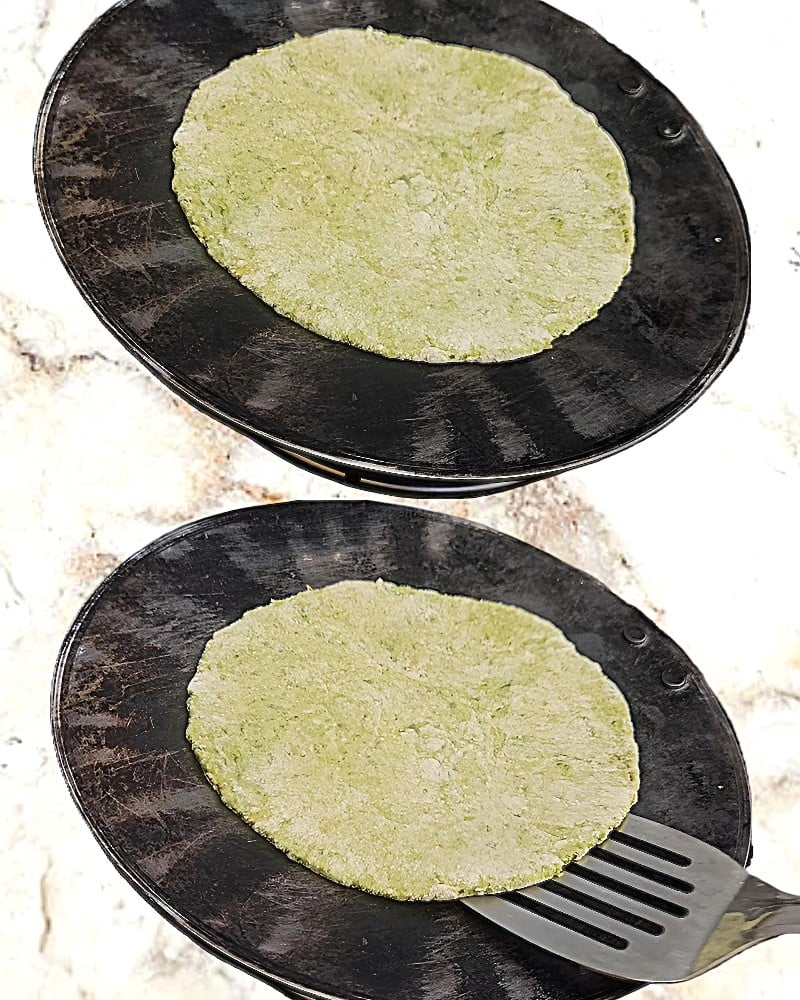
Step 5: Put it on a preheated iron tawa. Flip it after a minute.
Step 6: Apply ghee on the surfaces as required and fry them until nice and crispy on a medium flame. Remove when done.
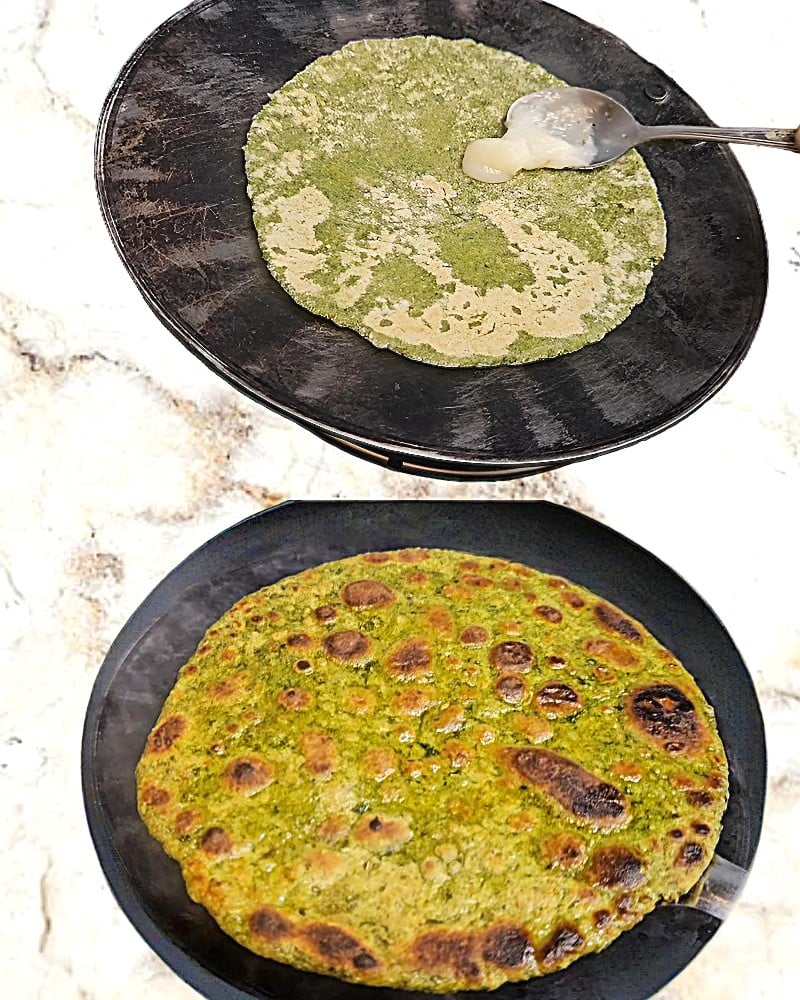
(Pro tip: I always fry the parathas on a medium flame. This makes them crispy from the outside and soft from the inside).
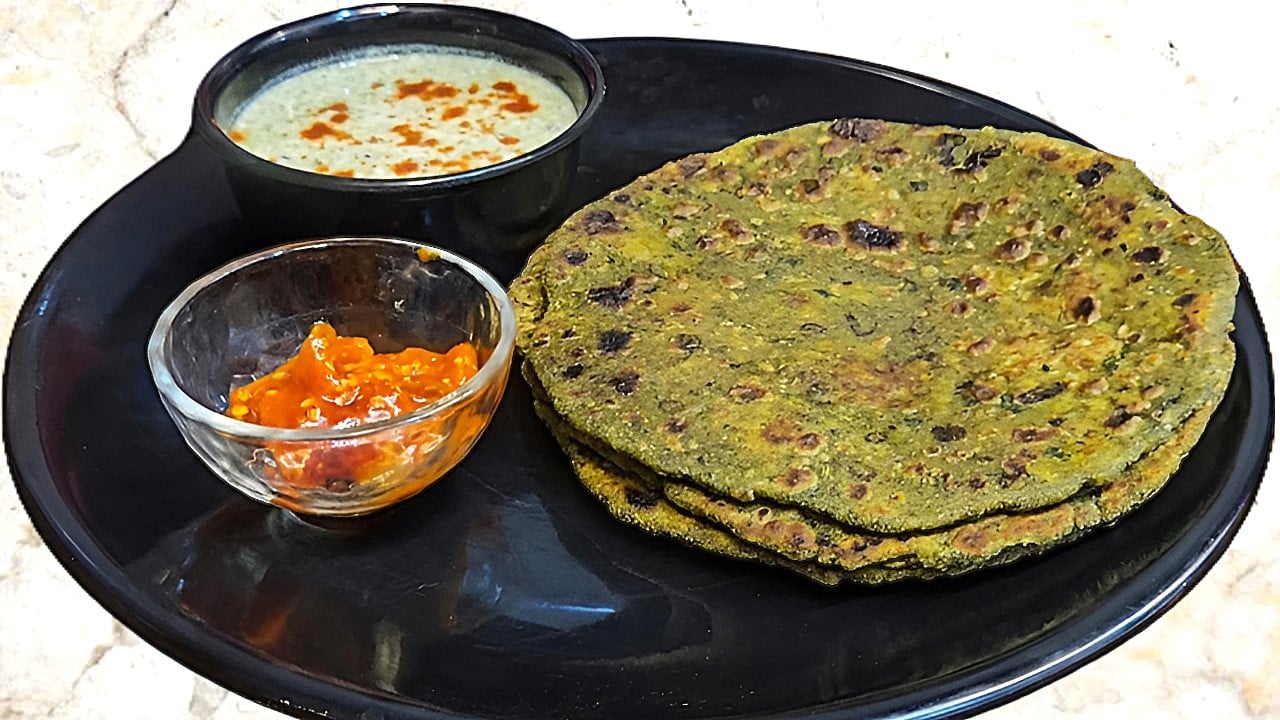
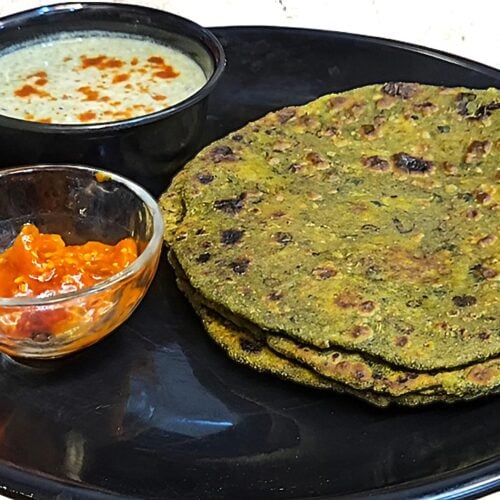
Step 7: Your tasty and healthy homemade Bathua paratha is ready.
Variations You Will Love
- Sometimes I add grated potato to make mine softer and heartier.
- Sometimes I add in some spinach if the bathua is too bitter for the kids.
- I once made it stuffed (tucking in the filling rather than mixing it through the dough) and that was nice too.
- Some winters I don’t get enough bathua, so I make it half bathua half methi and I think that’s even better.
Bathua Paratha Recipe Solutions Guide
Q: My dough feels too sticky after adding the Bathua paste. What went wrong?
A: This happens to me sometimes in Step 3 when the Bathua is not drained well. I always squeeze the boiled leaves hard before grinding, and add water slowly, only if needed.
Q: My paratha keeps tearing while I roll it out. How do I fix this?
A: I have noticed this in Step 4 when the dough is too soft. In that case, rest the dough for 10 minutes before rolling, and dust it generously with dry flour.
Q: My Bathua paste tastes bitter even after boiling. What can I do?
A: To avoid this happening to me, in Step 1, I would boil the leaves on a high flame and discard the boiling water completely instead of reusing it.
Recipe Card
Bathua Paratha
Ingredients
- 250 grams Bathua
- 2 cups wheat flour
- Salt to taste
- ¼ tsp cumin seeds
- ½ tsp fennel seeds
- ¼ tsp red chili powder
- Water as required
- Ghee as required for frying
Instructions
- Take the leaves of 250 grams of Bathua, wash and boil them for 5 to 6 minutes on a high flame.
- Transfer the boiled Bathua leaves to a mixer grinder and make a paste. (Pro tip: Grind the bathua coarse, not silky smooth. It holds the dough's texture better.)
- Make a soft dough with 2 cups of wheat flour, salt to taste, ¼ tsp of cumin seeds, ½ tsp of fennel seeds, ¼ tsp of red chili powder, the Bathua paste and water as required. (Pro tip: I always add water a little at a time, because the Bathua paste has a lot of moisture in it. If too much water is added, the dough will be difficult to roll.)
- Make a small peda out of the dough, roll it into a paratha.
- Put it on a preheated iron tawa. Flip it after a minute.
- Apply ghee on the surfaces as required and fry them until nice and crispy on a medium flame. Remove when done. (Pro tip: I always fry the parathas on a medium flame. This makes them crispy from the outside and soft from the inside).
- Your tasty and healthy homemade Bathua paratha is ready.