Garlic chutney mainly consists of garlic cloves, a variety of seeds like cumin and coriander along with some other ingredients. The process to make garlic chutney at home is simple, as you will find reading my recipe.

KEY TAKEAWAYS
- Garlic chutney typically originates from South Asia.
- Serve the chutney with rice dishes, Indian curries, Indian bread, grilled meats, chaat varieties, snack items, rolls, wraps, sandwiches, and more.
- Store it in an airtight container in the refrigerator.
- Garlic chutney typically offers a pungent and spicy taste.
- Other chutneys such as garlic mint chutney, garlic coriander chutney, garlic tomato chutney, garlic coconut chutney, and garlic sesame chutney will offer a similar taste.
I learned this chutney recipe came from the mother of the milk delivery boy in our area, who also works in a local office part time. Once, he dropped off milk late and apologized, saying his mom packed him a heavy lunch with a nice chutney and that is why he got late. I asked what it was, and he said he did not know it precisely. So, intrigued, I went to meet his mother and politely asked for the recipe.
She welcomed me warmly and described it in detail. I made it the next day. My husband said it had nurturing strength, and the boys felt it was “early-morning magic.” Now, it often features in our menu. That meeting reminded me that behind every reliable delivery is a mother making sure her child is full—body and spirit.
How to Make Garlic Chutney? (Step by Step Guide with Images)
Step 1: First, take a mortar and pestle.

Step 2: Put the garlic cloves in it and crush them.

(Pro tip: You can use a grinder to grind the garlic cloves but crushing them in a mortar and pestle will give the garlic chutney a distinct texture and flavor).
Step 3: Keep a check on the crushed garlic. Crush them a bit more if needed.

Step 4: Make sure you do not crush them too fine. A coarse texture is better.

(Pro tip: Crush it more if you do not get the right coarseness like I have).
Step 5: Now, transfer the garlic to a bowl and keep it aside.

Step 6: Now, take another bowl and put 2 tbsp of dry red chili powder in it.

(Pro tip: If you do not have red chili powder at home or want your garlic chutney to have a better texture, you can use whole dry red chilies. Soak about 10 to 12 dry red chilies in water for half an hour and when it swells up a bit, grind them in your grinder).
Step 7: Add 4 tbsp of water to it.

Step 8: Now, mix the powder and water nicely to make a thick paste.

Step 9: If it is too thick, add another 2 tbsp of water to it.

Step 10: Mix it nicely.
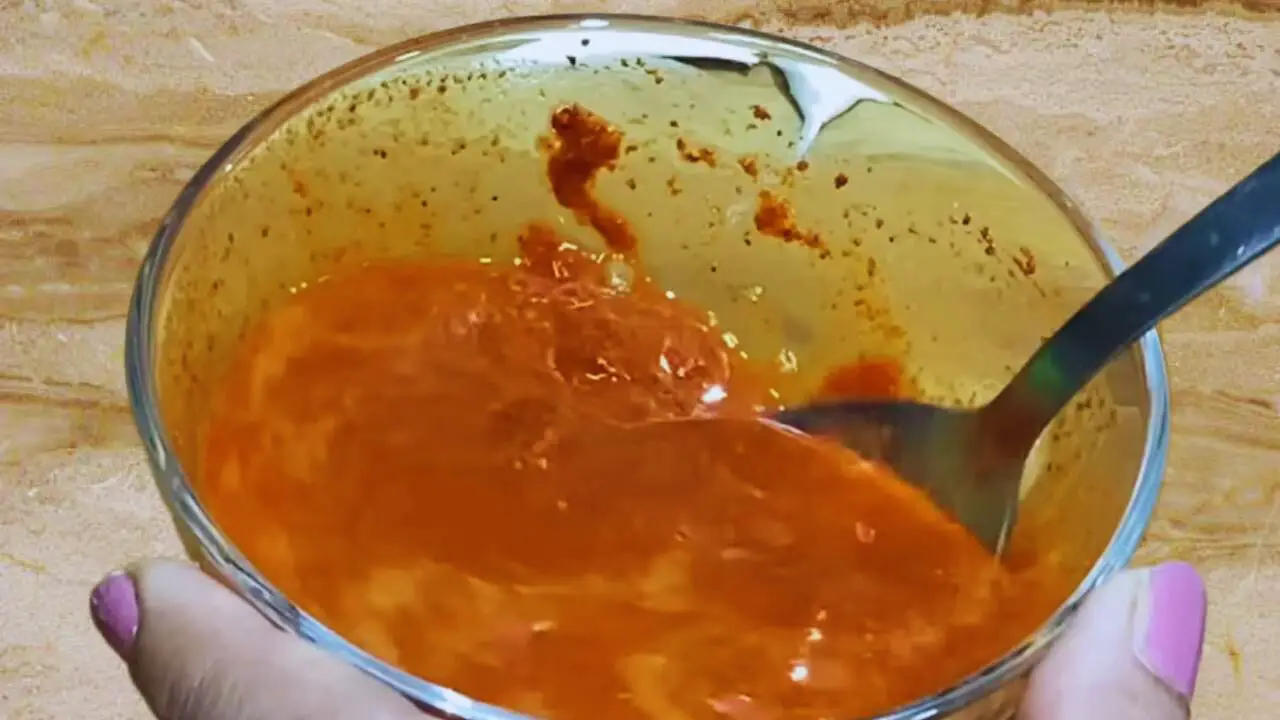
Step 11: When the paste is ready, keep the bowl aside.

Step 12: Now, take 1 tbsp or quarter bowl of coriander seeds and put it in the mortar and pestle.

Step 13: Grind the seeds into a coarse powder and keep it aside.

Step 14: Now take a frying pan or wok and heat it on a low to medium flame on your gas stove.

Step 15: When it is sufficiently hot, put 4 tbsp of white oil in it.

(Pro tip: You can use any type of white oil that you usually have).
Step 16: When the oil is hot enough, put ½ tsp of asafetida in it.

(Pro tip: Make sure that you do not let the asafetida burn. This will give your garlic chutney a nice flavor).
Step 17: Then add ½ tsp of mustard seeds to the oil and let it crackle.

(Pro tip: Be careful when the mustard seeds crackle as it may sprinkle hot oil).
Step 18: Now, add ½ tsp of cumin seeds to the wok.

Step 19: Sauté it a bit so that it is nicely cooked.

Step 20: After a few seconds, add the ground garlic to the wok.

Step 21: Stir the ingredients in the wok so that the spices mix nicely with the ground garlic.

Step 22: Let the garlic cook on a low flame and watch the color of the garlic turn golden brown after a couple of minutes.

Step 23: At this point, add the coriander seeds you ground earlier to the ingredients in the wok.

Step 24: Stir it for a few seconds to mix it nicely with the ground garlic and sauté it well.

Step 25: When the ingredients are cooked nicely, add the dry red chili paste that you made earlier and kept aside. Add 1 tbsp of water to wash the bowl and add it to the chutney, if needed.

Step 26: Stir the contents continuously for about 2 to 3 minutes to cook them nicely on a low to medium flame.

Step 27: Let the water evaporate so that the mixture becomes a bit thicker.

Step 28: Now add 2 tbsp of curd to the content.

(Pro tip: You may skip the curd if you want. However, adding curd will not only enhance the color of the garlic chutney but will also augment its taste. If you do not like curd or have it ready at home, you can add 2 tbsp of tamarind pulp).
Step 29: Mix it nicely and watch the change in color of the chutney.

Step 30: Continue stirring until the mixture starts releasing oil from it.

Step 31: Now, add ½ tsp of table salt to the chutney and mix it well. Continue stirring it nicely for 2 to 3 minutes more.

Step 32: When it is done, check the consistency of the chutney.

Step 33: If you want it to be thicker, cook it for a couple of minutes more. If you are happy with the consistency of the chutney, turn the flame of your gas stove off and let it cool off in the wok for some time.

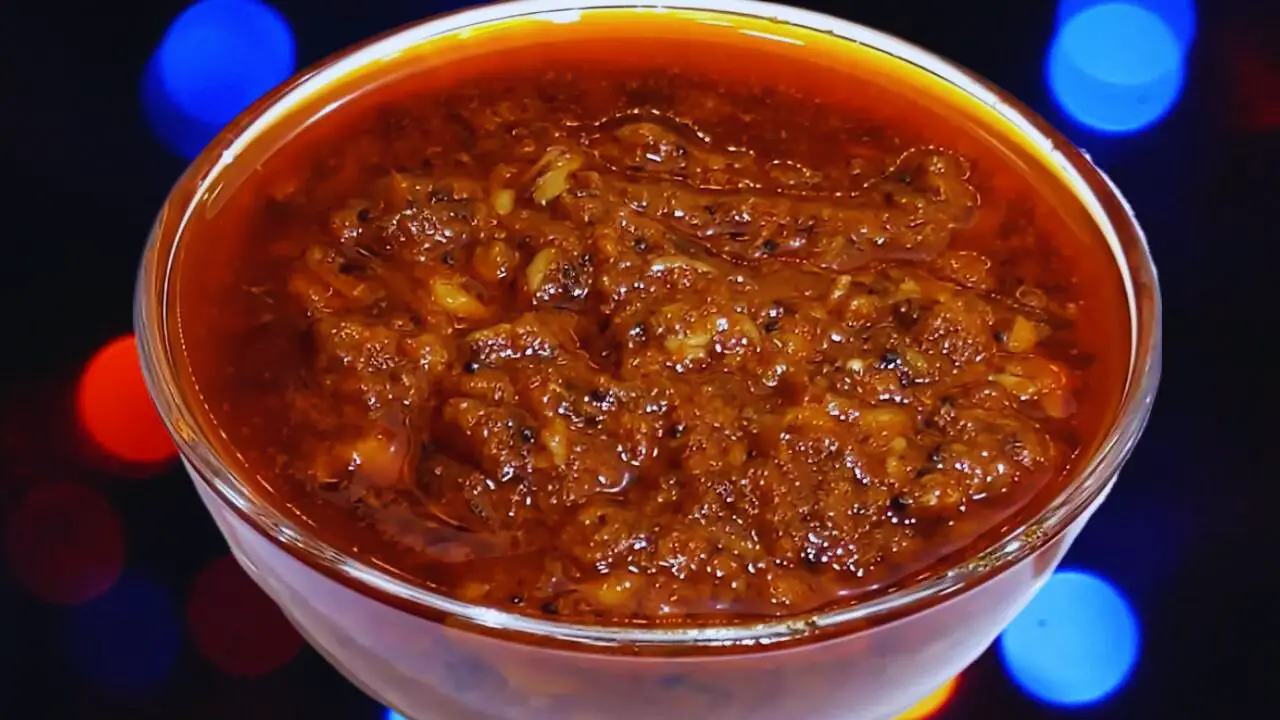
Step 34: Transfer the chutney into a bowl. Your tasty garlic chutney is now ready to be served.

Recipe Card

Garlic Chutney | Lasoon Chutney
Ingredients
- 50 grams Fresh garlic (deskinned)
- 2 tbsp Red chili powder
- 4 tbsp Water
- 1 tbsp Coriander seeds
- 4 tbsp White oil
- ½ tsp Asafetida
- ½ tsp Mustard seeds
- ½ tsp Cumin seeds
- 2 tbsp Curd
- ½ tsp Table salt
Instructions
- First, take a mortar and pestle.
- Put the garlic cloves in it and crush them. (Pro tip: You can use a grinder to grind the garlic cloves but crushing them in a mortar and pestle will give the garlic chutney a distinct texture and flavor).
- Keep a check on the crushed garlic. Crush them a bit more if needed.
- Make sure you do not crush them too fine. A coarse texture is better. (Pro tip: Crush it more if you do not get the right coarseness like I have).
- Now, transfer the garlic to a bowl and keep it aside.
- Now, take another bowl and put 2 tbsp of dry red chili powder in it. (Pro tip: If you do not have red chili powder at home or want your garlic chutney to have a better texture, you can use whole dry red chilies. Soak about 10 to 12 dry red chilies in water for half an hour and when it swells up a bit, grind them in your grinder).
- Add 4 tbsp of water to it.
- Now, mix the powder and water nicely to make a thick paste.
- If it is too thick, add another 2 tbsp of water to it.
- Mix it nicely.
- When the paste is ready, keep the bowl aside.
- Now, take 1 tbsp or quarter bowl of coriander seeds and put it in the mortar and pestle.
- Grind the seeds into a coarse powder and keep it aside.
- Now take a frying pan or wok and heat it on a low to medium flame on your gas stove.
- When it is sufficiently hot, put 4 tbsp of white oil in it. (Pro tip: You can use any type of white oil that you usually have).
- When the oil is hot enough, put ½ tsp of asafetida in it. (Pro tip: Make sure that you do not let the asafetida burn. This will give your garlic chutney a nice flavor).
- Then add ½ tsp of mustard seeds to the oil and let it crackle. (Pro tip: Be careful when the mustard seeds crackle as it may sprinkle hot oil).
- Now, add ½ tsp of cumin seeds to the wok.
- Sauté it a bit so that it is nicely cooked.
- After a few seconds, add the ground garlic to the wok.
- Stir the ingredients in the wok so that the spices mix nicely with the ground garlic.
- Let the garlic cook on a low flame and watch the color of the garlic turn golden brown after a couple of minutes.
- At this point, add the coriander seeds you ground earlier to the ingredients in the wok.
- Stir it for a few seconds to mix it nicely with the ground garlic and sauté it well.
- When the ingredients are cooked nicely, add the dry red chili paste that you made earlier and kept aside. Add 1 tbsp of water to wash the bowl and add it to the chutney, if needed.
- Stir the contents continuously for about 2 to 3 minutes to cook them nicely on a low to medium flame.
- Let the water evaporate so that the mixture becomes a bit thicker.
- Now add 2 tbsp of curd to the content. (Pro tip: You may skip the curd if you want. However, adding curd will not only enhance the color of the garlic chutney but will also augment its taste. If you do not like curd or have it ready at home, you can add 2 tbsp of tamarind pulp).
- Mix it nicely and watch the change in color of the chutney.
- Continue stirring until the mixture starts releasing oil from it.
- Now, add ½ tsp of table salt to the chutney and mix it well. Continue stirring it nicely for 2 to 3 minutes more.
- When it is done, check the consistency of the chutney.
- If you want it to be thicker, cook it for a couple of minutes more. If you are happy with the consistency of the chutney, turn the flame of your gas stove off and let it cool off in the wok for some time.
- Transfer the chutney into a bowl. Your tasty garlic chutney is now ready to be served.

")


