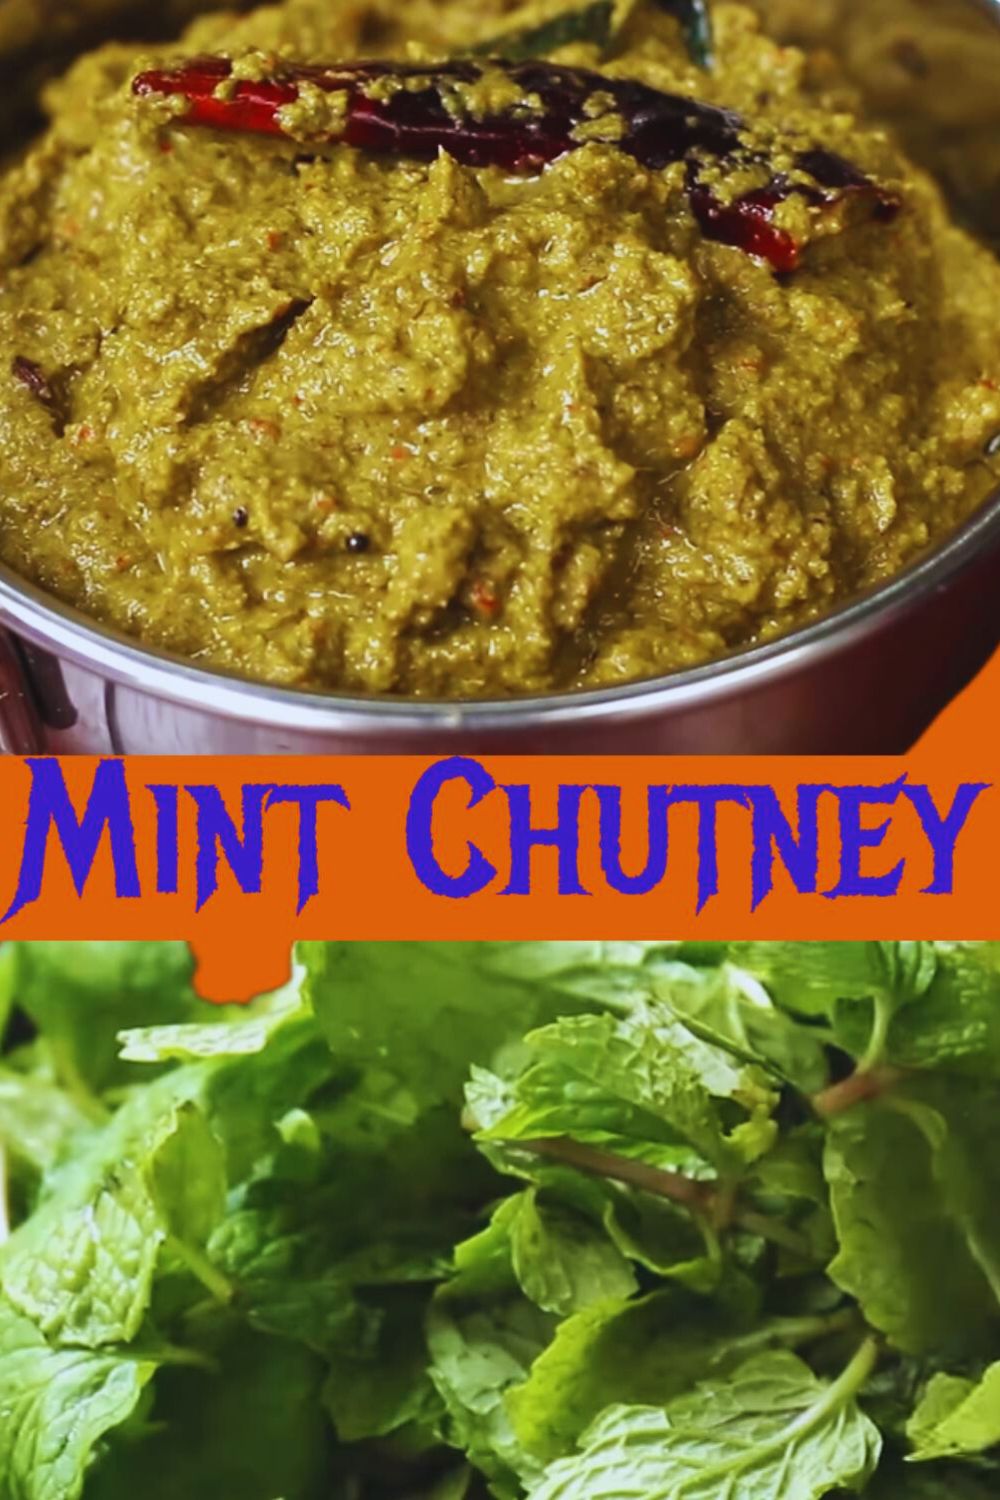
Savor the vibrant fusion of fresh mint leaves, aromatic spices, and a touch of coconut in my mint chutney recipe.
This culinary delight promises to elevate your dining experience, offering a burst of freshness and tanginess to complement a variety of dishes.
Follow my step-by-step guide to unlocking the secrets behind crafting this flavorful condiment, perfect for enhancing the taste of idli, dosa, upma, and more.
Let’s embark on a journey to create a homemade mint chutney that will redefine your culinary adventures.
KEY TAKEAWAYS
- Homemade Mint Chutney offers a burst of refreshing minty flavor, adding a delightful twist to your meals.
- Elevate a variety of dishes and snacks, from idlis and dosas to pakoras and biryanis, with the zesty goodness of Mint Chutney.
- Crafting this flavorful condiment is a breeze with simple ingredients and a step-by-step guide – perfect for both beginners and seasoned cooks.
- Extend the chutney’s freshness by storing it in an airtight container in the refrigerator, using clean utensils for scooping.
- Explore alternative mint chutney versions or try it with different dishes to discover your favorite flavor combinations. The options are as limitless as your culinary imagination!
How to Cook Mint Chutney? (Step by Step Guide with Images)
Step 1: Take a wide frying pan and heat it on a low flame on your gas stove. When it is hot enough add 2 tsp of white oil in it.
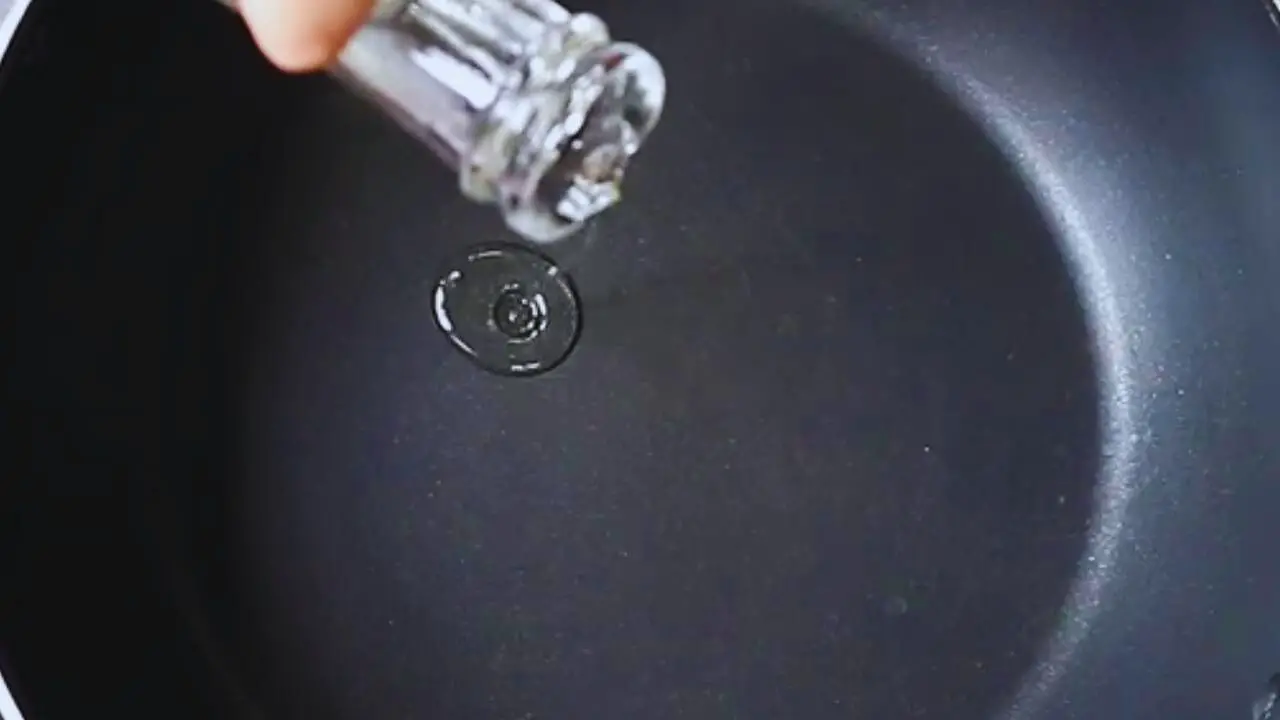
(Expert tip: You can use any type of white oil you have at home).
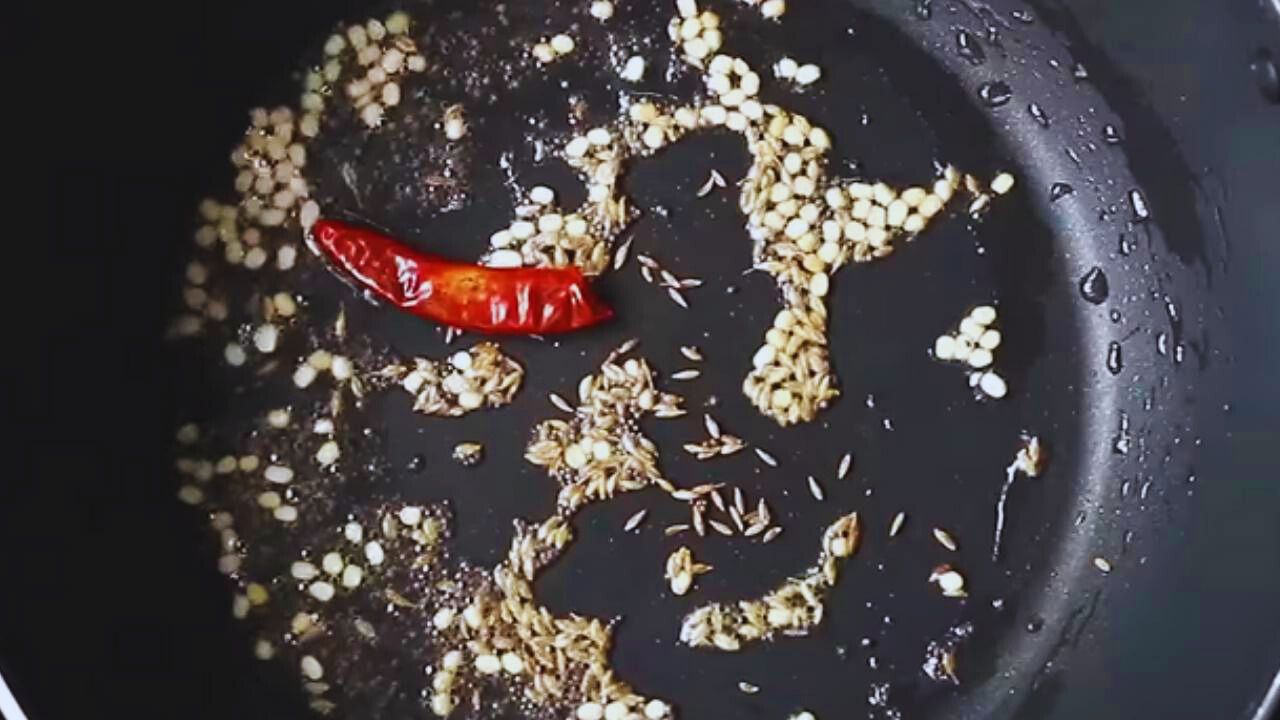
Step 2: When the oil is hot enough, add 1 tsp of black gram split (urad dal) and 1 tsp of cumin seeds to the frying pan.

Step 3: Stir the spices continuously for about half a minute to fry them nicely.
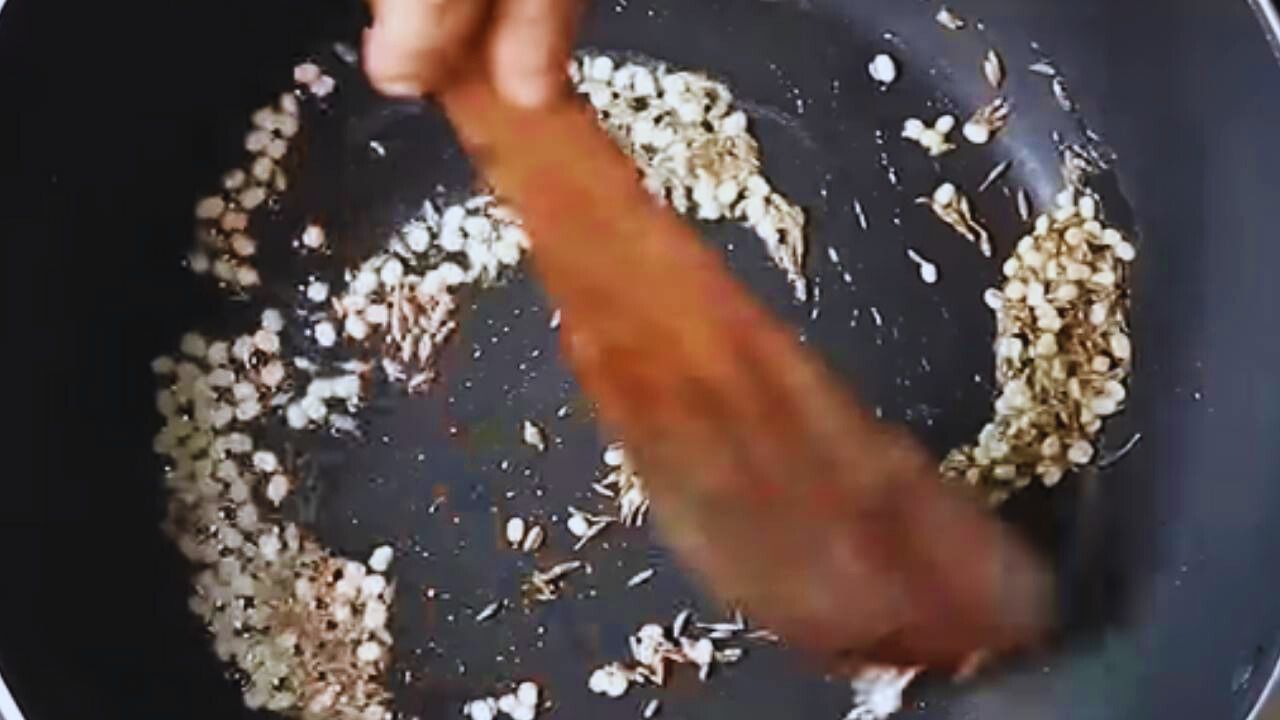
(Expert tip: Do not overcook the urad dal and cumin seeds as that will affect the taste of the mint chutney adversely).
Step 4: When they are fried well, add about 8 to 10 cloves of fresh and deskinned cloves to it.
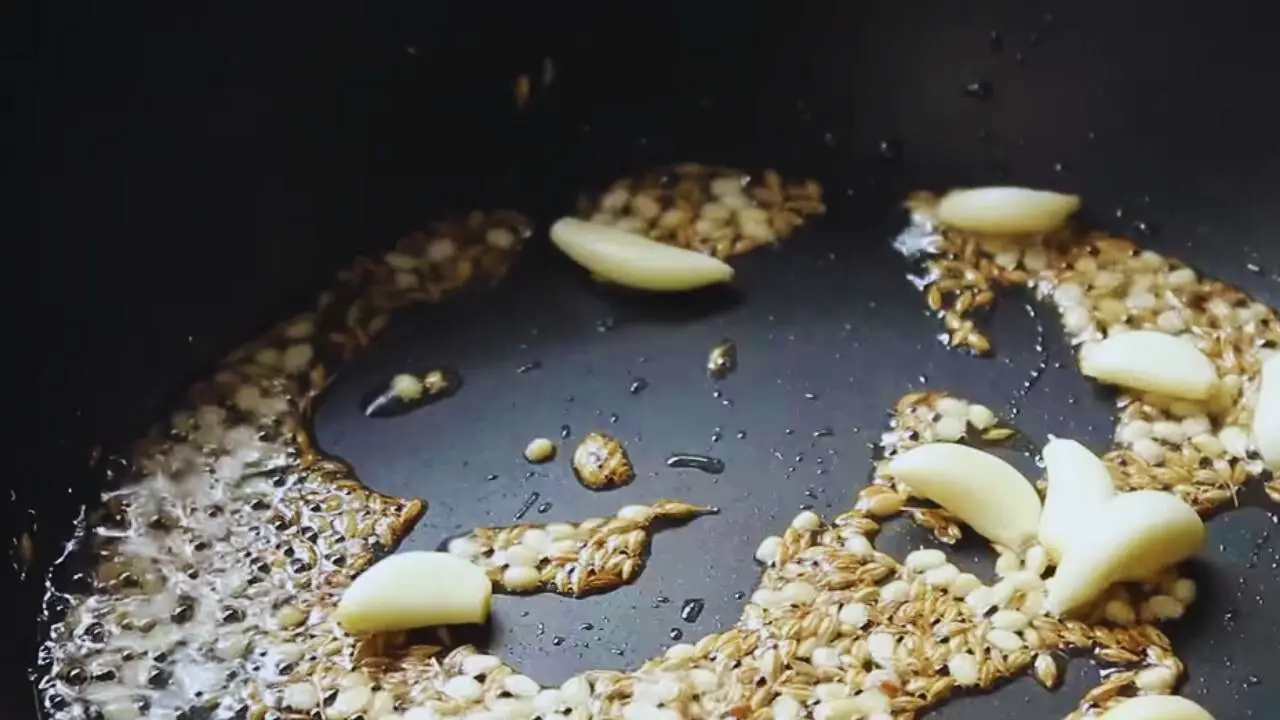
Step 5: Then, add 1 piece of fresh and deskinned ginger of about an inch size to the frying pan.
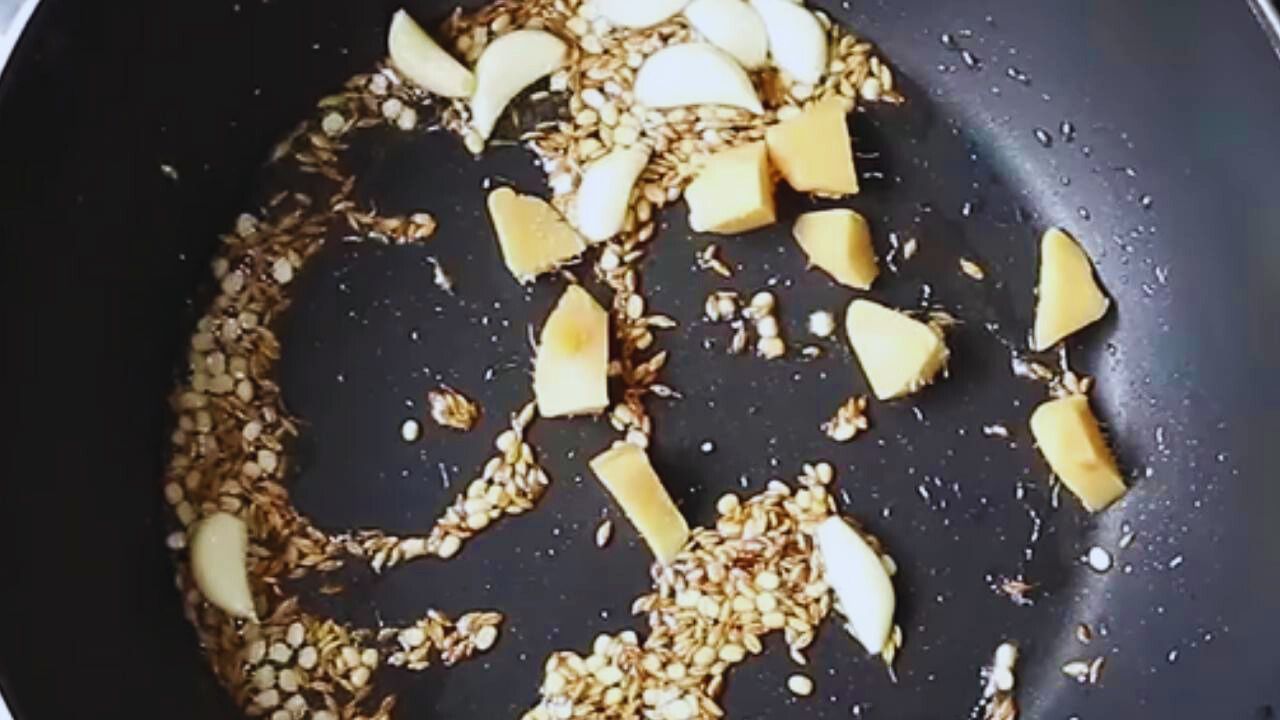
(Expert tip: You may cut the ginger roughly as I have for better and quicker cooking).
Step 6: Give the ingredients in the frying pan a nice stir for about half a minute.

Step 7: Now, add 1 piece of fresh green chili and 6 pieces of dry red chilies with their stalk removed.
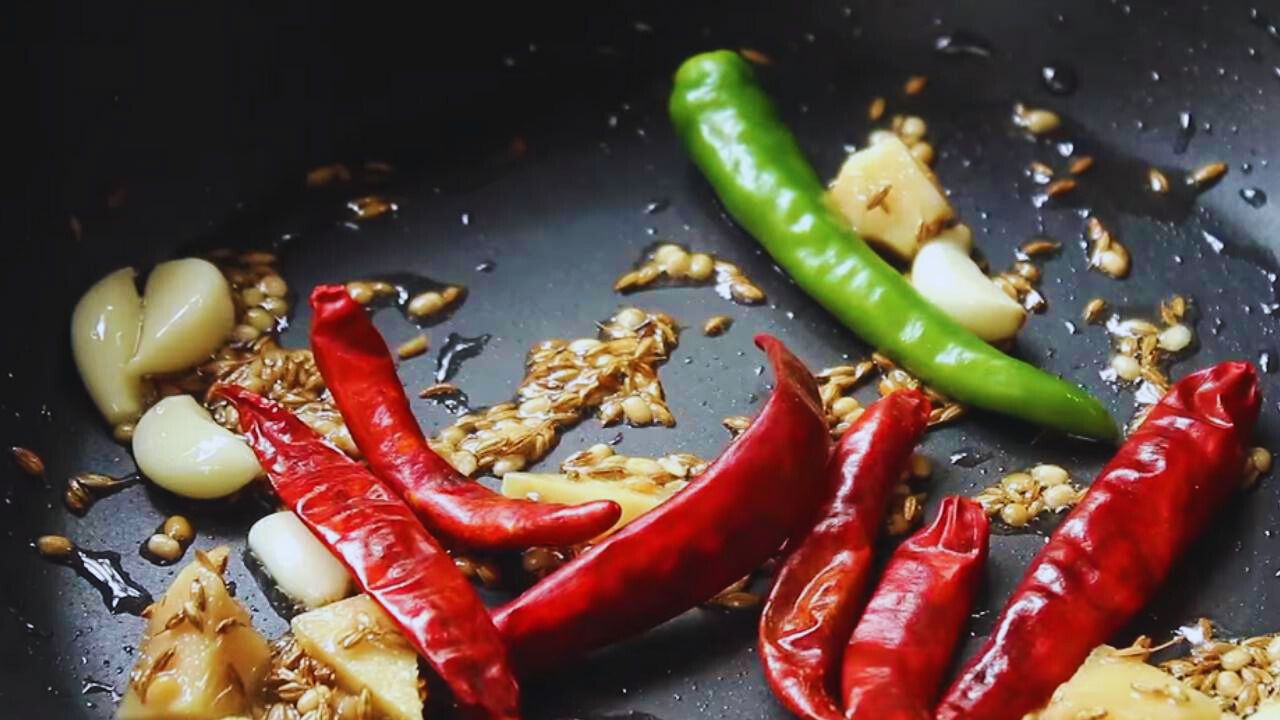
(Expert tip: You may break the green and red chilies in half if you want. You may even increase or decrease the number of red chilies according to the heat you prefer in the chutney).
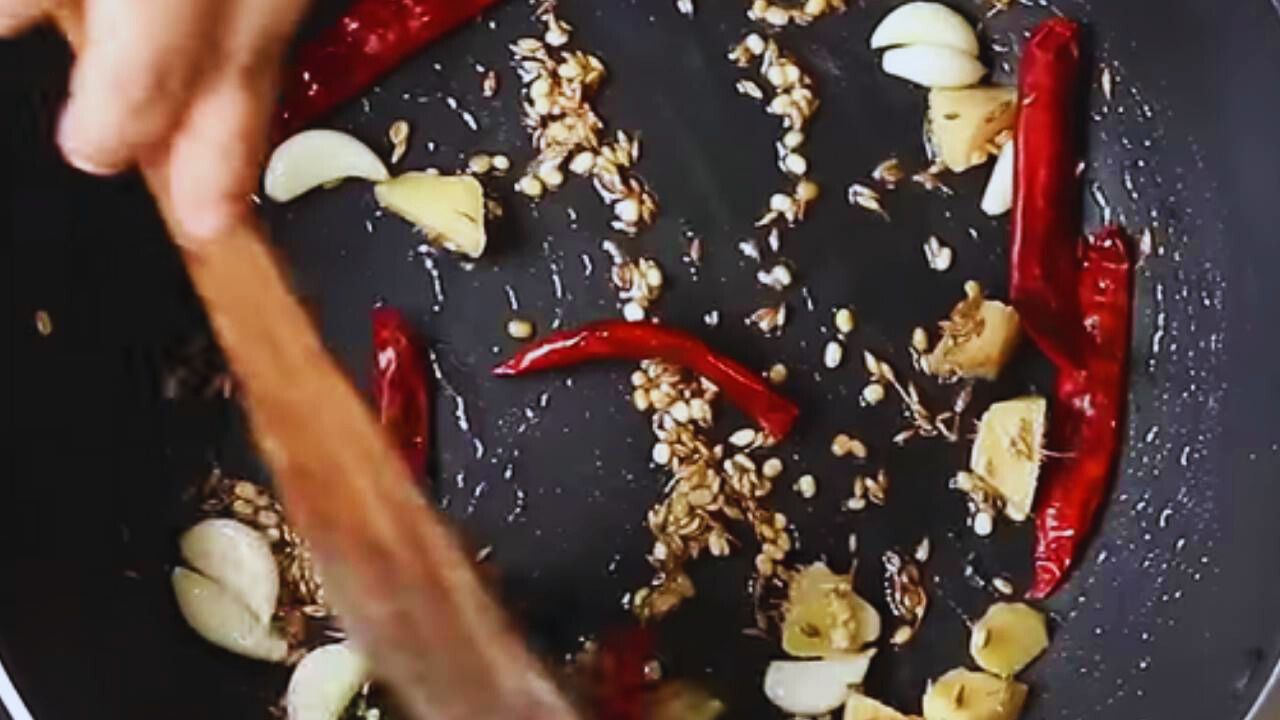
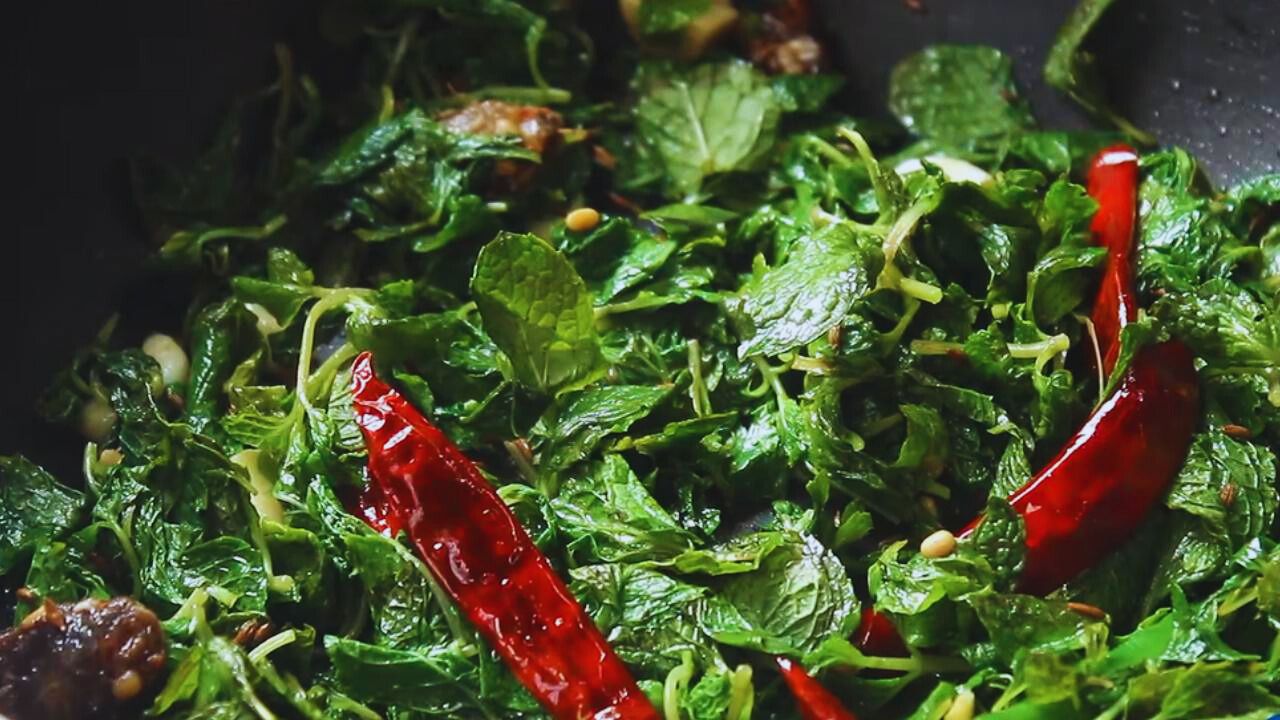
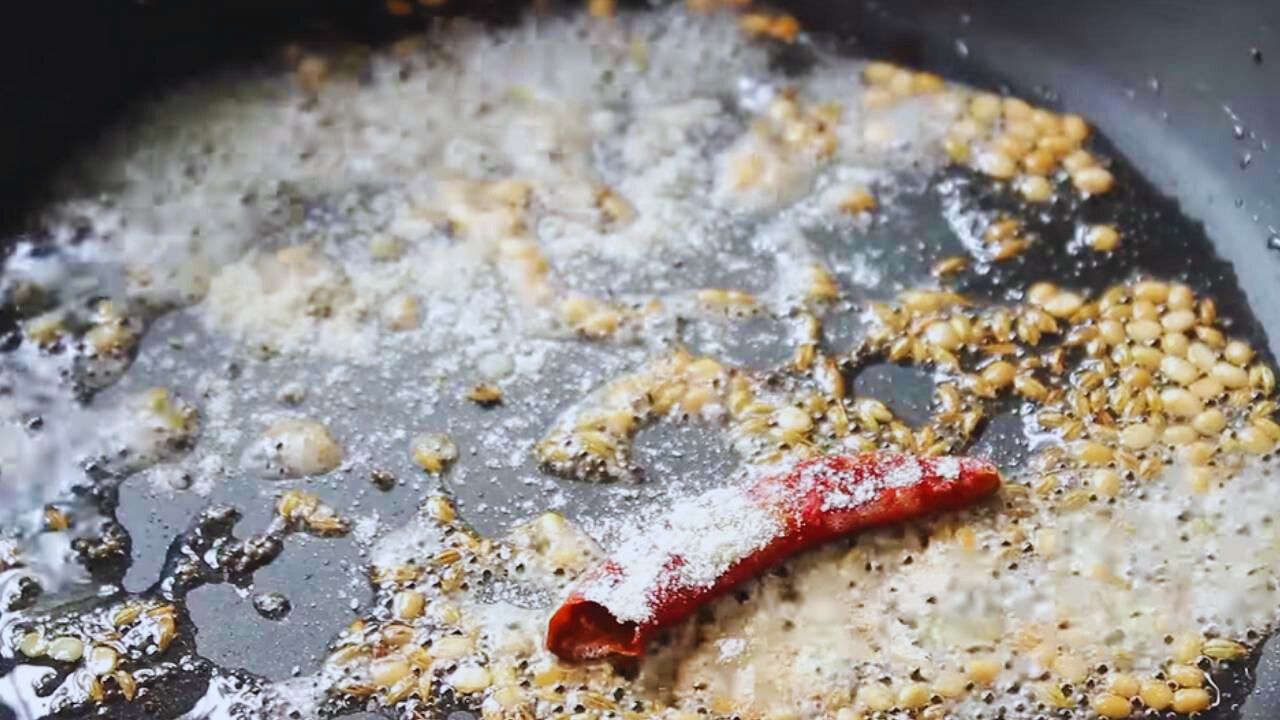
Step 8: Stir them for about a minute so that the chilies are adequately fried.
Step 9: Now, add a small piece, about the size of a gooseberry, of tamarind to the ingredients in the frying pan. Stir the ingredients for about a minute.
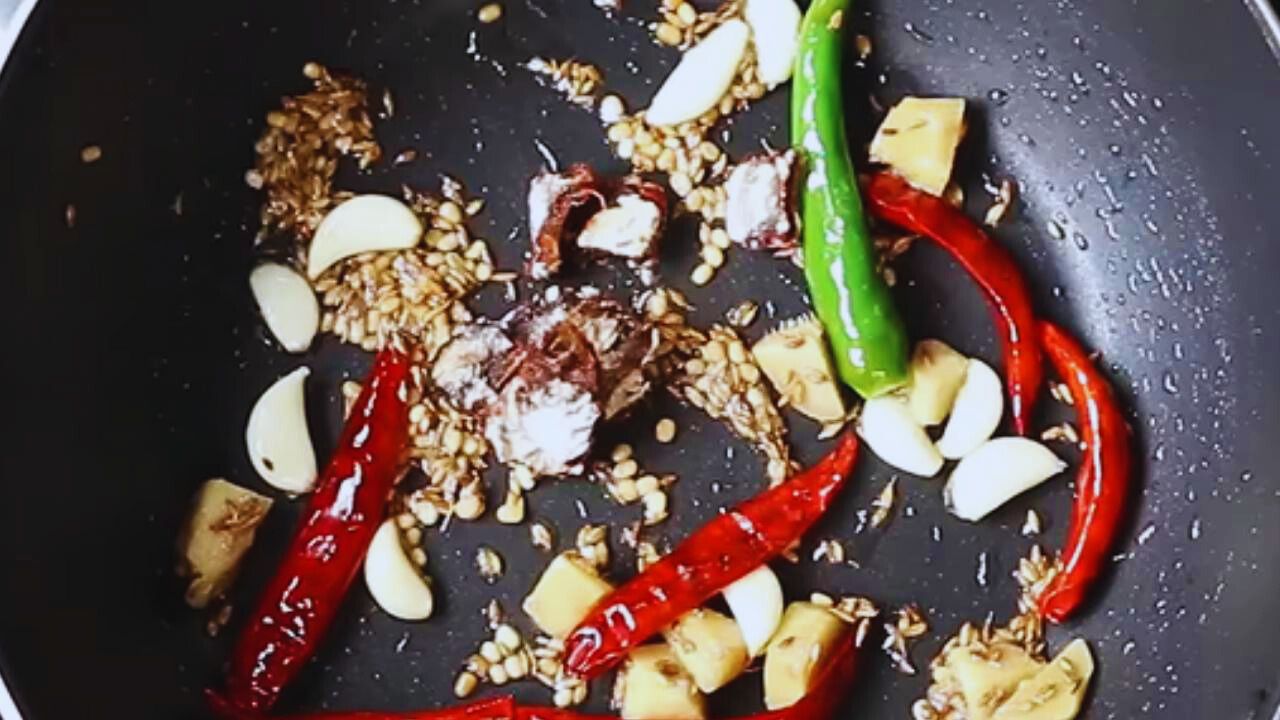
(Expert tip: You may cut the tamarind into small pieces, as I have, for better cooking).
Step 10: Now, add 2 cups of fresh and nicely washed mint leaves.
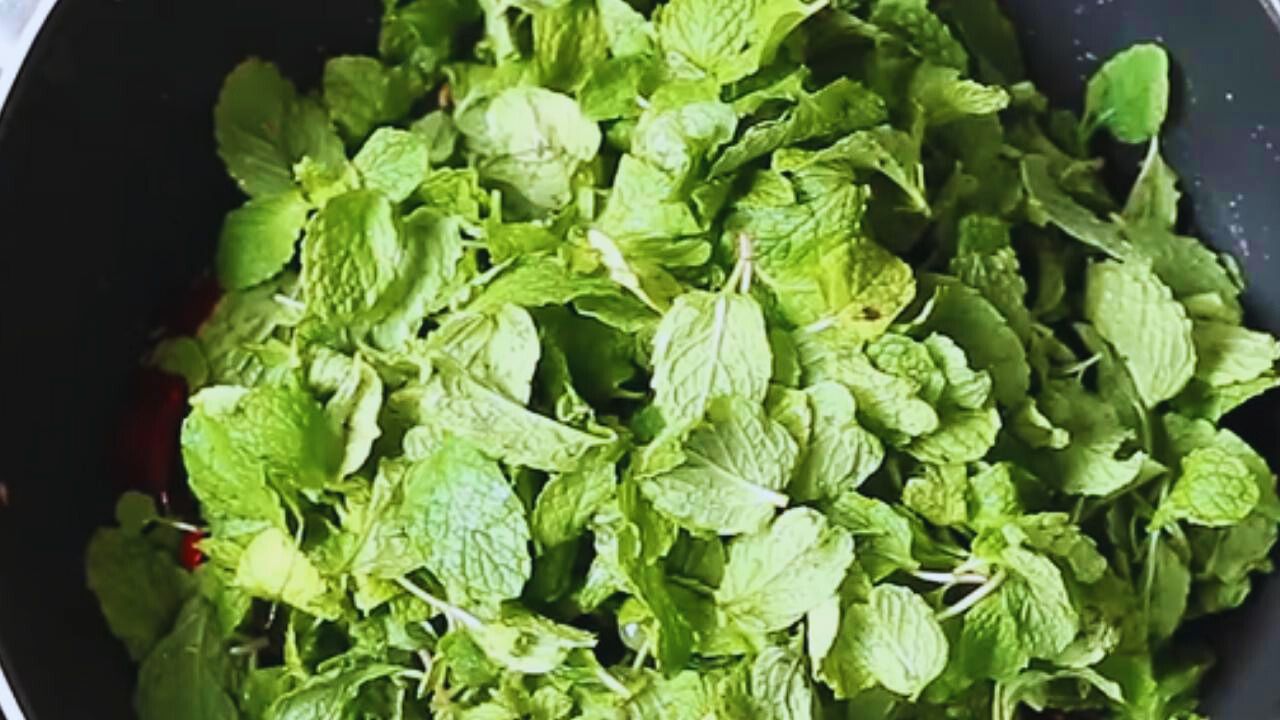
Step 11: Mix all the ingredients in the frying pan nicely.
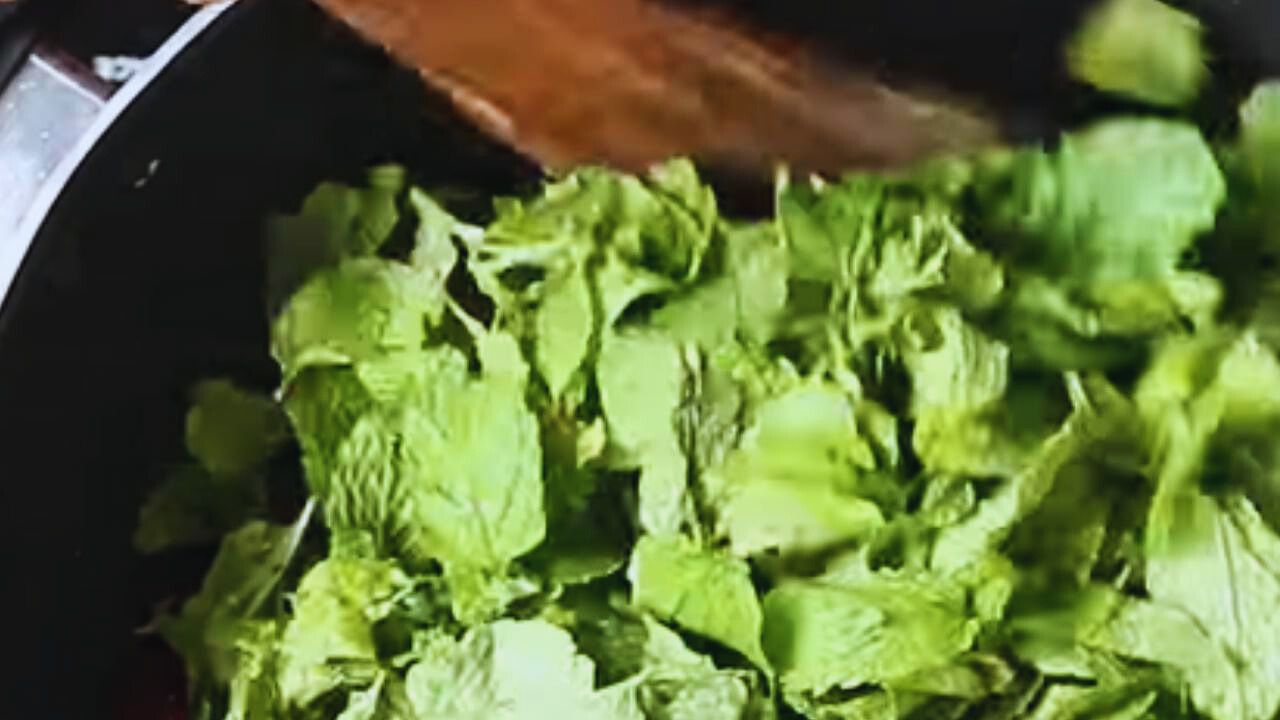
Step 12: Stir the ingredients occasionally until the leaves are shriveled up.
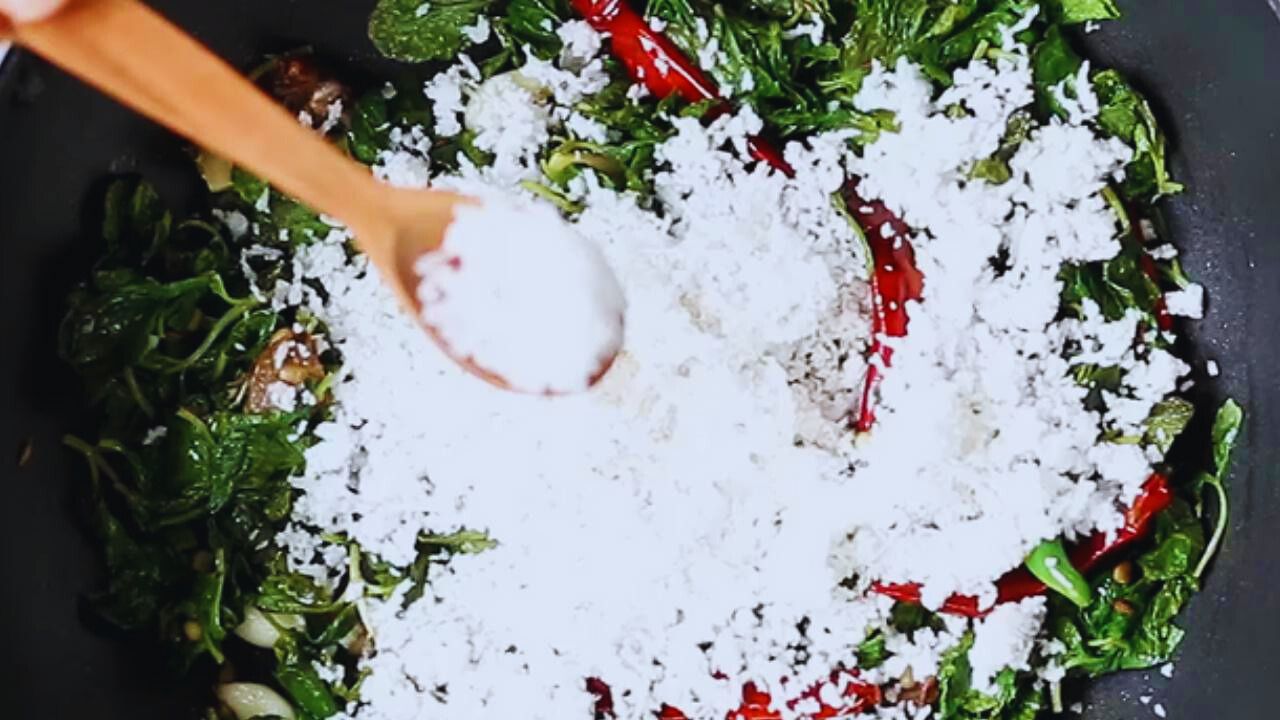
Step 13: At this point, add ½ a cup of fresh, grated coconut to the ingredients.
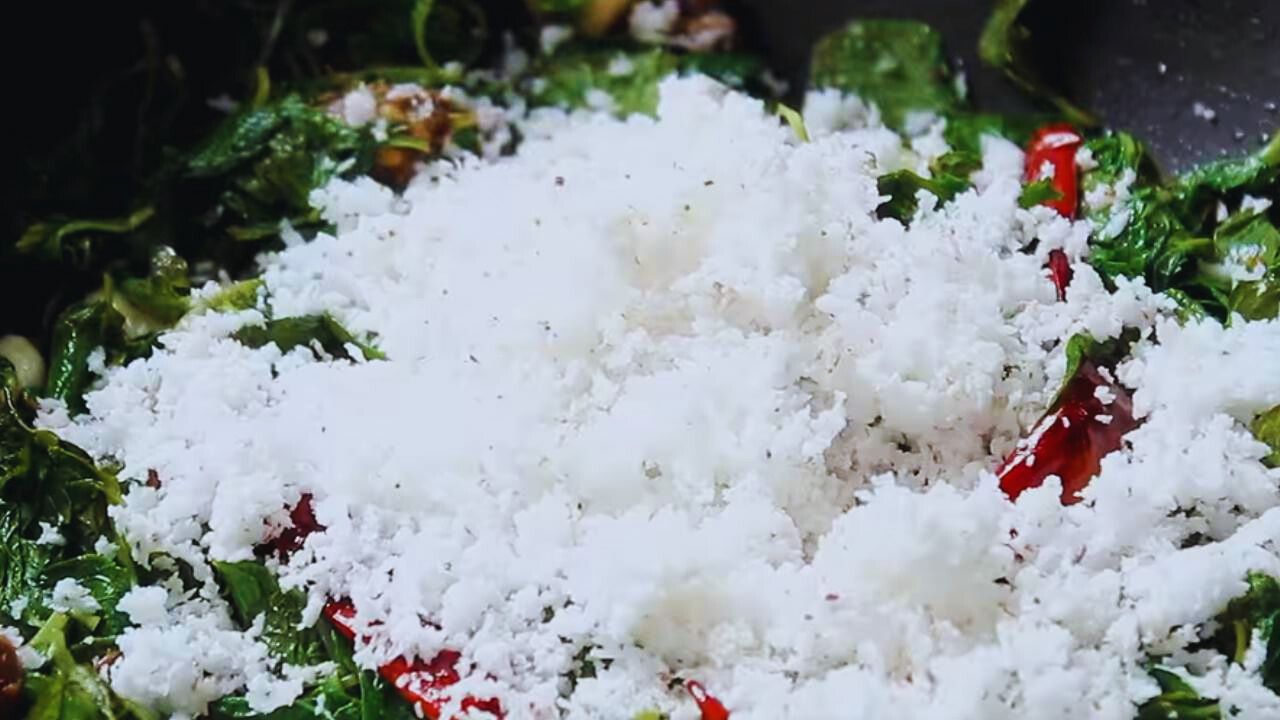
Step 14: Then, add 1 tsp of rock salt to the content in the frying pan. Mix them nicely.
(Expert tip: If you do not have rock salt at home, you can use regular table salt).
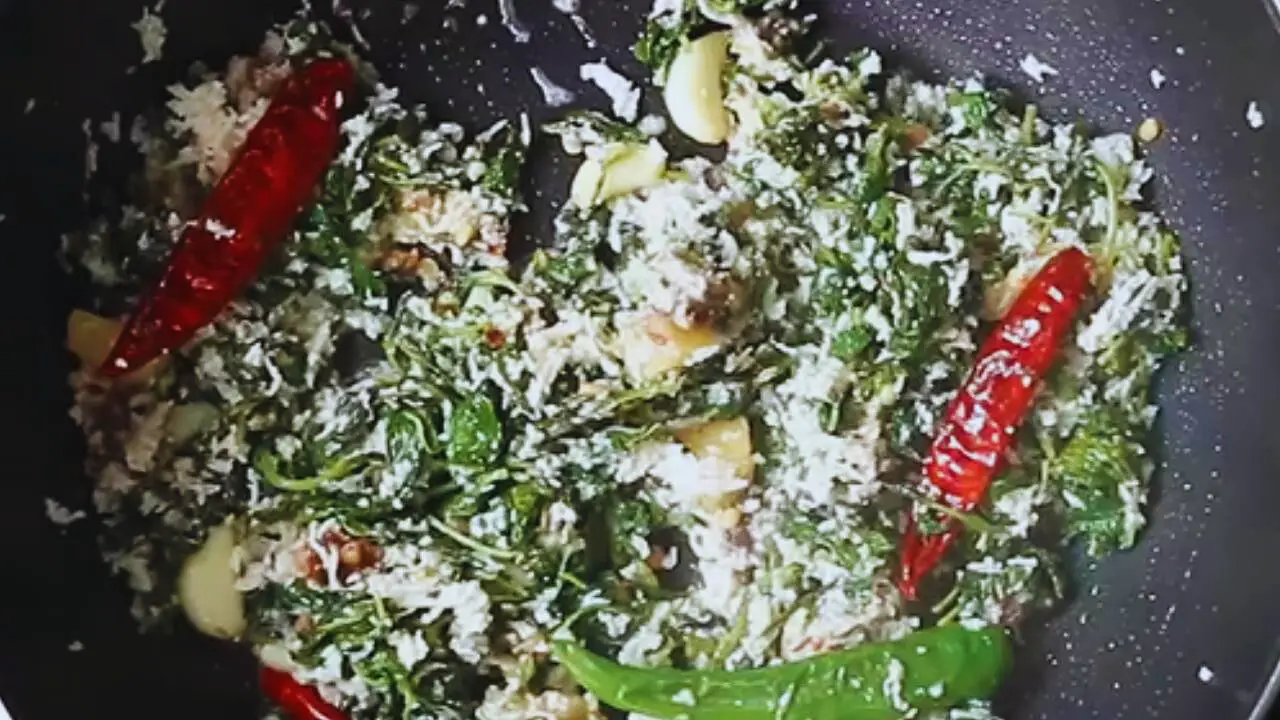
Step 15: Check that the ingredients are cooked nicely and have reduced significantly.
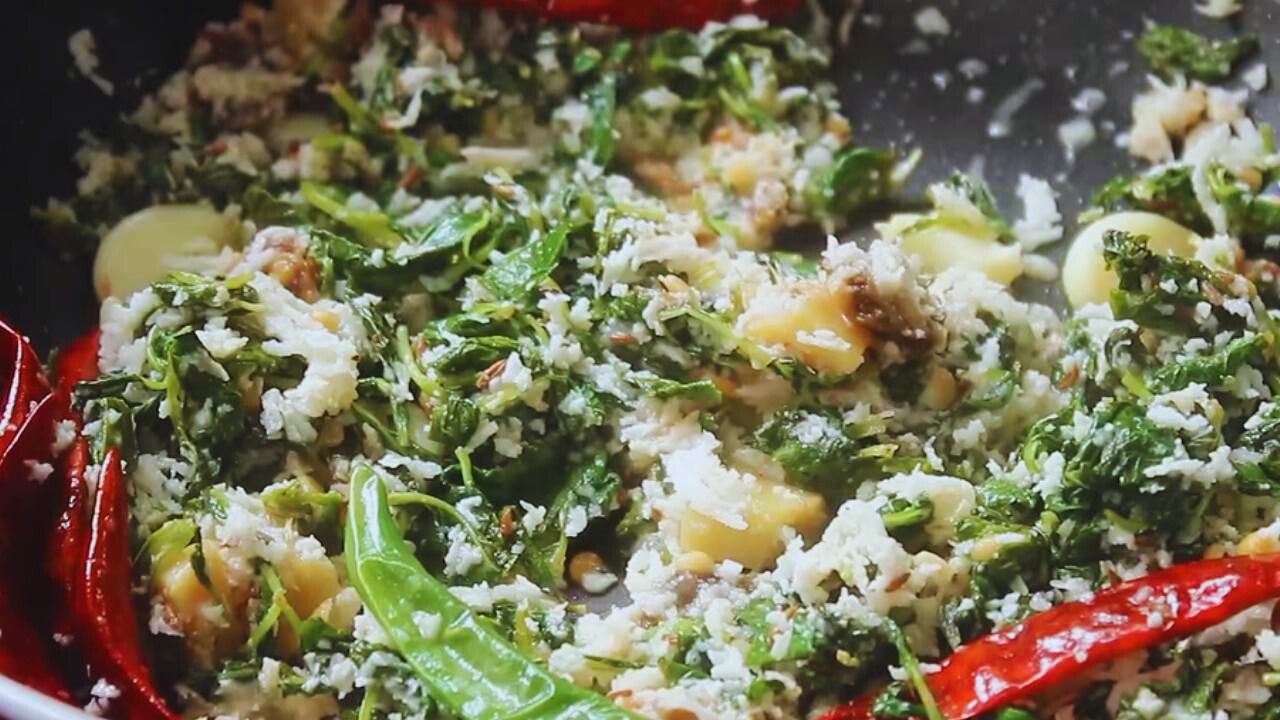
Step 16: Cook for some more time if needed. Turn off the flame of your gas stove and let the frying pan sit for a so that the mixture cools off completely.
Step 17: Now, add about 1 tbsp of water to the ingredients in the grinder.
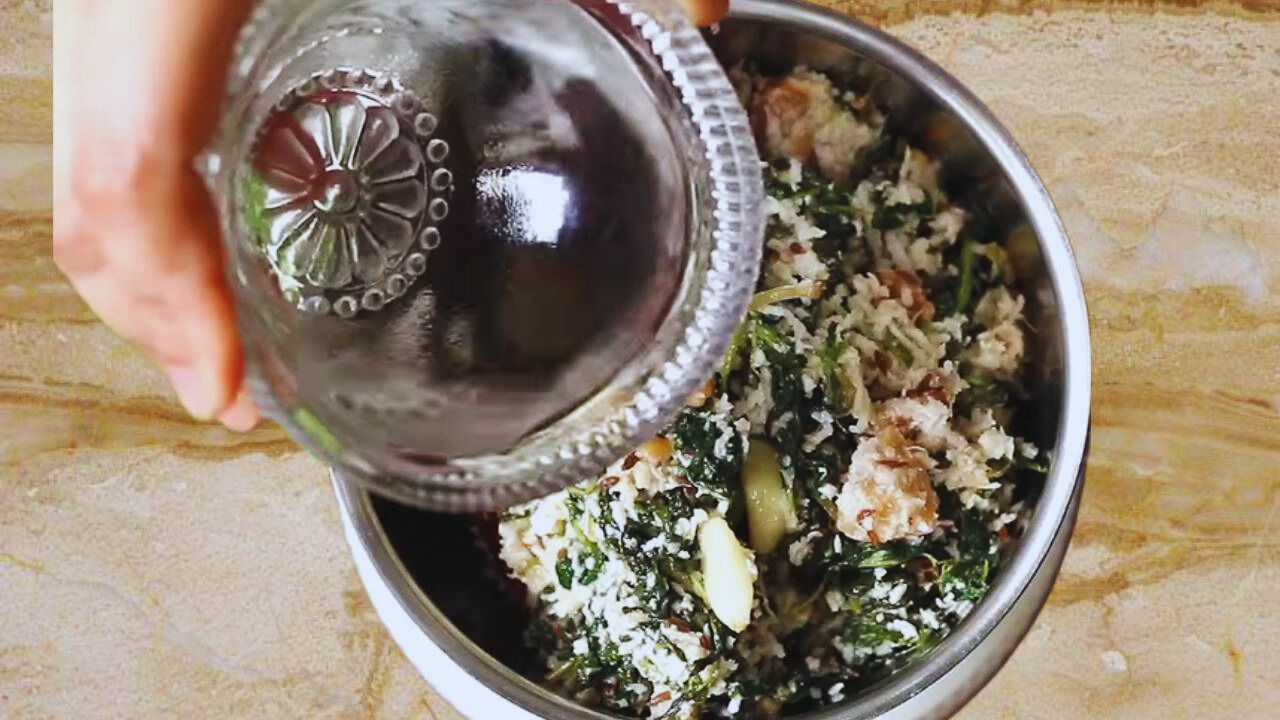
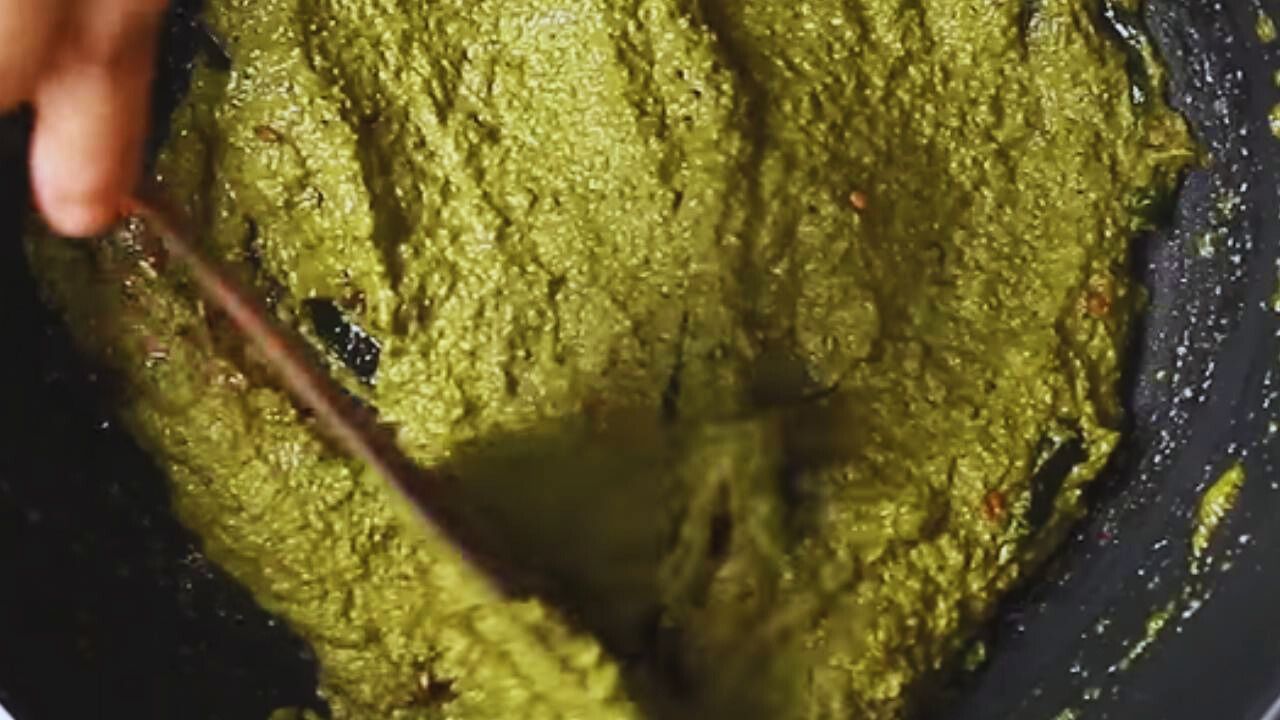
Step 18: Grind the ingredients to a fine paste and keep it aside.
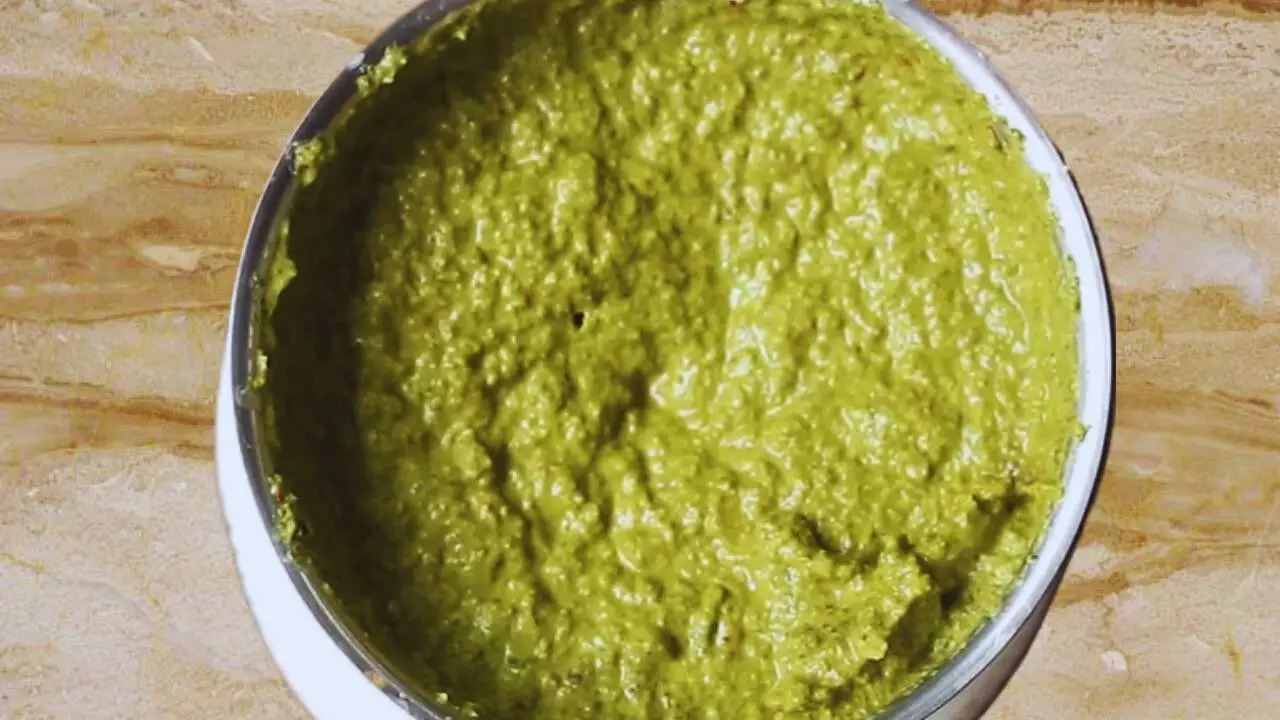
(Expert tip: Check for the consistency of the paste. If you do not want it to be very thick, add a little bit of water to it and mix it nicely).
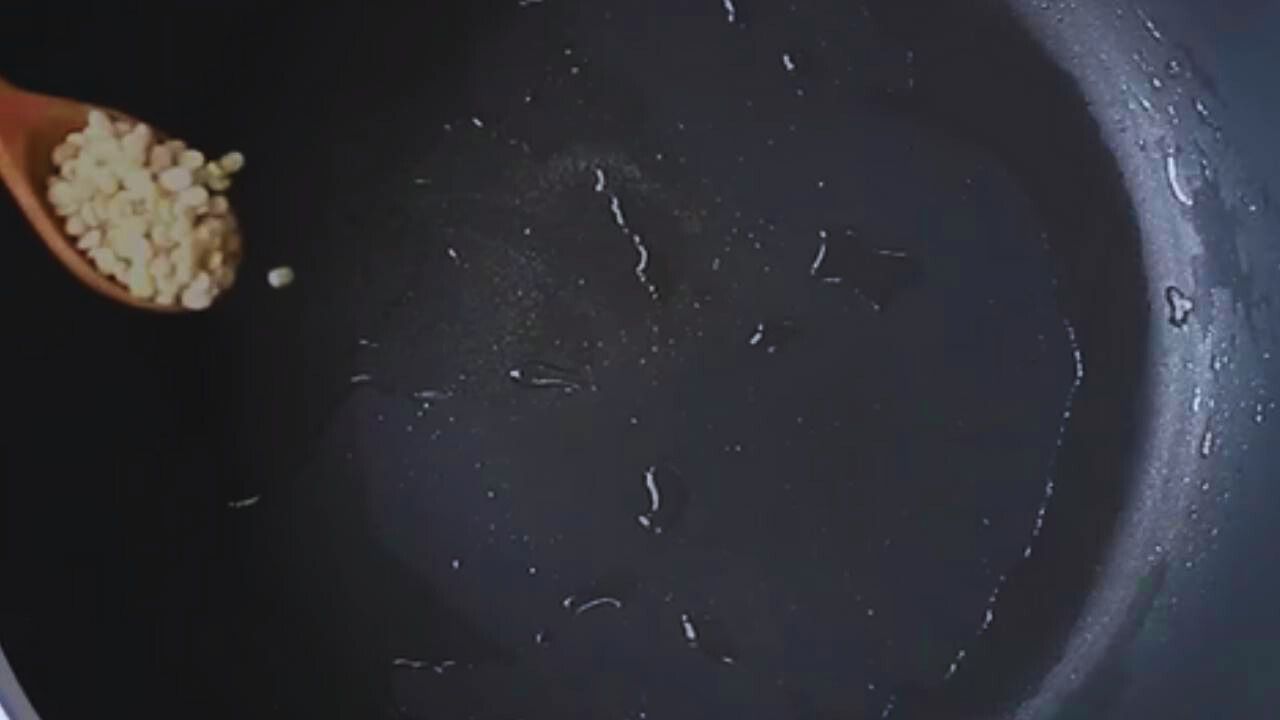
Step 19: Now, for tempering the chutney, take another frying pan and heat it on a high flame on your gas stove. When it is hot enough, add 1 tsp of white oil to it. After the oil heats up, add 1 tsp of urad dal.
Step 20: Then add 1 tsp of mustard seeds.
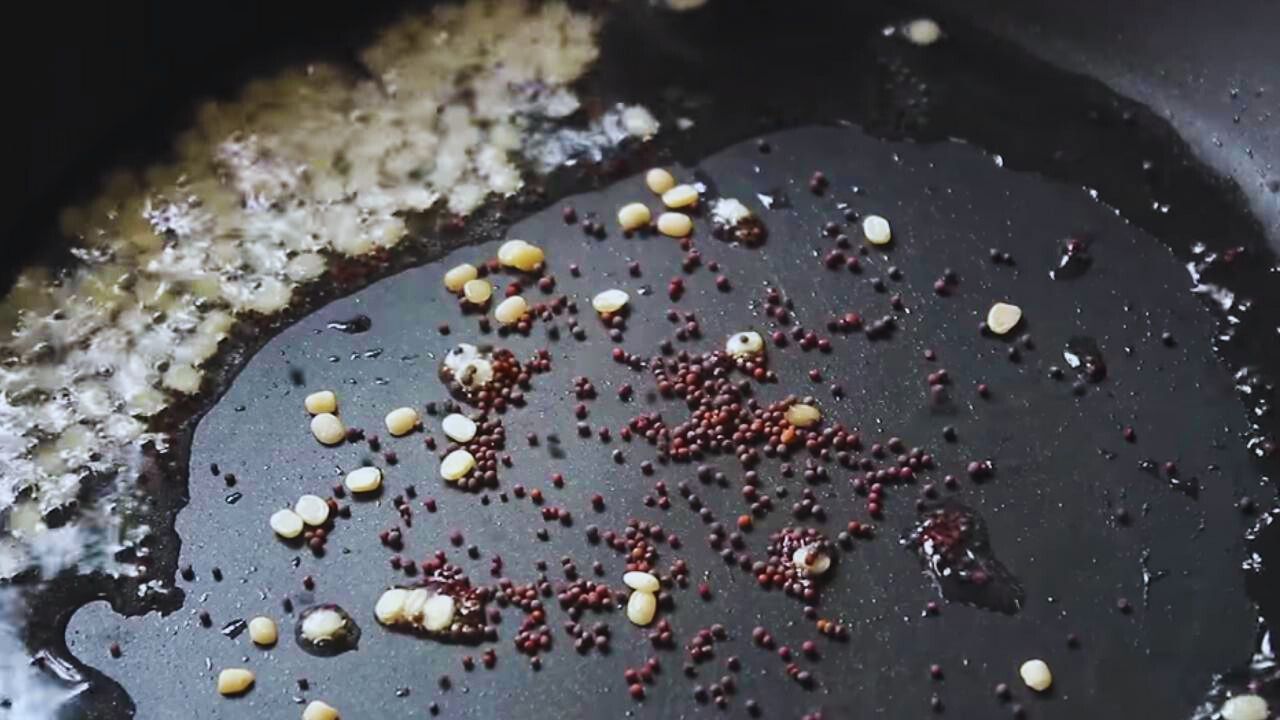
Step 21: Now add ½ a tsp of cumin seeds to the frying pan.
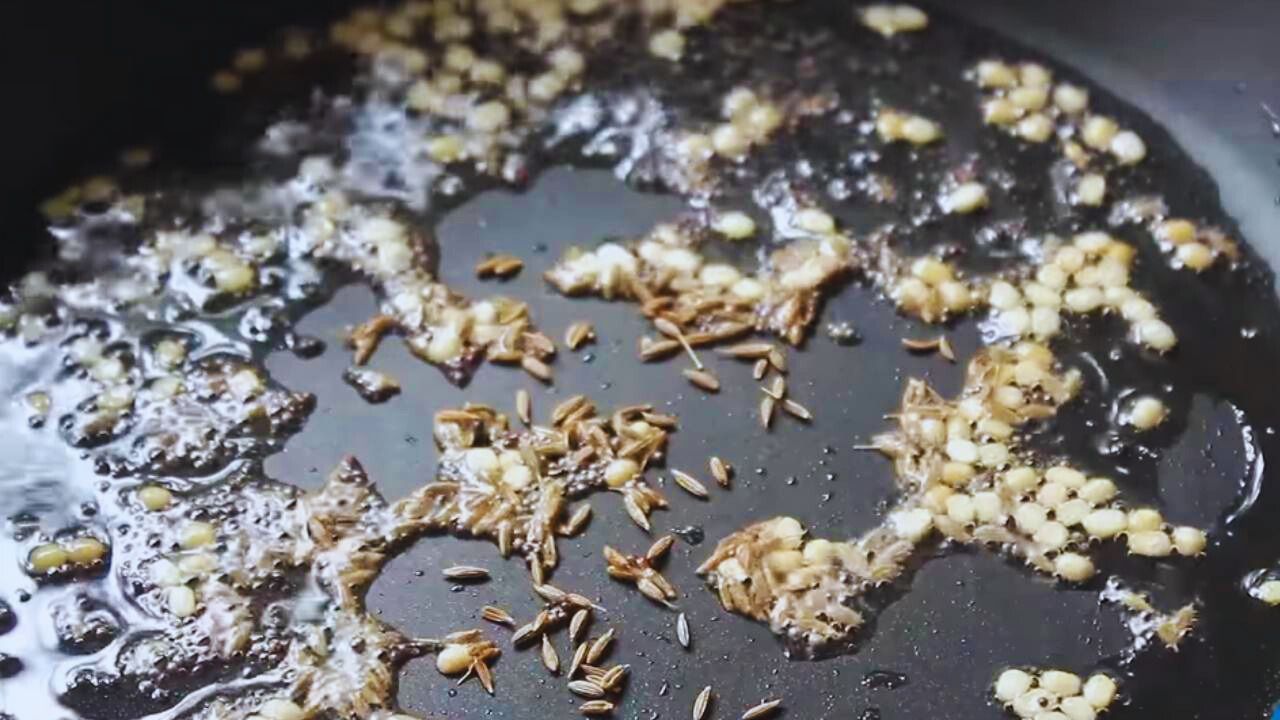
Step 22: Put one piece of dry red chili without its stalk, either whole or broken into two pieces.
Step 23: Also add ¼ tsp of asafetida powder and let it cook for a few seconds.
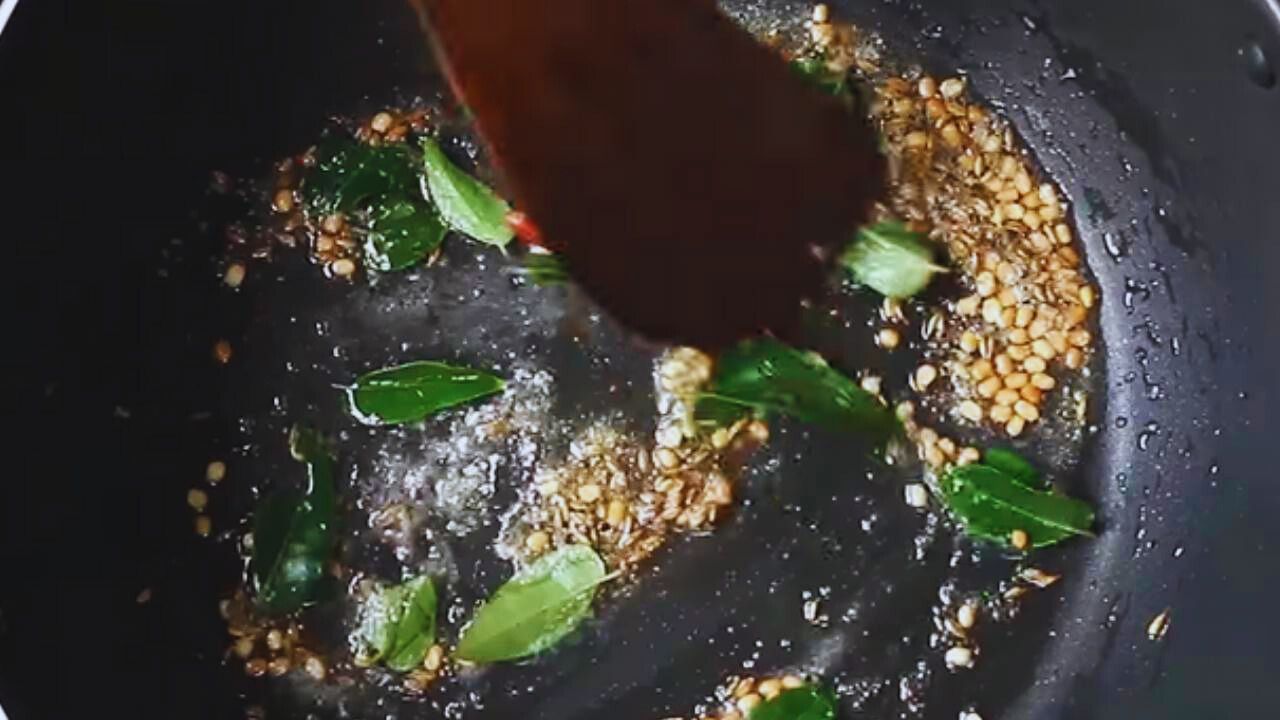
Step 24: Finally, add about 20 to 25 pieces of fresh curry leaves to the ingredients in the frying pan.

Step 25: Stir all the ingredients nicely for about a minute.
Step 26: Now, turn off the stove and pour the grounded mint paste from the grinder into the pan. Stir them to mix the chutney with the tempered ingredients nicely.
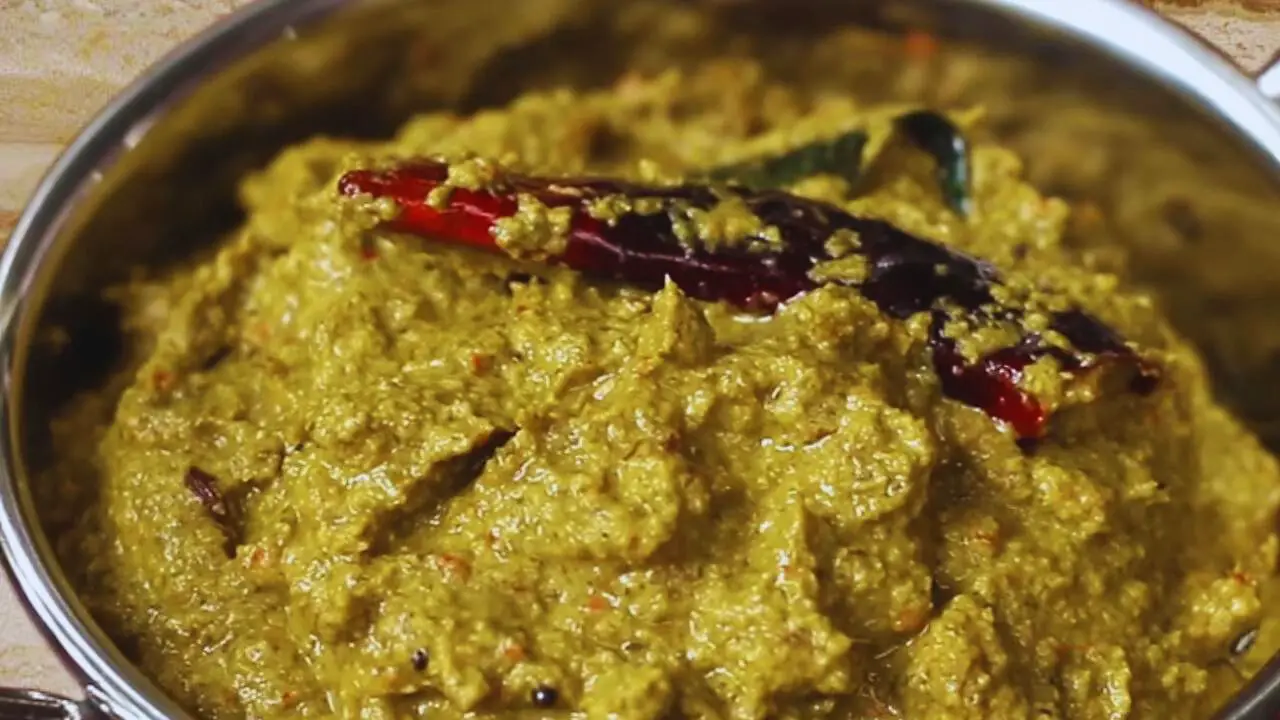
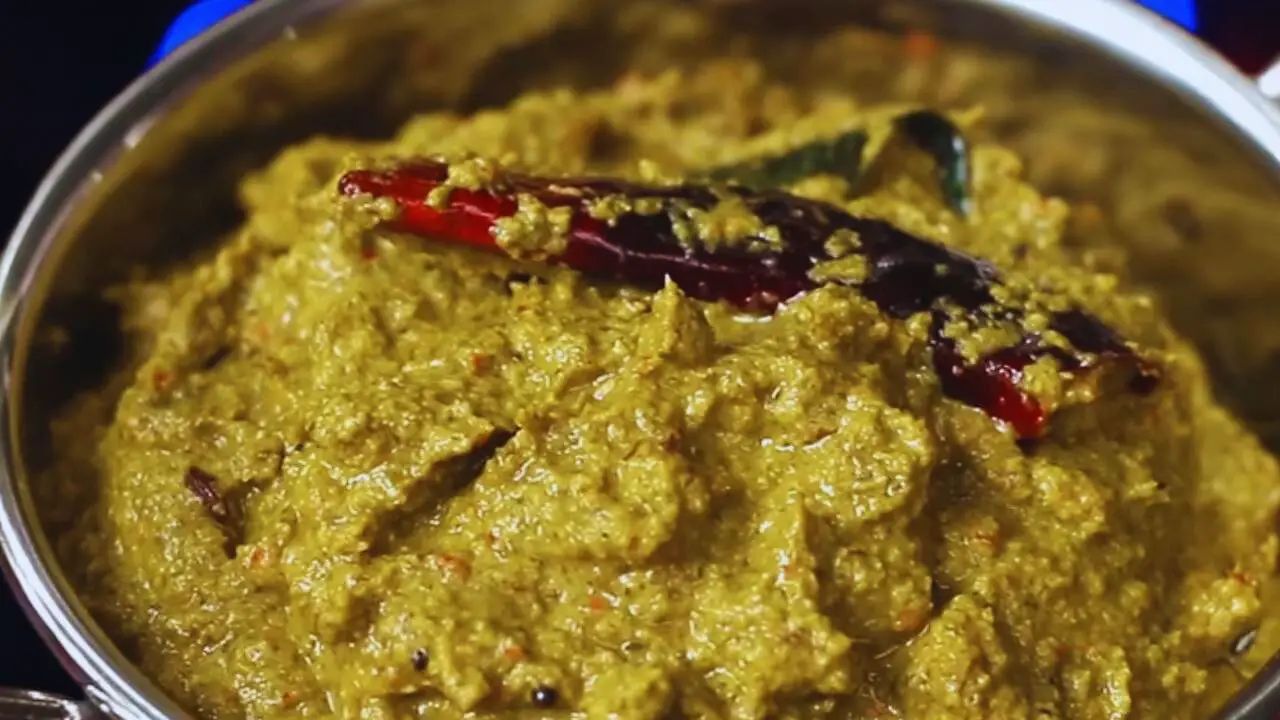
Step 27: Transfer the chutney from the frying pan to a container and your flavorful mint chutney is ready to be consumed with idli, dosa, upma, and a variety of dishes.
Pro Tips for Cooking Mint Chutney
Optimal Frying: While frying black gram split (urad dal) and cumin seeds, ensure a careful balance – avoid overcooking to maintain the intended taste of the mint chutney.
Ginger Quick Fix: Speed up the cooking process by roughly cutting fresh ginger; this enhances its flavor infusion into the chutney.
Chili Customization: Adjust the heat to your preference by breaking green and red chilies in half during the cooking process.
Tamarind Tweak: Improve the tamarind’s cooking efficiency by cutting it into smaller pieces, ensuring a smoother blend into the chutney.
Coconut Integration: Add grated coconut when the mint leaves are sufficiently shriveled for a perfect blend of textures.
Salt Sensibility: If rock salt is unavailable, regular table salt can be a suitable substitute for seasoning.
Consistency Check: Before grinding, assess the mixture’s thickness; for a lighter chutney, add a bit of water during the blending process.
Tempering Technique: Master the art of tempering by allowing mustard seeds, urad dal, cumin seeds, and curry leaves to sizzle harmoniously for enhanced aroma.
Curry Leaf Crunch: Fresh curry leaves play a vital role – ensure they are crisp and aromatic to add a delightful crunch to your chutney.
Flavor Fusion: Let the chutney sit after grinding to allow flavors to meld, resulting in a more harmonious and well-rounded taste.
Mint Chutney Storing Tips
Refrigeration is Key: Store mint chutney in an airtight container in the refrigerator to prolong its freshness and maintain its vibrant flavors.
Use Clean Utensils: Always use dry and clean spoons when scooping out the mint chutney from the container to prevent moisture and contamination, which can reduce shelf life.
Avoid Overexposure: Minimize the chutney’s exposure to air by pressing plastic wrap directly onto its surface before sealing the container; this helps prevent discoloration.
Layer of Oil: Consider adding a thin layer of oil on the surface of the chutney before refrigerating. This acts as a natural preservative, further extending its shelf life.
Freezing Option: Mint chutney freezes well. Portion it into ice cube trays for convenient usage – simply thaw individual portions as needed.
Temperature Awareness: Be mindful of the refrigerator temperature. Maintaining a consistent cold temperature helps preserve the chutney’s quality.
How Does Mint Chutney Taste?
Refreshing Mint Burst: The predominant flavor is an unmistakable burst of cool and refreshing mint, awakening your taste buds with its invigorating essence.
Zesty Spice Kick: Complemented by a zesty spice kick, the chutney delivers a subtle heat that adds an exciting dimension to its overall taste profile.
Tangy Tamarind Twist: A delightful tangy tamarind twist provides a perfect balance, enhancing the chutney’s complexity and offering a mildly sour undertone.
Coconut Creaminess: The addition of fresh, grated coconut contributes to a creamy texture, enriching the chutney and creating a harmonious blend of flavors.
Herbal Medley: The infusion of fresh mint leaves creates an herbal medley that not only dominates the palate but also brings a sense of natural goodness to the chutney.
Savory Garlic Infusion: The inclusion of fresh, deskinned garlic cloves results in a savory garlic infusion, imparting depth and a satisfying umami quality to the chutney.
The Warmth from Cumin and Urad Dal: The subtle warmth from roasted cumin seeds and black gram split (urad dal) offers a distinctive depth of flavor, elevating the overall taste experience.
A Hint of Coconut Sweetness: The grated coconut adds a hint of sweetness, balancing the chutney’s spiciness and creating a delightful contrast of flavors.
Spicy Chili Elevations: The combination of fresh green chilies and dry red chilies brings about a spicy chili elevation, ensuring a tantalizing heat that lingers pleasantly.
Earthy Ginger Undertones: The presence of fresh, deskinned ginger introduces earthy undertones, complementing the overall flavor profile with its warm and mildly pungent notes.
Mint Chutney Alternatives
If you are craving the invigorating minty goodness but want to explore alternatives to traditional mint chutney, or have run out of stock, here are some delightful Indian options that promise to tickle your taste buds:
Coriander Mint Chutney: Swap out a portion of mint leaves for fresh coriander (cilantro) to create a vibrant coriander mint chutney. The combination of both herbs adds a refreshing and herbaceous twist.
Pudina Pachadi (Mint Yogurt Chutney): Blend mint leaves with yogurt to craft a creamy pudina pachadi. This cooling chutney not only offers a minty kick but also provides a luscious, tangy undertone.
Mint Coconut Chutney: Combine mint leaves with grated coconut to whip up a mint coconut chutney. The coconut adds a subtle sweetness, enhancing the minty freshness with a creamy texture.
Mint and Curry Leaf Chutney: Infuse the classic minty flavor with the aromatic essence of curry leaves. This mint and curry leaf chutney brings together two powerful herbs, creating a unique and fragrant condiment.
Mint Tamarind Chutney: Incorporate tamarind into mint chutney for a delightful mint tamarind chutney. The sweet and tangy notes of tamarind complement the mint, offering a dynamic flavor combination.
Green Mango Mint Chutney: Introduce the tangy goodness of green mango to mint chutney for a green mango mint chutney. The tartness of mango enhances the overall taste, creating a perfect balance.
Mint Peanut Chutney: Add roasted peanuts to mint chutney to create a rich and nutty mint peanut chutney. The crunch of peanuts complements the minty freshness, providing a delightful texture.
Mint Tomato Chutney: Blend mint leaves with ripe tomatoes for a refreshing mint tomato chutney. The juicy sweetness of tomatoes enhances the minty flavor, creating a versatile condiment.
What Dishes Can Mint Chutney Be Served with?
Idli and Dosa: Spread mint chutney over soft idlis or crispy dosas for a burst of minty freshness that complements the mild flavors of these South Indian staples.
Samosa: Dip your samosas into mint chutney to add a zesty kick that perfectly balances the savory and spiced filling.
Pakoras (Fritters): Serve mint chutney alongside pakoras, whether they are made with potatoes, onions, or spinach, for a refreshing contrast to the crispy texture.
Chaat Varieties: Drizzle mint chutney over various chaat items like pani puri, sev puri, or bhel puri to enhance the medley of flavors with its minty and tangy notes.
Sandwiches and Wraps: Use mint chutney as a spread in sandwiches or wraps to infuse a burst of freshness into your lunch or snack.
Kebabs: Pair mint chutney with grilled or tandoori kebabs, whether they are made from vegetables, paneer, or meat, to add a cooling element to the smoky flavors.
Rice Dishes and Upma: Serve mint chutney as a side with upma and a variety of rice dishes including biryanis or pulao to provide a refreshing contrast to the rich and aromatic rice dishes.
Roti and Paratha: Enjoy mint chutney with plain roti or stuffed parathas to enhance the overall dining experience with its minty and herbaceous notes.
Tandoori Chicken: Complement the smoky flavors of tandoori chicken with mint chutney for a delightful and cooling accompaniment.
Vegetable Spring Rolls: Dip vegetable spring rolls into mint chutney for a fusion of flavors that adds a refreshing twist to the crispy exterior.
Pulses: Mix mint chutney with dal for an unconventional yet delicious pairing that brings a burst of flavor to your meal.
Bread Rolls: Serve mint chutney with spicy or potato-filled bread rolls to cut through the richness and add a layer of refreshing taste.
Recipe Card

Mint Chutney | Pudina Chutney
Ingredients
- 2 cups Fresh mint leaves
- 2 tsp White oil
- 1 tsp Black gram split (urad dal)
- 1 tsp Cumin seeds
- 8 cloves Garlic (deskinned)
- 1 piece Fresh ginger 1-inch size (deskinned and cut roughly)
- 1 piece Fresh green chili medium size
- 6 pieces Dry red chilies medium size without the stalk
- 1 piece Tamarind (the size of a gooseberry)
- ½ cup Grated coconut
- 1 tsp Rock salt
- 1 tbsp Water
For Tempering:
- 1 tsp White oil
- 1 tsp Black gram split (urad dal)
- 1 tsp Mustard seeds
- ½ tsp Cumin seeds
- 1 piece Dry red chili
- ¼ tsp Asafetida powder
- 20 pieces Fresh curry leaves
Instructions
- Place a wide frying pan on low heat and add 2 tsp of any white oil you have at home.
- Once the oil is hot, add 1 tsp each of black gram split (urad dal) and cumin seeds to the pan.
- Stir the spices for about 30 seconds to ensure they fry evenly. Be cautious not to overcook them, as it can affect the chutney's taste.
- Once they're fried, add 8 to 10 deskinned cloves of fresh garlic to the pan.
- Add roughly chopped ginger (about an inch in size) to the pan. Roughly cut ginger helps in quicker cooking.
- Stir the ingredients in the pan for around 30 seconds.
- Introduce 1 fresh green chili and 6 dry red chilies (stalks removed) to the pan. Adjust the heat by breaking the chilies if needed.
- Fry the chilies for about a minute until they're adequately cooked.
- Include a small piece of tamarind (about the size of a gooseberry) into the mixture and stir for a minute.
- Add 2 cups of fresh, washed mint leaves to the pan.
- Thoroughly mix all the ingredients in the pan.
- Stir occasionally until the mint leaves shrink.
- Now, add ½ cup of fresh, grated coconut and 1 tsp of rock salt to the mixture. Combine them well.
- Ensure the ingredients are cooked and significantly reduced.
- Cook a bit longer if needed, then turn off the stove. Allow the mixture to cool completely in the pan.
- Transfer the cooled mixture to a grinder. Add about 1 tbsp of water and blend into a fine paste.
- For tempering, heat another frying pan on high heat. Add 1 tsp of white oil.
- Once the oil is hot, add 1 tsp of urad dal and 1 tsp of mustard seeds to the pan.
- Include ½ tsp of cumin seeds, a piece of dry red chili, and ¼ tsp of asafetida powder. Let them cook briefly.
- Finally, add 20 to 25 fresh curry leaves to the pan and stir for about a minute.
- Turn off the stove and pour the ground mint paste into the pan. Mix well with the tempered ingredients.
- Transfer the mint chutney to a container, and it's ready to be enjoyed with idli, dosa, upma, or any dish of your choice.
Notes
Nutrition Info (Estimation Only)
Conclusion
In conclusion, let the vibrant taste of homemade mint chutney redefine your culinary experiences.
Its refreshing kick and versatility make it a must-have addition to your dining repertoire, bringing joy to every bite.


