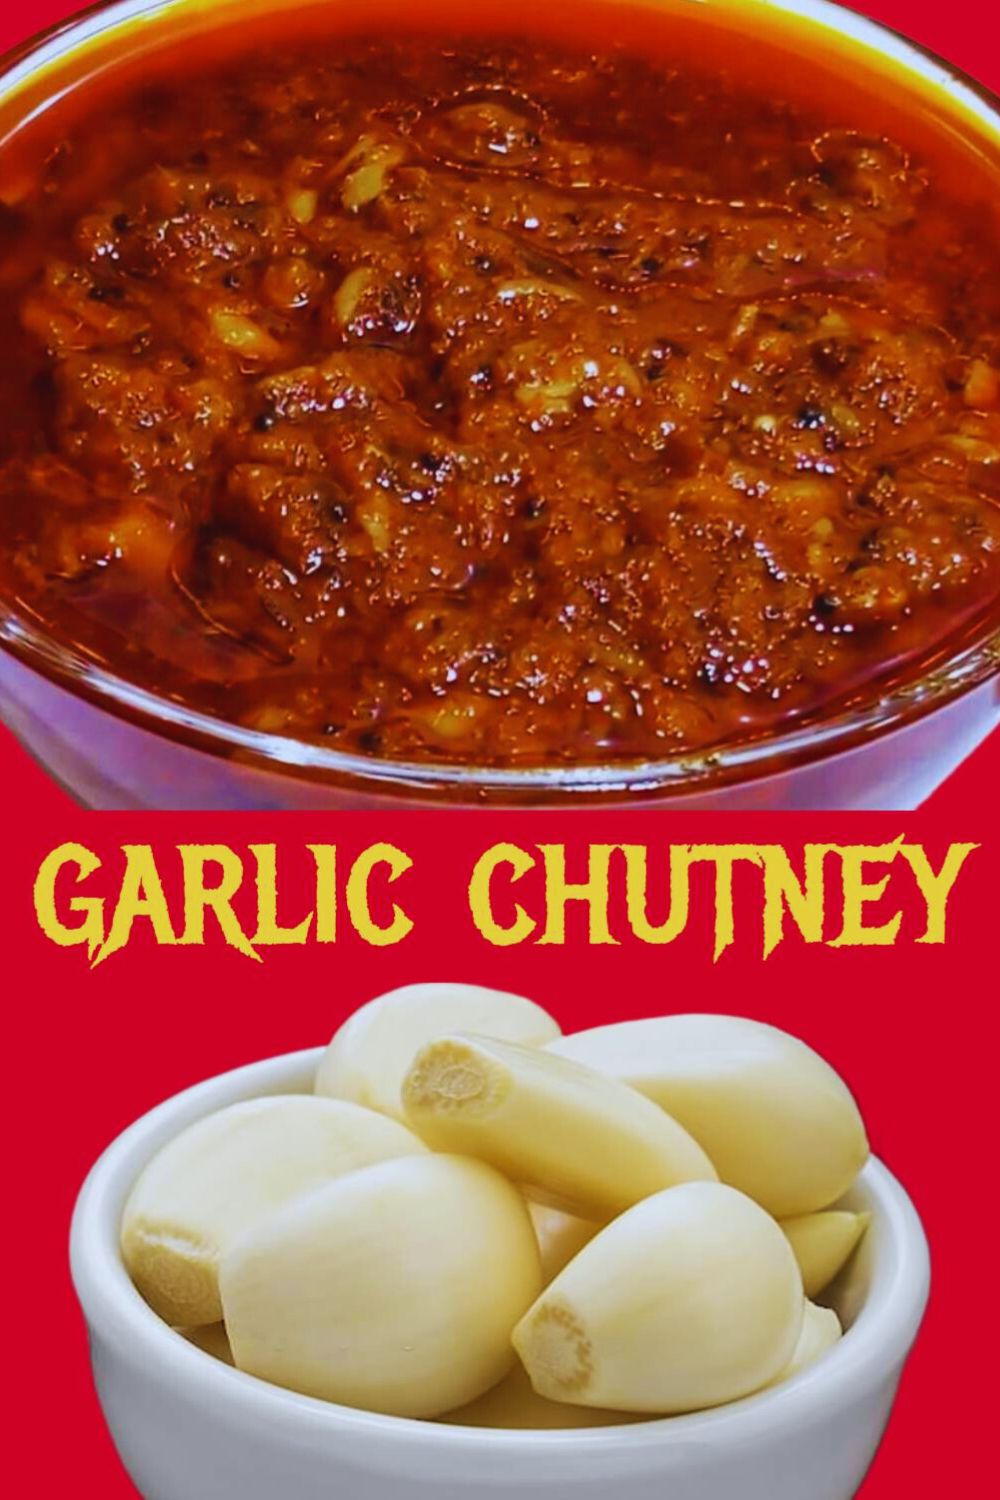
Embark on a culinary journey with my flavorful garlic chutney recipe. Elevate your dishes with this aromatic blend of fresh garlic, red chili powder, and an array of spices.
Follow my step-by-step guide to create a textured and savory garlic chutney that promises to add a delightful kick to your meals.
Discover expert tips and tricks along the way to ensure a perfect blend of taste and texture.
KEY TAKEAWAYS
- Create a robust garlic chutney with everyday ingredients, elevating your meals with bold and delicious flavors.
- From Indian curries to snacks and sandwiches, garlic chutney is a versatile companion, adding a zesty kick to a variety of dishes.
- Craft your own garlic chutney at home, enjoying the freshness and control over ingredients for a delightful homemade experience.
- Follow expert tips for the perfect texture, crushing garlic coarsely and exploring variations for a unique and satisfying chutney.
- Learn to store your homemade garlic chutney properly, maximizing its freshness and savoring the robust taste over time.
How to Make Garlic Chutney? (Step by Step Guide with Images)
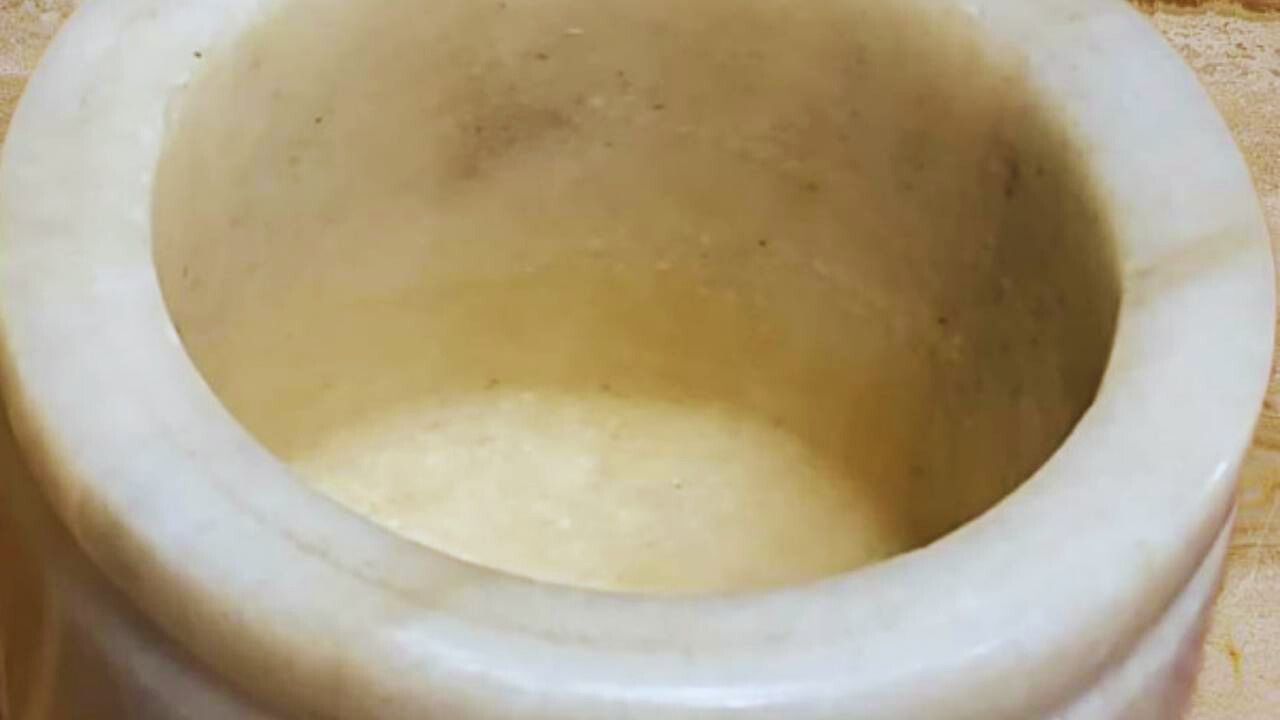
Step 1: First, take a mortar and pestle.
Step 2: Put the garlic cloves in it and crush them.
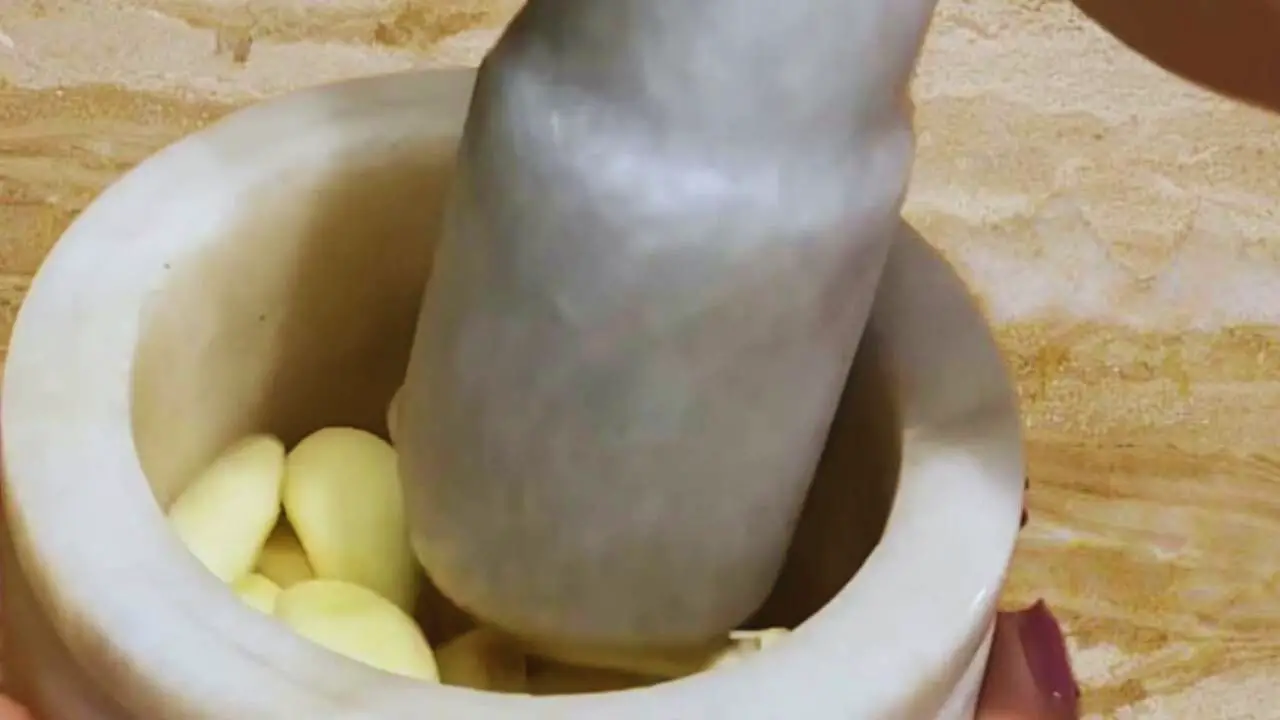
(Expert tip: You can use a grinder to grind the garlic cloves but crushing them in a mortar and pestle will give the garlic chutney a distinct texture and flavor).
Step 3: Keep a check on the crushed garlic. Crush them a bit more if needed.

Step 4: Make sure you do not crush them too fine. A coarse texture is better.

(Expert tip: Crush it more if you do not get the right coarseness like I have).
Step 5: Now, transfer the garlic to a bowl and keep it aside.

Step 6: Now, take another bowl and put 2 tbsp of dry red chili powder in it.

(Expert tip: If you do not have red chili powder at home or want your garlic chutney to have a better texture, you can use whole dry red chilies. Soak about 10 to 12 dry red chilies in water for half an hour and when it swells up a bit, grind them in your grinder).
Step 7: Add 4 tbsp of water to it.

Step 8: Now, mix the powder and water nicely to make a thick paste.

Step 9: If it is too thick, add another 2 tbsp of water to it.

Step 10: Mix it nicely.

Step 11: When the paste is ready, keep the bowl aside.

Step 12: Now, take 1 tbsp or quarter bowl of coriander seeds and put it in the mortar and pestle.

Step 13: Grind the seeds into a coarse powder and keep it aside.

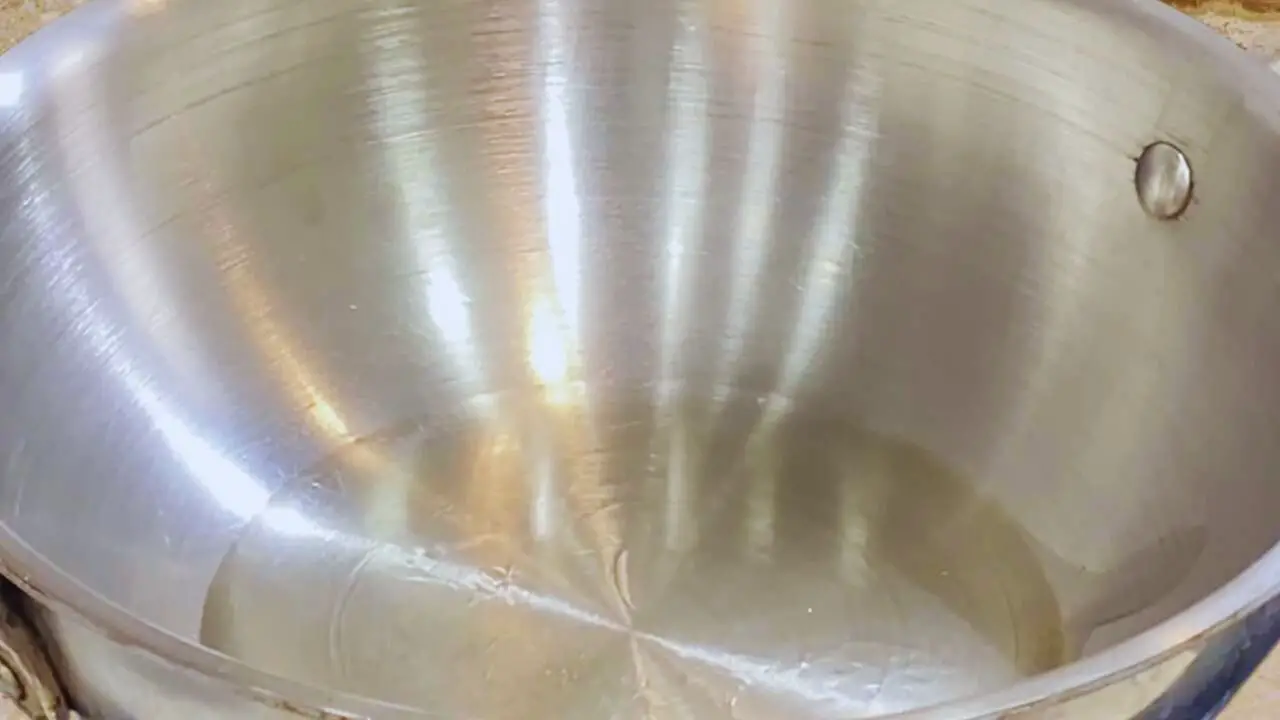
Step 14: Now take a frying pan or wok and heat it on a low to medium flame on your gas stove.

Step 15: When it is sufficiently hot, put 4 tbsp of white oil in it.
(Expert tip: You can use any type of white oil that you usually have).
Step 16: When the oil is hot enough, put ½ tsp of asafetida in it.

(Expert tip: Make sure that you do not let the asafetida burn. This will give your garlic chutney a nice flavor).
Step 17: Then add ½ tsp of mustard seeds to the oil and let it crackle.

(Expert tip: Be careful when the mustard seeds crackle as it may sprinkle hot oil).
Step 18: Now, add ½ tsp of cumin seeds to the wok.

Step 19: Sauté it a bit so that it is nicely cooked.

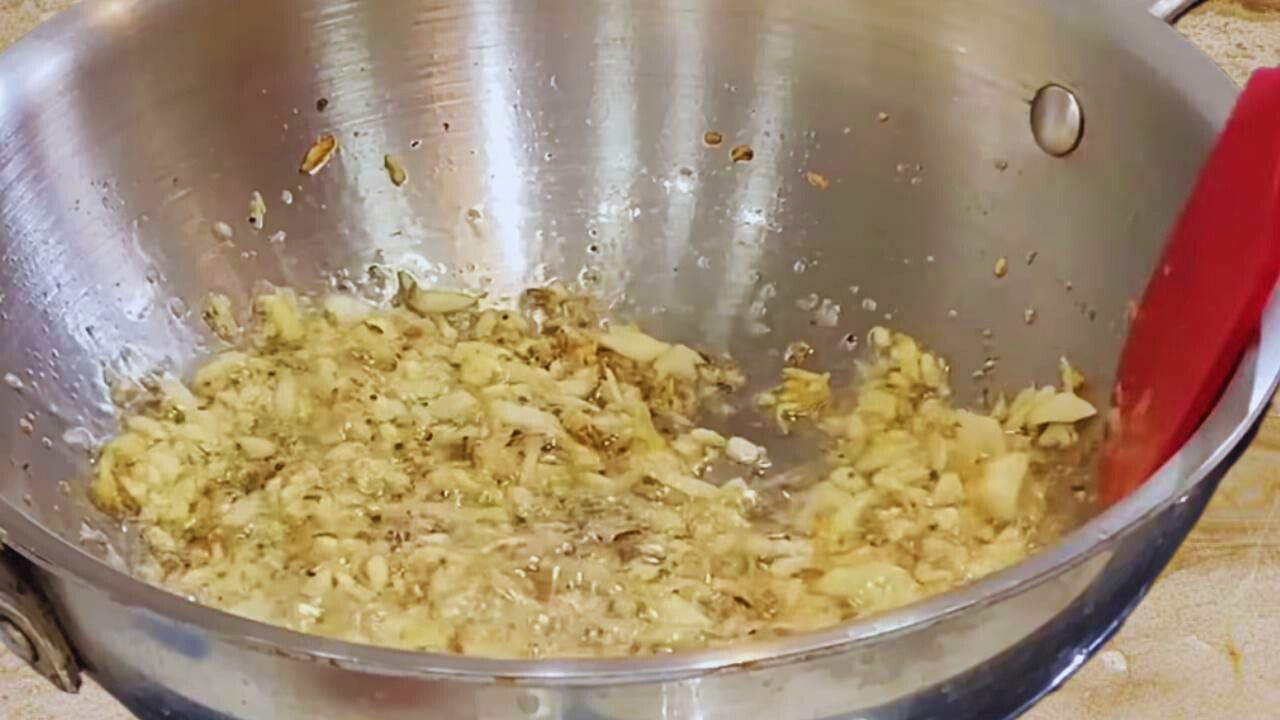
Step 20: After a few seconds, add the ground garlic to the wok.

Step 21: Stir the ingredients in the wok so that the spices mix nicely with the ground garlic.

Step 22: Let the garlic cook on a low flame and watch the color of the garlic turn golden brown after a couple of minutes.
Step 23: At this point, add the coriander seeds you ground earlier to the ingredients in the wok.

Step 24: Stir it for a few seconds to mix it nicely with the ground garlic and sauté it well.

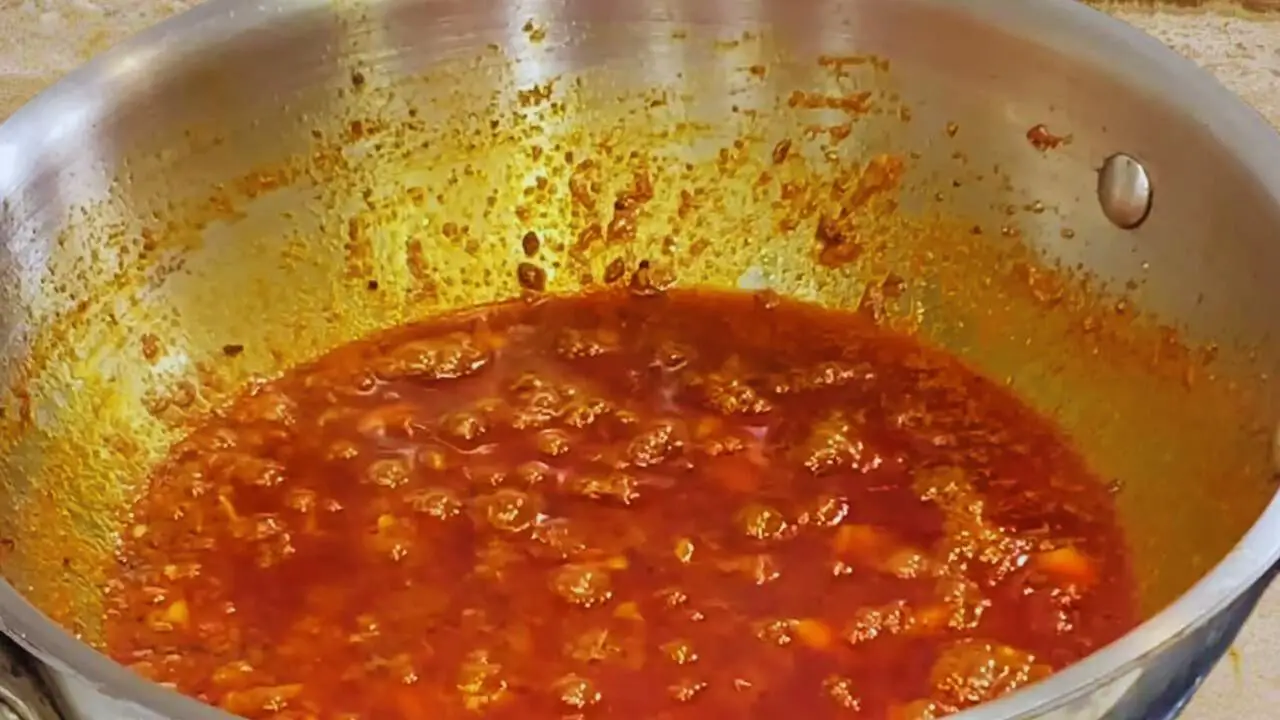
Step 25: When the ingredients are cooked nicely, add the dry red chili paste that you made earlier and kept aside. Add 1 tbsp of water to wash the bowl and add it to the chutney, if needed.

Step 26: Stir the contents continuously for about 2 to 3 minutes to cook them nicely on a low to medium flame.

Step 27: Let the water evaporate so that the mixture becomes a bit thicker.

Step 28: Now add 2 tbsp of curd to the content.

(Expert tip: You may skip the curd if you want. However, adding curd will not only enhance the color of the garlic chutney but will also augment its taste. If you do not like curd or have it ready at home, you can add 2 tbsp of tamarind pulp).
Step 29: Mix it nicely and watch the change in color of the chutney.

Step 30: Continue stirring until the mixture starts releasing oil from it.
Step 31: Now, add ½ tsp of table salt to the chutney and mix it well. Continue stirring it nicely for 2 to 3 minutes more.

Step 32: When it is done, check the consistency of the chutney.

Step 33: If you want it to be thicker, cook it for a couple of minutes more. If you are happy with the consistency of the chutney, turn the flame of your gas stove off and let it cool off in the wok for some time.

Step 34: Transfer the chutney into a bowl. Your tasty garlic chutney is now ready to be served.

Pro Tips for Cooking Garlic Chutney
Mortar and Pestle Magic: Use a mortar and pestle to crush garlic for a distinct texture and flavor. While a grinder works, the traditional method adds a special touch.
Texture Matters: Aim for a coarse texture when crushing garlic. If it’s too fine, the chutney might lose the desired consistency. Adjust as needed for that perfect, rustic feel.
Chili Powder Choices: Experiment with whole dry red chilies for a unique texture. Soak them, grind, and experience a different depth of flavor in your garlic chutney.
Oil Variety: Choose any white oil you have on hand. The type you use regularly will work well, ensuring the chutney retains its authentic taste.
Mind the Asafetida: Prevent burning the asafetida during heating; this adds a flavorful note to your garlic chutney. Take care to maintain the right balance.
Crackling Caution: When mustard seeds crackle, be cautious about potential oil splatter. Stay safe by keeping a reasonable distance to avoid any surprises.
Cumin Sautéing: Sauté cumin seeds briefly to enhance their flavor. This simple step contributes to the overall richness of your garlic chutney.
Color Watch: Observe the garlic as it turns a golden brown hue. This visual cue signals the perfect moment to proceed with the next steps in the cooking process.
Curd or Tamarind Twist: Add curd for enhanced color and taste. If unavailable, consider tamarind pulp as a flavorful alternative. Tailor the recipe to suit your preferences.
Consistency Check: Regularly check the chutney’s thickness during cooking. If it’s too thin, allow it to cook a bit longer for a thicker consistency. Achieve the desired balance to suit your taste.
Oil’s Departure: Stir continuously until the mixture starts leaving the oil. This indicates a well-cooked chutney with rich flavors infused.
Cool Down Gradually: After cooking, let the chutney cool in the wok gradually. This slow cool-down process ensures the flavors settle, resulting in a more nuanced taste.
Garlic Chutney Storing Tips
Refrigeration is Key: Store your homemade garlic chutney in an airtight container in the refrigerator. This helps preserve its freshness and extends its shelf life.
Consume Promptly: For the best flavor and quality, try to use the chutney within a week or two. While it can last longer, the fresher, the better.
Oil Layer: If you notice a thin layer of oil on top after refrigeration, don’t worry. This is normal and helps seal in the flavors. Simply give it a quick stir before use.
Avoid Moisture: Keep the chutney away from moisture. Even a small amount can impact its texture and taste. Ensure utensils are dry before scooping out a portion.
Room Temperature Caution: While the refrigerator is ideal for storage, avoid leaving the chutney at room temperature for extended periods. This increases the risk of spoilage.
How Does Garlic Chutney Taste?
Bold and Pungent: The primary characteristic of homemade garlic chutney is its bold and pungent taste, courtesy of the fresh garlic. It adds a robust kick to your dishes, making them memorable.
Spicy Explosion: With a generous dose of red chili powder, expect a spicy explosion in every bite. The heat level can be adjusted to your liking, offering a zesty experience.
Aromatic Bliss: The combination of crushed garlic and spices creates an aromatic bliss. As the chutney cooks, the kitchen is filled with enticing scents, heightening the overall culinary experience.
Rich and Flavorful: The infusion of coriander seeds, cumin, and mustard seeds contributes to a rich and flavorful profile. Each ingredient plays a crucial role in building layers of taste.
Slightly Tangy Twist: If you’ve added curd or tamarind pulp, you’ll notice a slightly tangy twist. This not only enhances the overall taste but also adds a refreshing element to the chutney.
Garlicky Goodness Lingers: The lingering aftertaste of garlicky goodness is a hallmark of this chutney. It leaves a satisfying impression, making it a must-have for garlic enthusiasts.

Garlic Chutney Alternatives
Garlic Mint Chutney: Combine the freshness of mint with the robustness of garlic in garlic mint chutney. This alternative brings a cool and garlicky kick to your palate.
Garlic Coriander Chutney: Explore the vibrant flavors of garlic coriander chutney, where the earthiness of coriander complements the boldness of garlic. It’s a versatile accompaniment for various dishes.
Garlic Tomato Chutney: Enhance the tanginess with garlic tomato chutney. Tomatoes and garlic create a harmonious blend, offering a delightful twist to your taste buds.
Garlic Coconut Chutney: Experience a unique combination with garlic coconut chutney. The sweetness of coconut complements the boldness of garlic, resulting in a flavor-packed condiment.
Garlic Sesame Chutney: Elevate your dishes with the nutty goodness of garlic sesame chutney. Sesame seeds add a distinct flavor, creating a delicious alternative with a hint of garlic.
Garlic Yogurt Dip: For a creamy and garlicky option, try a garlic yogurt dip. Yogurt adds a smooth texture, balancing the boldness of garlic for a delightful dipping experience.
What Dishes Can Garlic Chutney Be Served with?
Indian Curries: Use garlic chutney as a side for traditional Indian curries, whether vegetarian or non-vegetarian.
Rice Dishes: Pair it with rice dishes like biryani or pulao for an extra layer of flavor.
Grilled Meats: Serve alongside grilled chicken, lamb, or other meats to add a zesty kick.
Pakoras or Bhajis: Enjoy garlic chutney with deep-fried snacks like pakoras or bhajis for a spicy and savory experience.
Samosas: Dip samosas, whether potato-filled or with other stuffings, into garlic chutney for a delightful twist.
Kebabs: Use it as a dipping sauce for kebabs, whether they are meat-based or vegetarian.
Chaat: Drizzle garlic chutney over popular street food chaat for an extra burst of flavor.
Dhokla or Khaman: Pair with steamed or fried lentil cakes for a unique combination of tastes.
Roti or Naan: Serve as a side with Indian bread like roti or naan for a flavorsome accompaniment.
Bread Rolls: Use it as a spread inside or alongside bread rolls for a spicy kick.
Paratha: Enjoy garlic chutney with stuffed parathas or as a side for plain parathas.
Fritters: Whether vegetable fritters or crispy fries, garlic chutney can be a tasty dipping sauce.
Spring Rolls: Dip vegetable or meat spring rolls into garlic chutney for a fusion of flavors.
Cheese Platter: Add a dollop of garlic chutney to your cheese platter for a savory contrast.
Grilled Sandwiches: Spread garlic chutney on grilled sandwiches for an extra layer of taste.
Rolls and Wraps: Use it as a condiment in rolls, wraps, or burritos for a flavorful kick.
Recipe Card

Garlic Chutney | Lasoon Chutney
Ingredients
- 50 grams Fresh garlic (deskinned)
- 2 tbsp Red chili powder
- 4 tbsp Water
- 1 tbsp Coriander seeds
- 4 tbsp White oil
- ½ tsp Asafetida
- ½ tsp Mustard seeds
- ½ tsp Cumin seeds
- 2 tbsp Curd
- ½ tsp Table salt
Instructions
- Prepare the Garlic:Use a mortar and pestle. Put garlic cloves in and crush them. (Tip: Crushing in a mortar and pestle adds a unique texture and flavor.)Ensure a coarse texture, but not too fine. Transfer the crushed garlic to a bowl and set it aside.
- Make Chili Paste:In another bowl, add 2 tbsp dry red chili powder (or soak and grind whole red chilies).Mix in 4 tbsp water to form a thick paste. Adjust water if needed for consistency. Set the paste aside.
- Prepare Spices:Grind 1 tbsp coriander seeds coarsely using the mortar and pestle. Keep it aside.
- Sautéing:Heat a frying pan or wok on low-medium flame. Add 4 tbsp white oil.Once hot, add ½ tsp asafetida (careful not to burn it), followed by ½ tsp mustard seeds till they crackle, then ½ tsp cumin seeds. Sauté briefly.Add the crushed garlic to the pan. Stir well to mix with spices. Cook until garlic turns golden brown.
- Combine Ingredients:Add the ground coriander seeds to the pan. Stir and sauté for a few seconds.Incorporate the prepared red chili paste into the mixture. Add 1 tbsp water from the bowl if needed.Stir continuously for 2-3 minutes till the water evaporates, making the mix slightly thicker.
- Final Touches:Add 2 tbsp of curd to enhance color and taste (optional). Alternatively, use 2 tbsp tamarind pulp.Mix well until the chutney starts releasing oil. Add ½ tsp table salt and stir for 2-3 minutes more.
- Check Consistency and Cool:Adjust the chutney's thickness by cooking a bit longer if needed.Once satisfied with the consistency, turn off the stove. Let the chutney cool in the pan for a while.
- Serve:Transfer the garlic chutney into a bowl. Your delicious garlic chutney is now ready to be served and enjoyed!
Notes
Nutrition Info (Estimation Only)
Conclusion
In conclusion, crafting homemade garlic chutney adds a burst of bold flavors to your meals, with versatile pairings and expert tips ensuring a delightful culinary experience.
Elevate your dishes and savor the homemade goodness of this zesty condiment.


