Pear Chutney Recipe

5 from 1 vote
Jump to Recipe Print Recipe

Indulge your taste buds in the delightful symphony of flavors with my pear chutney recipe.

This easy-to-follow guide will lead you through the art of creating a sweet and tangy condiment that perfectly complements a variety of dishes.

Fresh pears, aromatic spices, and a hint of chili come together in this simple yet exquisite recipe, promising a burst of flavor in every bite.

Elevate your culinary experience with this homemade pear chutney, a versatile addition to your kitchen repertoire.

Pear Chutney

KEY TAKEAWAYS

  • Enjoy the perfect balance of sweetness and spice in your homemade pear chutney, making it a versatile condiment for various dishes.
  • Utilize fresh pears, aromatic spices like cinnamon and star anise, and a touch of ginger to create a flavorful chutney.
  • Follow a step-by-step guide to sauté, simmer, and spice up your pears, creating a delicious chutney in just a few easy steps.
  • Adjust sugar and red chili powder quantities to tailor the chutney to your taste preferences, creating a personalized culinary experience.
  • Keep your pear chutney fresh by storing it in airtight containers, refrigerating promptly, and using clean utensils to maintain its quality for an extended period.

How to Make Pear Chutney? (Step by Step Guide with Images)

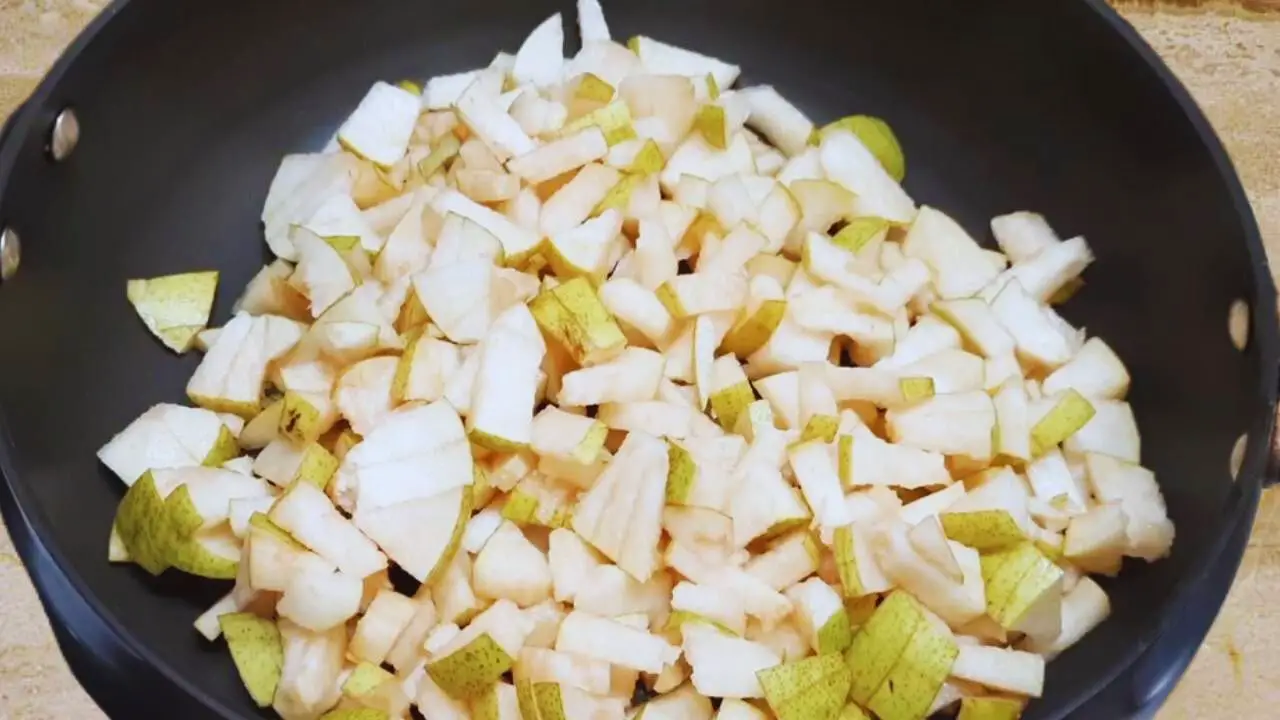
Step 1: Take 3 pieces of pear of medium size, wash them, and chop them into small pieces. You may or may not peel the skin.

Chopped pears

Step 2: Now take a frying pan and heat it on a high flame on your gas stove. When it is hot enough, put the chopped pears in it.

Chopped pears in frying pan

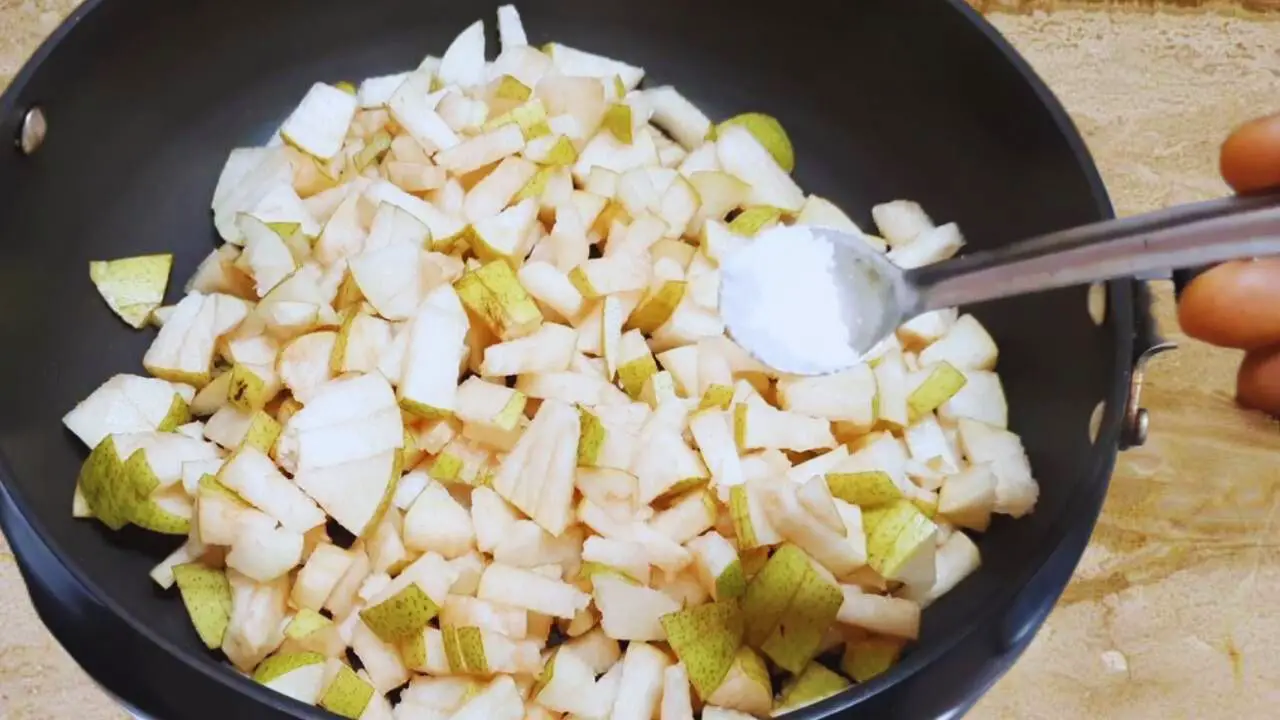
Step 3: Add ½ tsp of regular table salt to the pan. Now, sauté the pears for a few minutes.

Adding ½ tsp of regular table salt

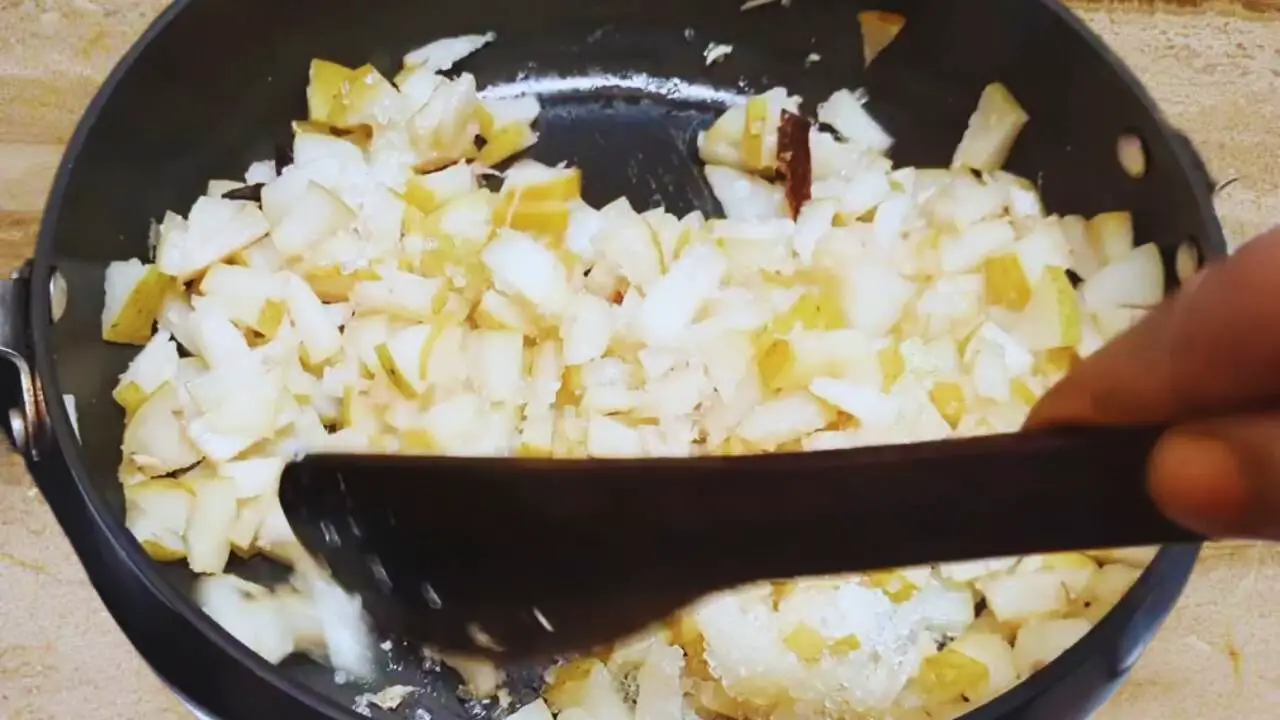
Step 4: Then add 1 piece of star anise, 1 cinnamon stick of about 1-inch size, and ½ tsp of chopped ginger to the ingredients in the pan.

Added 1 piece of star anise, 1 cinnamon stick of about 1-inch size, and ½ tsp of chopped ginger to the ingredients in the pan

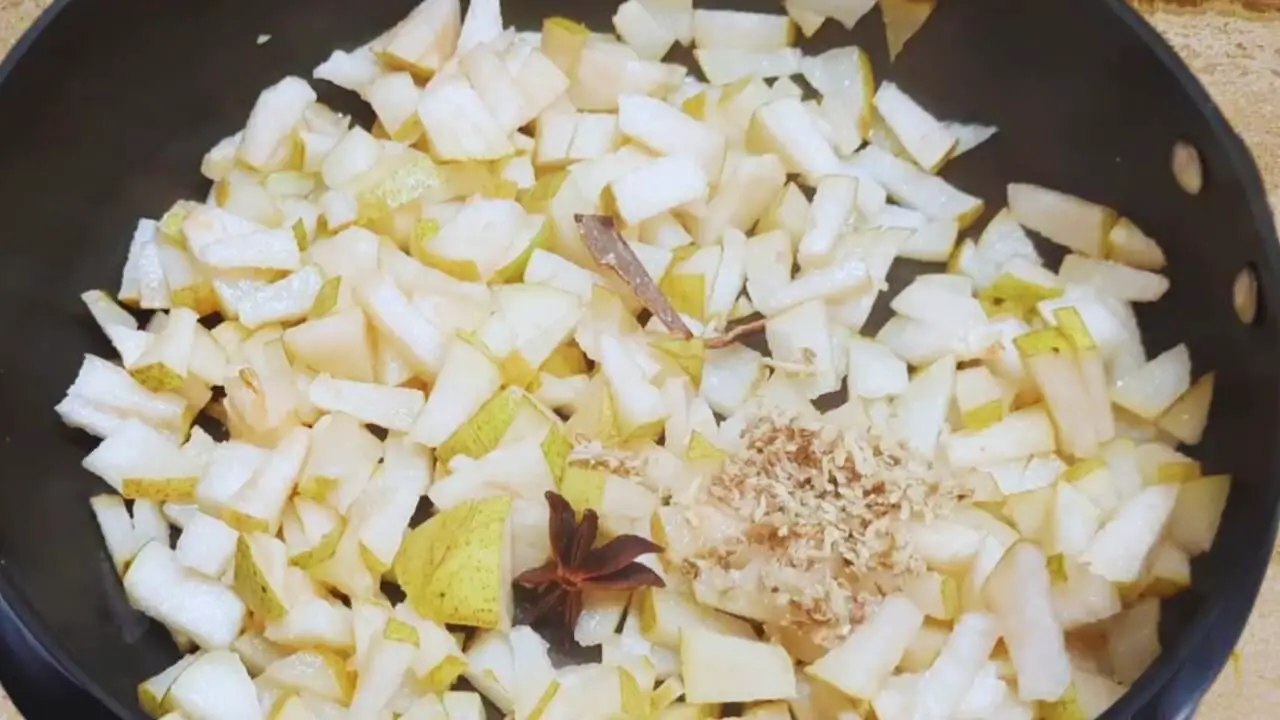
Step 5: Mix them nicely and let the pears cook for about a minute until the pears become tender and juicy.

Letting the pears cook

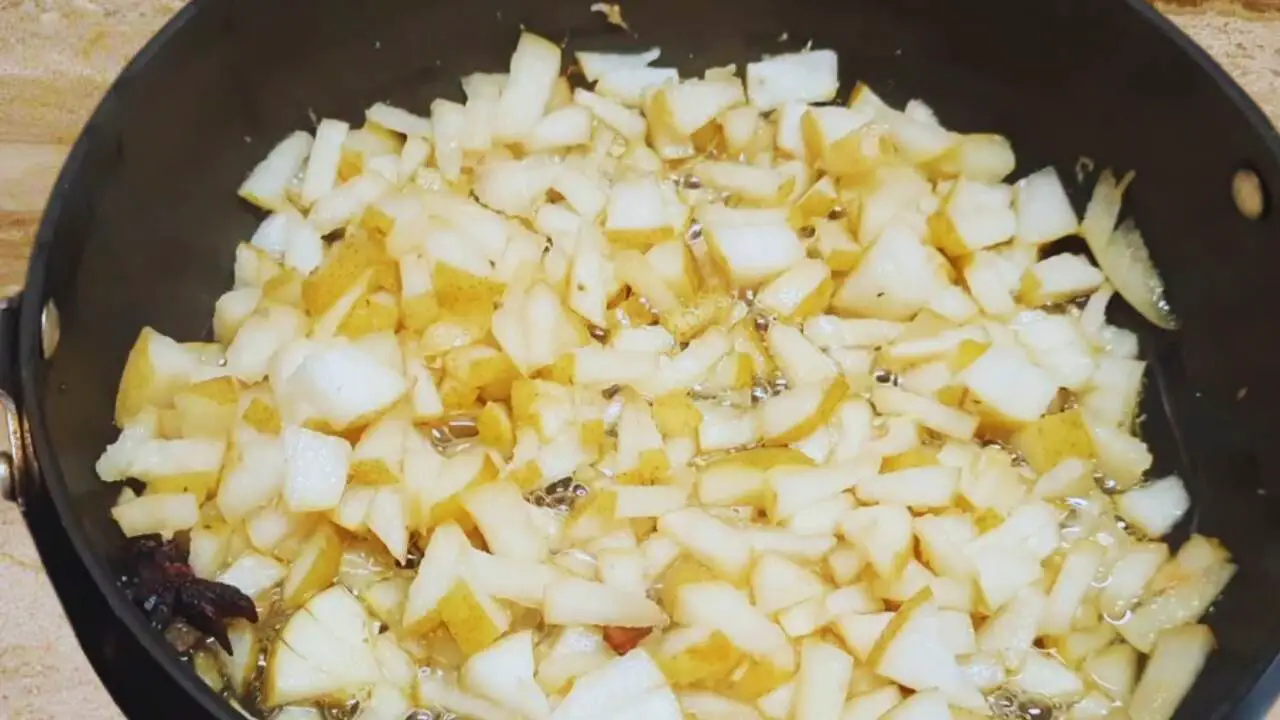
Step 6: Now add 4 tbsp of sugar to it.

Added 4 tbsp of sugar to frying pan

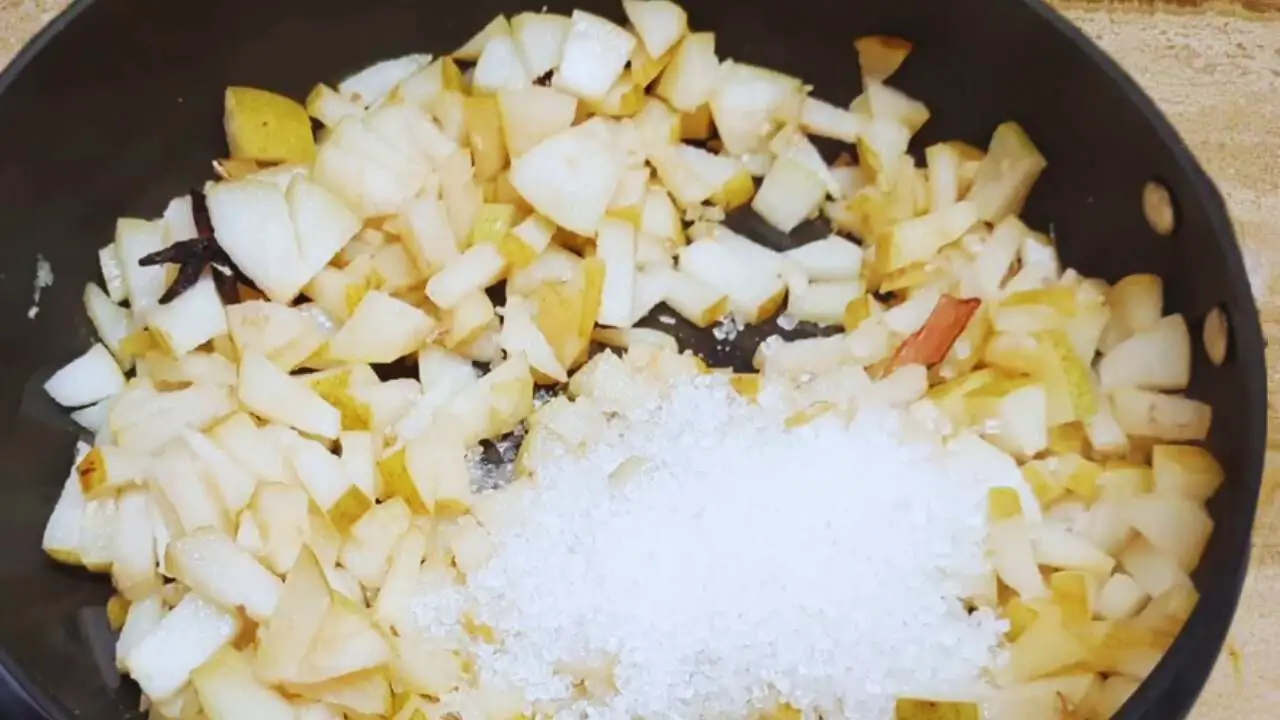
Step 7: Stir it continuously until the sugar mixes and melts nicely. Then, cover the pan and simmer it for about 10 to 12 minutes.

Stirring it continuously until the sugar mixes and melts nicely

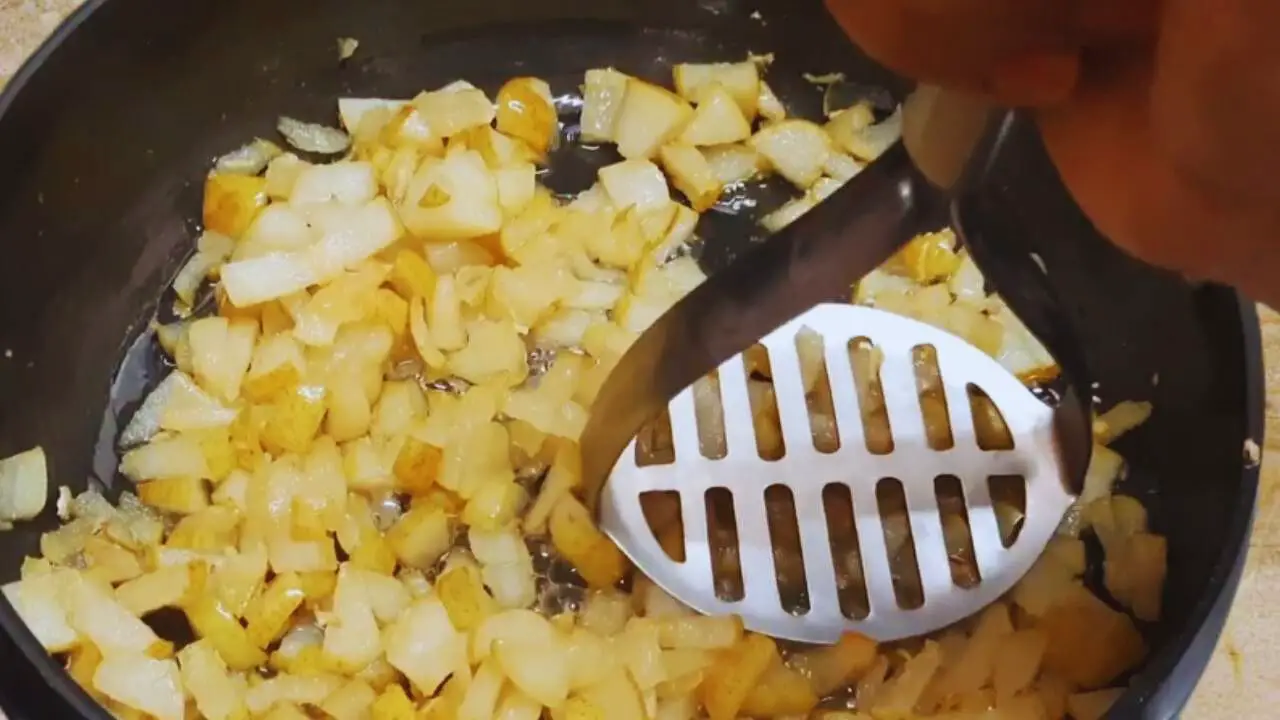
Step 8: Now, remove the cover and when you see the pears have changed their color slightly, mash them partially using a masher.

Mashing pears partially using a masher

Step 9: Now, add 1 tsp of fresh lemon juice to it.

Added 1 tsp of fresh lemon juice to frying pan

Step 10: Then and ½ tsp of red chili powder.

Added ½ tsp of red chili powder

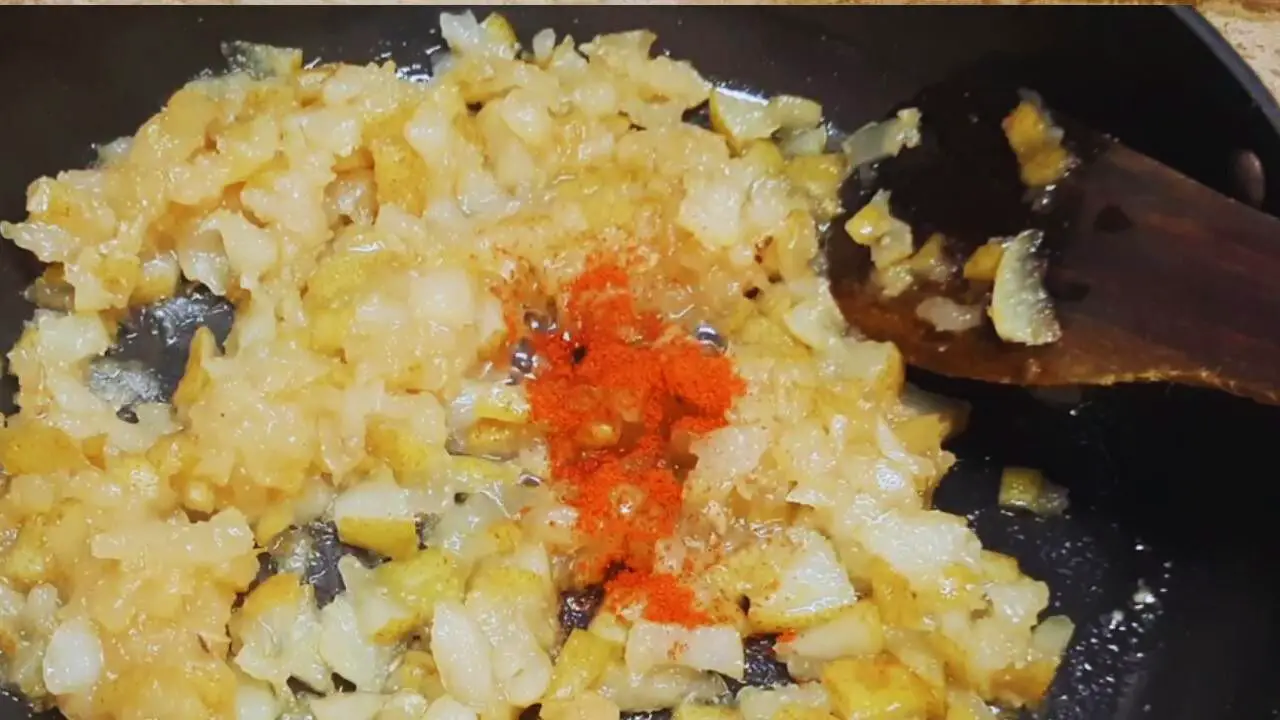
Step 11: Mix them nicely. Check the consistency and tenderness after a couple of minutes.

You May Also Like:  Drumstick Pickle Recipe

Checking the consistency and tenderness of chutney

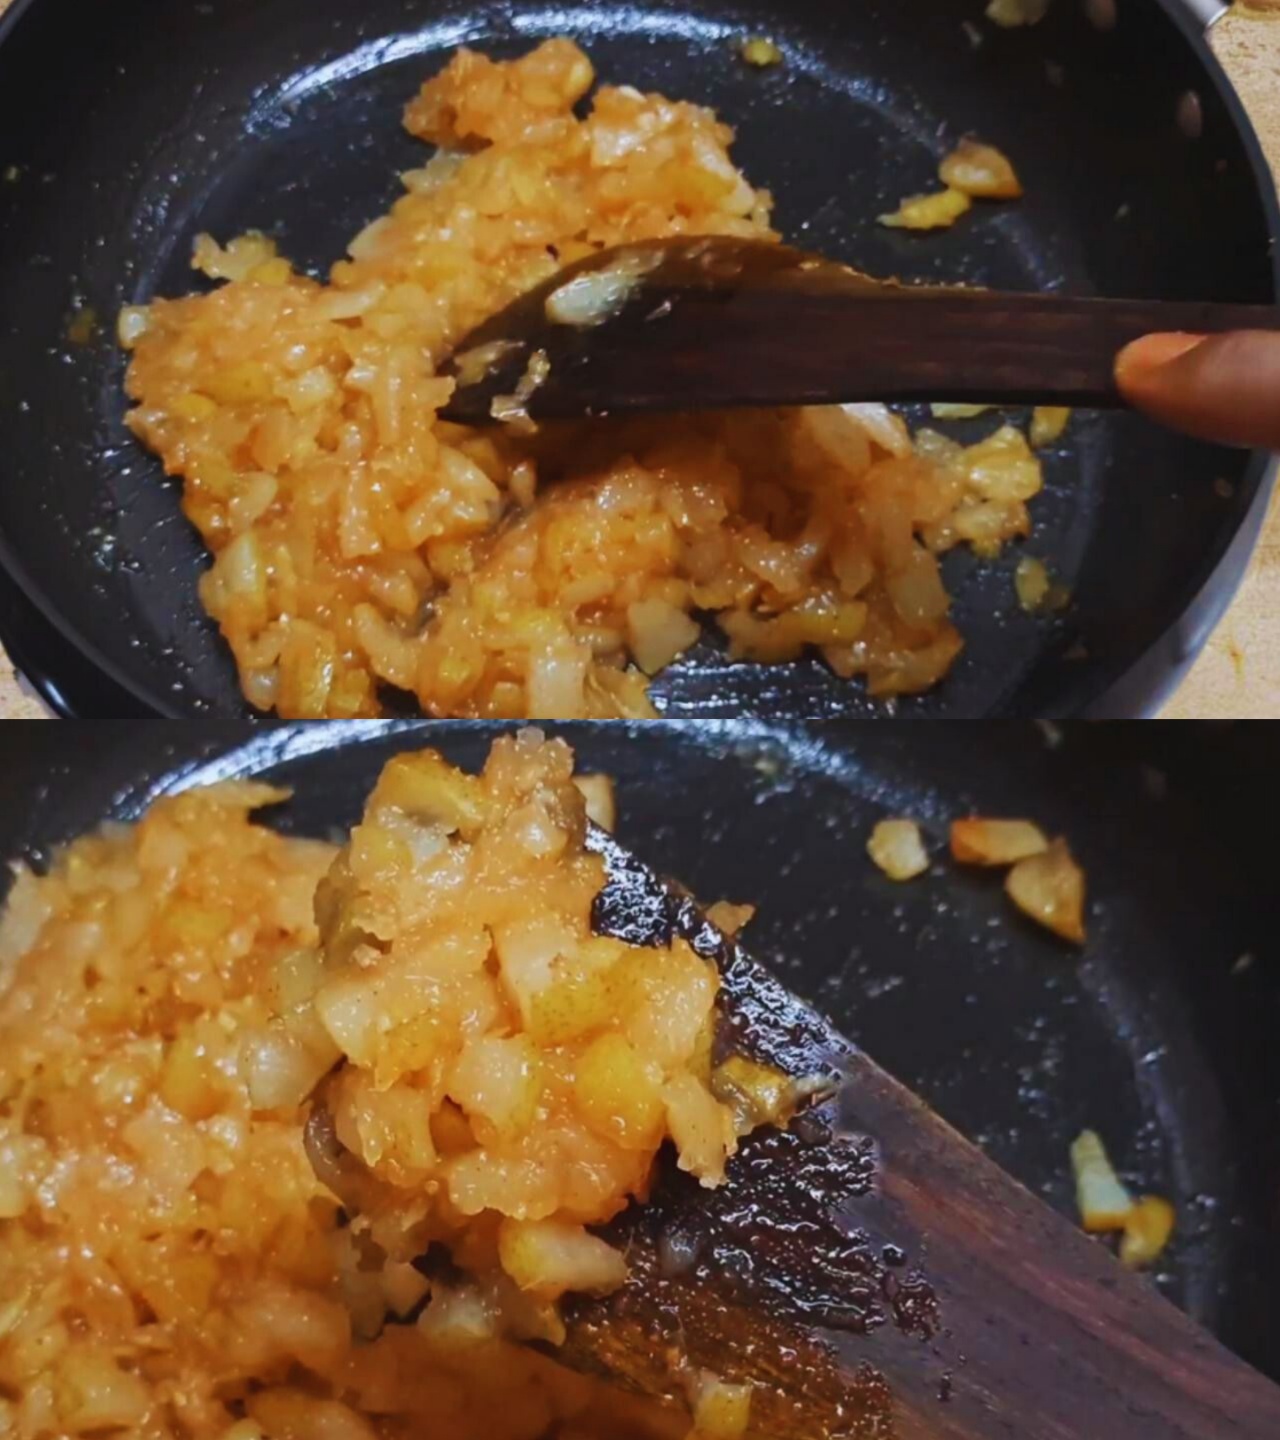
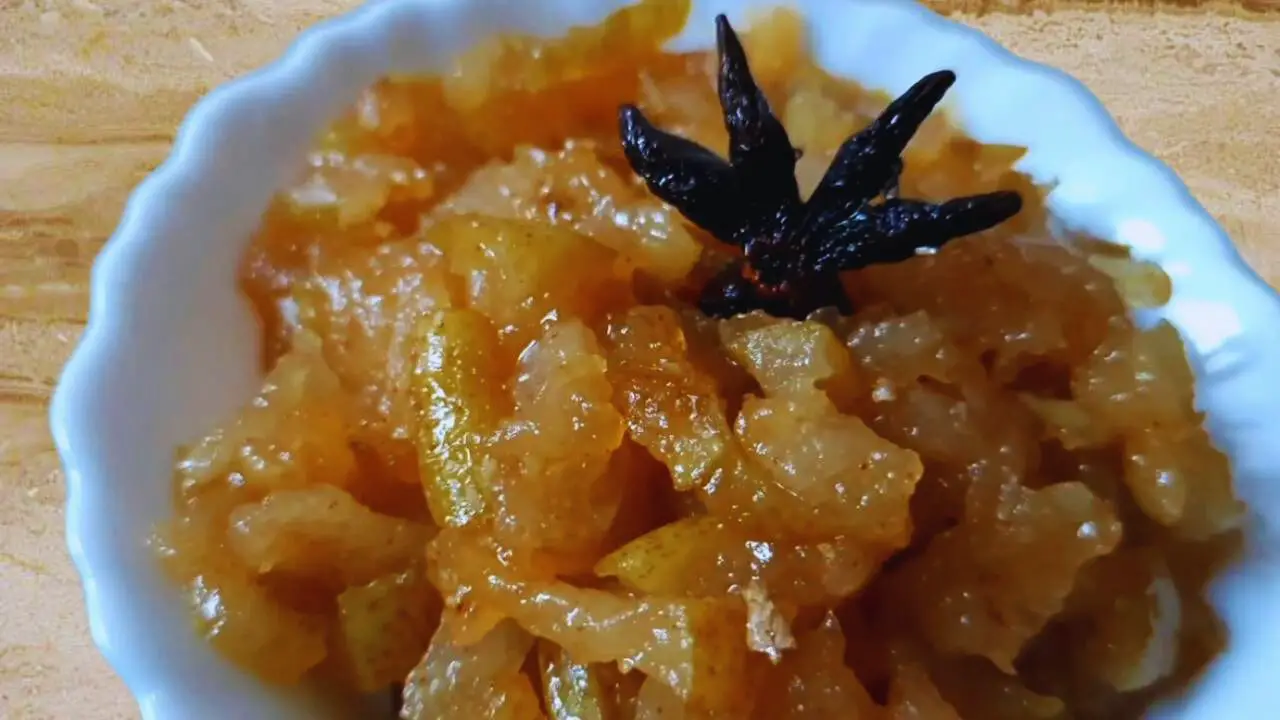
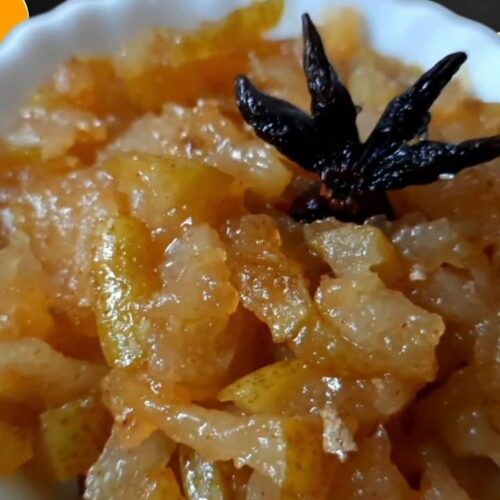
Step 12: Transfer it into a bowl and your delicious pear chutney is ready.

Delicious pear chutney is ready

Pro Tips for Making Pear Chutney

Choose Ripe Pears: Opt for ripe pears to ensure a naturally sweet and flavorful chutney. The ripeness of the fruit will enhance the overall taste and texture of the condiment.

Balance Sweetness and Spice: Adjust the sugar and red chili powder quantities according to your taste preferences. Finding the perfect balance between sweetness and spice is key to a well-rounded pear chutney.

Experiment with Pear Varieties: Explore different pear varieties to add unique dimensions to your chutney. Each type of pear brings its own distinct flavor profile, contributing to a more complex and interesting condiment.

Precision in Lemon Juice: Use fresh lemon juice sparingly to add a subtle zing to your chutney. Be mindful not to overpower the natural sweetness of the pears; a teaspoon can go a long way.

Mindful Simmering: When simmering, keep a close eye on the pan to prevent overcooking. Aim for a tender and juicy consistency, allowing the flavors to meld without losing the individual characteristics of the ingredients.

Texture Matters: Mash the pears partially to achieve a desirable texture. This step adds a delightful contrast to the chutney, creating a harmonious blend of smoothness and fruit chunks.

Enhance Aromatics: Take a moment to appreciate the aroma. Allow the star anise, cinnamon, and ginger to infuse their fragrances into the chutney, creating an enticing sensory experience.

Patient Stirring: Stir continuously when adding sugar to ensure even melting. This ensures that the sweetness is evenly distributed, avoiding any unwanted crystallization in your pear chutney.

Test for Consistency: Regularly check the chutney’s consistency as it simmers. Adjust the cooking time to achieve your preferred thickness, whether you desire a thick, chunky chutney or a smoother, more liquid consistency.

Pear Chutney Storing Tips

Airtight Containers: Store your pear chutney in airtight containers to prevent exposure to air, which can lead to oxidation and a loss of freshness. Mason jars or sealed plastic containers work well for maintaining optimal flavor.

Refrigeration is Key: Refrigerate your pear chutney promptly after preparing it. The cool temperature helps preserve its flavors and extends its shelf life. Aim to consume it within 2-3 weeks for the best taste.

Avoid Cross-Contamination: Use a clean, dry spoon every time you scoop out some chutney. This prevents introducing moisture or contaminants into the container, maintaining the chutney’s quality for a more extended period.

How Does Pear Chutney Taste?

Pear chutney tantalizes the taste buds with a delightful blend of sweet and tangy notes. The natural sweetness of ripe pears harmonizes with the warmth of cinnamon and star anise, creating a rich and flavorful base.

A subtle kick from red chili powder adds a hint of spice, while the touch of fresh lemon juice brightens the overall profile.

The result is a well-balanced chutney that boasts a complex taste, perfect for enhancing both sweet and savory dishes.

You May Also Like:  Mango Chutney Recipe | Aam Ki Chutney | Aamer Chutney

Pear Chutney Featured Image

Pear Chutney Alternatives

Here are some alternative types of chutneys that can be used as substitutes or variations instead of pear chutney:

What Dishes Can Pear Chutney Be Served with?

Roasted Meats: Serve it alongside roasted meats like chicken, turkey, or pork. The sweetness of the chutney complements the savory notes of the meats.

Grilled Sandwiches: Spread pear chutney on grilled sandwiches or paninis to add a burst of flavor. It works well with both vegetarian and non-vegetarian options.

Salads: Incorporate pear chutney into salads for a unique dressing or flavor enhancer. It pairs well with greens, nuts, and cheese.

Samosas and Pakoras: Serve pear chutney alongside Indian snacks like samosas and pakoras to add a sweet and tangy element to the spice.

Recipe Card

Pear Chutney Featured Image

Pear Chutney

By Mita Mondal
Pear chutney is a tasty, sweet, and tangy sauce made with fresh pears, spices, and a bit of chili. It's easy to make and can go well with many dishes.
5 from 1 vote
Prep Time 10 minutes
Cook Time 10 minutes
Total Time 20 minutes
Course Condiments
Cuisine Indian
Servings 4
Calories 51 kcal

Ingredients
  

  • 3 pieces Fresh pear medium-sized (chopped roughly into small pieces)
  • ½ tsp Table salt
  • 1 piece Cinnamon 1-inch size
  • ½ tsp Fresh ginger (chopped finely)
  • 1 piece Star anise
  • 4 tbsp Sugar
  • 1 tsp Fresh lemon juice
  • ½ tsp Red chili powder

Instructions
 

  • Prepare the Pears: Take 3 medium-sized pears, wash them, and chop them into small pieces. You can decide whether to peel the skin or leave it.
  • Heat the Pan: Place a frying pan on high heat on your gas stove. Once it's hot, add the chopped pears to the pan.
  • Sauté the Pears: Sprinkle ½ teaspoon of table salt over the pears in the pan. Cook them for a few minutes, stirring occasionally.
  • Add Flavors: Include 1 piece of star anise, a 1-inch cinnamon stick, and ½ teaspoon of chopped ginger into the pan with the pears. Mix everything well and let it cook for about a minute until the pears soften.
  • Sweeten It Up: Pour in 4 tablespoons of sugar into the pan. Stir continuously until the sugar dissolves completely. Then cover the pan and let it simmer for 10 to 12 minutes.
  • Mash the Pears: Once the pears change color slightly, uncover the pan and mash the mixture lightly with a masher.
  • Add Finishing Touches: Squeeze in 1 teaspoon of fresh lemon juice and sprinkle ½ teaspoon of red chili powder into the mixture. Stir everything together gently.
  • Check Consistency: After a couple of minutes, check the consistency and tenderness of the chutney.
  • Serve: Transfer the pear chutney into a bowl. It's now ready to enjoy!
Subscribe to My YouTube Channel Mitar Cooking!

Notes

Pear Selection: Choose ripe, yet firm pears for the best results. They should have a slight give when pressed but not be too soft. Different pear varieties can bring varying levels of sweetness and texture to the chutney.
Peeling: The decision to peel the pears or not is up to personal preference. The skin can add texture and color to the chutney, but if preferred, it can be peeled off before chopping the fruit.
Adjusting Sweetness and Spice: The quantity of sugar and red chili powder can be adjusted according to taste preferences. Add more sugar for a sweeter chutney or increase the red chili powder for a spicier kick.
Simmering Time: Keep an eye on the chutney while it simmers. The aim is to cook the pears until they become tender and the mixture thickens slightly. Be cautious not to overcook, as it can make the chutney too mushy.
Mashing Consistency: Partially mashing the pears provides a pleasing texture. This step allows the chutney to retain some fruit chunks while also blending flavors.
Lemon Juice: Fresh lemon juice adds a subtle tanginess that balances the sweetness of the pears and sugar. Be mindful not to overpower the chutney's natural sweetness; adjust the quantity if needed.
Storage and Shelf Life: To maintain freshness, store the pear chutney in clean, airtight containers. Refrigerate promptly and use within 2-3 weeks for the best taste. Always use a clean spoon to scoop out the chutney to prevent contamination.

Nutrition Info (Estimation Only)

Nutrition Facts
Pear Chutney
Amount per Serving
Calories
 
51
Calories from Fat 1
% Daily Value*
Fat
 
0.1
g
0
%
Saturated Fat
 
0.01
g
0
%
Polyunsaturated Fat
 
0.03
g
Monounsaturated Fat
 
0.04
g
Sodium
 
4
mg
0
%
Potassium
 
16
mg
0
%
Carbohydrates
 
13
g
4
%
Fiber
 
1
g
4
%
Sugar
 
12
g
13
%
Protein
 
0.1
g
0
%
Vitamin A
 
78
IU
2
%
Vitamin C
 
1
mg
1
%
Calcium
 
12
mg
1
%
Iron
 
0.2
mg
1
%
* Percent Daily Values are based on a 2000 calorie diet.
Tried this recipe?Let me know how it was!
Follow Me @Mitar.Cooking or Tag #mitarcooking!
Like Page @MitarCooking or Tag #mitarcooking!
Follow Me @MitarCooking or Tag #mitarcooking!

Conclusion

In conclusion, crafting your own pear chutney is a rewarding culinary adventure, offering a delightful combination of flavors.

You May Also Like:  Plum Chutney Recipe | Aloo Bukhara Chutney

Elevate your meals with this homemade condiment, adding a touch of sweetness and spice to your dining experience.

Was this helpful?

Yes
No
Thanks for your feedback!
Recipe Rating


0 Comments
Inline Feedbacks
View all comments
Scroll to Top