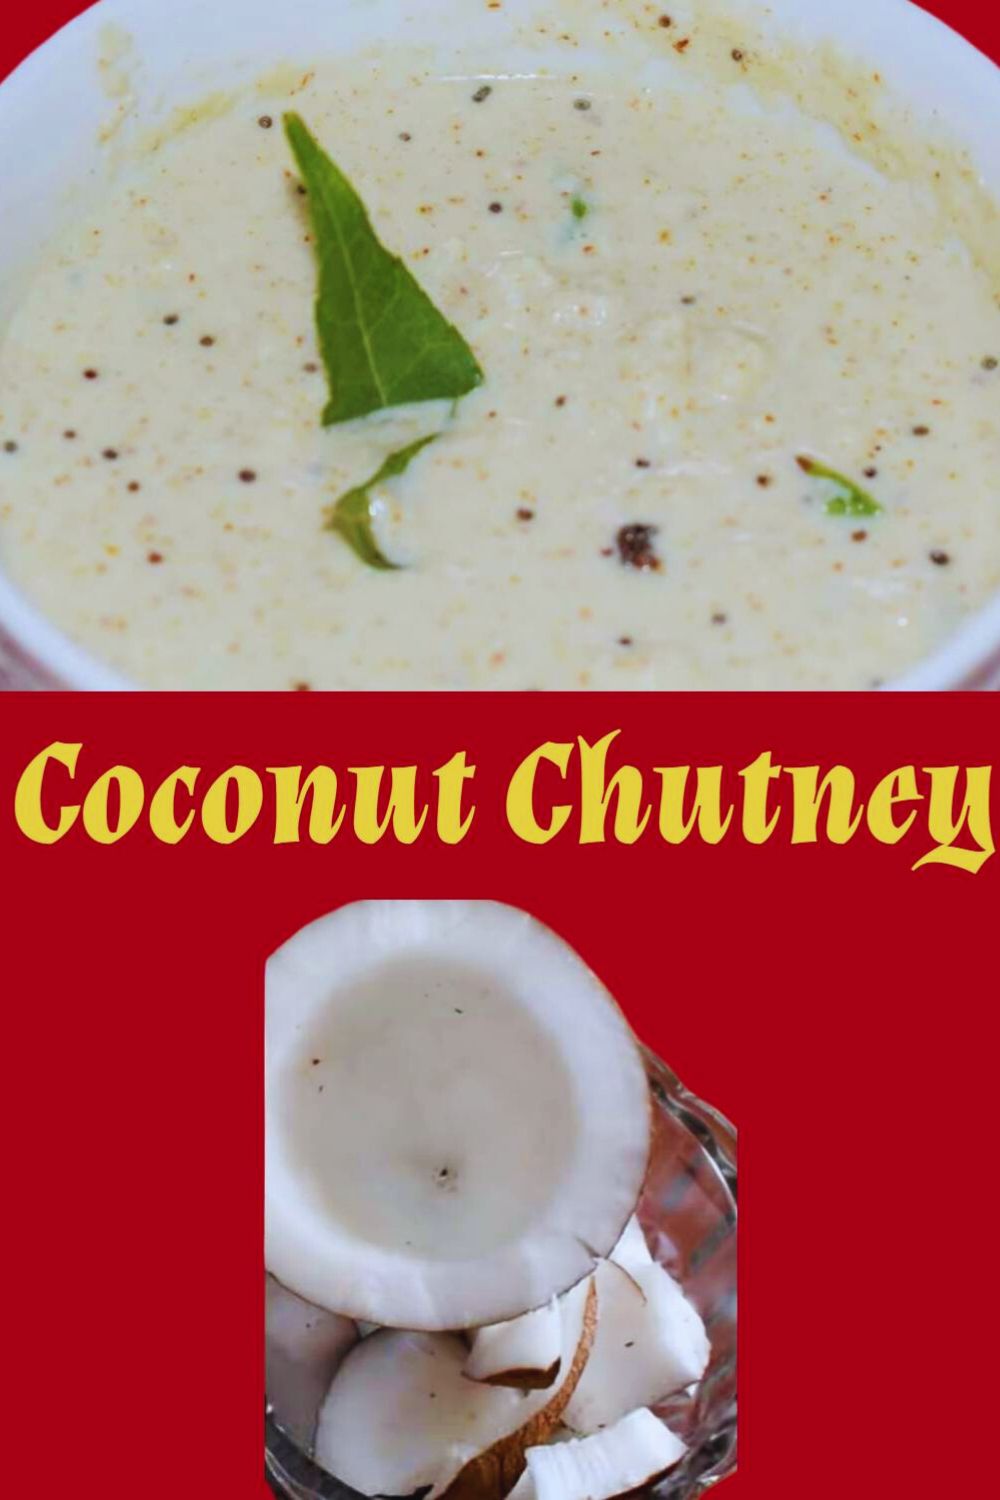
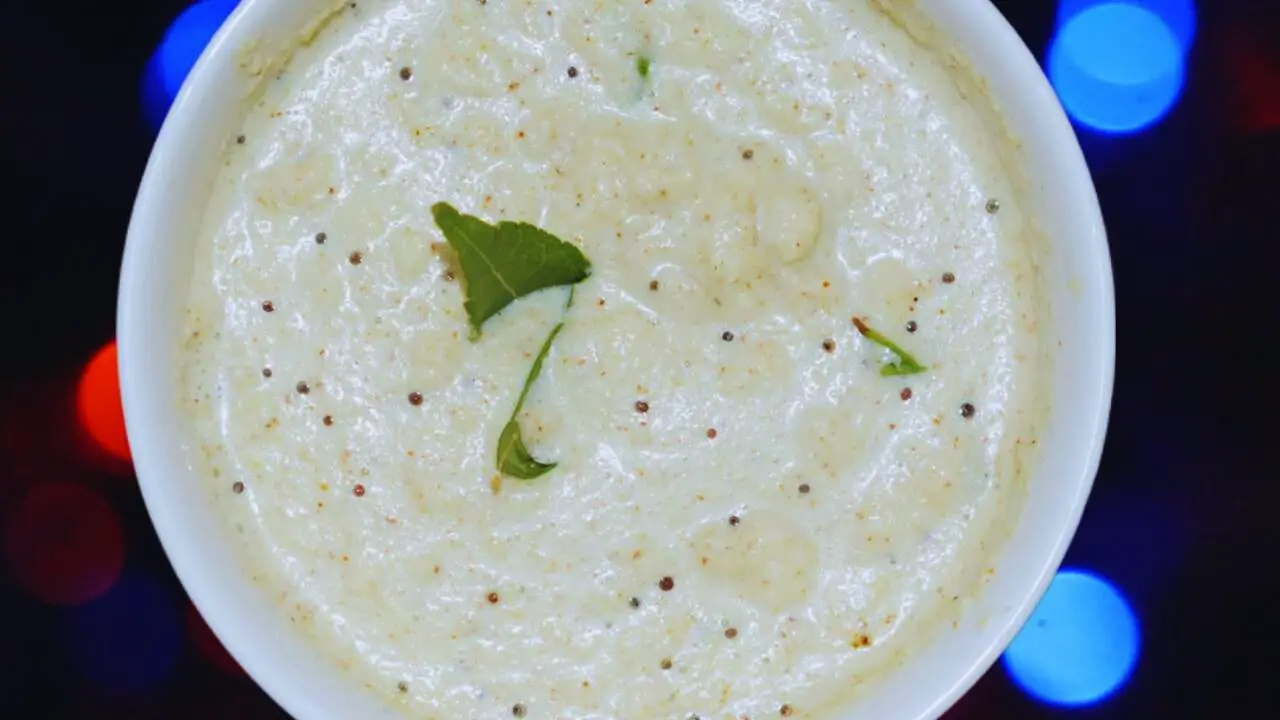
Coconut chutney comprises fresh coconut and curd, mixed with green chilies and a few fragrant Indian spices. The ingredients are ground to perfection and tempered with mustard seeds, curry leaves, and coconut oil. Follow my recipe to join me on a culinary journey and know the steps to make coconut chutney easily at home.
KEY TAKEAWAYS
- Coconut chutney is a simple yet versatile condiment used mainly in South India.
- Store the chutney in an airtight container. Keep it in your fridge to retain its flavor and freshness.
- The chutney is enjoyed best with dosa, idli, uttapam, upma, vada, pongal, appam, and with fritters made from potatoes or onion.
- Coconut chutney typically offers a sweet and zesty taste. The creamy sensation is further enhanced by a slight spiciness and savory undertone.
- A few other chutneys that may offer a similar taste include peanut chutney, sesame chutney, tomato onion chutney.
This chutney recipe came from the old librarian at the reading hall in our local club. I once saw her eating it quietly between book returns. She offered me a spoon and I loved how simple it tasted. I asked for the method and she gave me a handwritten recipe card she keeps for interested readers.
I made it that Sunday. My husband called it peaceful, and my sons said it felt “like reading a story.” Now, it is one of our favorite chutneys for lunch. That moment reminded me that silence, books, and good food often exist together—each adding depth in their own thoughtful way.
How to Cook Coconut Chutney? (Step by Step Guide with Images)
Step 1: Take one standard-sized coconut. Remove the shell. Keep the coconut water aside. Clean it.

Step 2: Take a clean grinder.

Step 3: Cut the coconut into small pieces and put them in the grinder.

Step 4: Then add 1 tsp of salt to it.

(Pro tip: It is good to start with less salt and increase it if needed later on. Remember, if you put it once, there is no way you can take it back).
Step 5: Add about 1.5 tbsp of lemon juice or of one standard-sized lemon into it.

Step 6: Now add 1 tbsp of sugar to the content.

Step 7: Follow it with 2 pieces of fresh green chilies, chopped in small pieces.

(Pro tip: 1 green chili will yield about ½ to 1 tsp of chopped chilies. So, I have used about 1 tsp of chopped green chilies. If you the coconut chutney to be spicier, you may add more green chilies).
Step 8: Finally, add 1 cup of coconut water. The one that you kept aside.

Step 9: Grind it to a paste.

Step 10: Now, add ½ cup of dahi (curd) to the paste in the grinder. Blend it nicely.

Step 11: Check the consistency. You may add some more coconut water according to your liking.

(Pro tip: If the grinder cannot grind the content seamlessly, it is good to add more water to the content gradually).
Step 12: When done, transfer the coconut paste into a bowl. Check the salt. If needed, add some more and mix it nicely.

Step 13: Now, to prepare the tadka, take a tadka pan and heat it on high flame on your gas stove.

Step 14: When the pan is hot, pour 1 tbsp of coconut oil into it.

(Pro tip: You may use 1 tbsp of white oil such as sunflower oil, peanut oil, and others if you are not fond of coconut oil).
Step 15: When the oil is hot, put ½ tsp of asafetida in it.

(Pro tip: If you prefer gluten-free, make sure you use such a variant available easily in several online and offline stores).
Step 16: Then put ½ tsp of mustard seeds in the pan as well.

Step 17: Finally, when the mustard seeds crackle, add 8 to 10 pieces of curry leaves to the content in the pan.

(Pro tip: Be careful about the oil sprinkles due to the crackling mustard seeds and also while you put the curry leaves into the pan).
Step 18: Stir the ingredients continuously to sauté them nicely.

Step 19: When the ingredients are fried nicely, transfer them to the coconut paste in the bowl.

Step 20: Mix them nicely.

Step 21: Your homemade coconut chutney is now ready to be consumed with idli, dosa, and other dishes.

Recipe Card

Coconut Chutney
Ingredients
- 1 piece Coconut (chopped roughly)
- 1.5 tbsp Lemon juice standard-sized lemon
- 1 tbsp Sugar
- 2 pieces Green chilies (chopped)
- 1 cup Coconut water (use the water of the coconut used)
- ½ cup Dahi (curd)
For the tadka
- 1 tbsp Coconut oil
- ½ tsp Asafetida
- ½ tsp Mustard seeds
- 8 piece Curry leaves
Instructions
- Take one standard-sized coconut. Remove the shell. Keep the coconut water aside. Clean it.
- Take a clean grinder.
- Cut the coconut into small pieces and put them in the grinder.
- Then add 1 tsp of salt to it. (Pro tip: It is good to start with less salt and increase it if needed later on. Remember, if you put it once, there is no way you can take it back).
- Add about 1.5 tbsp of lemon juice or of one standard-sized lemon into it.
- Now add 1 tbsp of sugar to the content.
- Follow it with 2 pieces of fresh green chilies, chopped in small pieces. (Pro tip: 1 green chili will yield about ½ to 1 tsp of chopped chilies. So, I have used about 1 tsp of chopped green chilies. If you the coconut chutney to be spicier, you may add more green chilies).
- Finally, add 1 cup of coconut water. The one that you kept aside.
- Grind it to a paste.
- Now, add ½ cup of dahi (curd) to the paste in the grinder. Blend it nicely.
- Check the consistency. You may add some more coconut water according to your liking. (Pro tip: If the grinder cannot grind the content seamlessly, it is good to add more water to the content gradually).
- When done, transfer the coconut paste into a bowl. Check the salt. If needed, add some more and mix it nicely.
- Now, to prepare the tadka, take a tadka pan and heat it on high flame on your gas stove.
- When the pan is hot, pour 1 tbsp of coconut oil into it. (Pro tip: You may use 1 tbsp of white oil such as sunflower oil, peanut oil, and others if you are not fond of coconut oil).
- When the oil is hot, put ½ tsp of asafetida in it. (Pro tip: If you prefer gluten-free, make sure you use such a variant available easily in several online and offline stores).
- Then put ½ tsp of mustard seeds in the pan as well.
- Finally, when the mustard seeds crackle, add 8 to 10 pieces of curry leaves to the content in the pan. (Pro tip: Be careful about the oil sprinkles due to the crackling mustard seeds and also while you put the curry leaves into the pan).
- Stir the ingredients continuously to sauté them nicely.
- When the ingredients are fried nicely, transfer them to the coconut paste in the bowl.
- Mix them nicely.
- Your homemade coconut chutney is now ready to be consumed with idli, dosa, and other dishes.


")


